


Creating your own 3D prints starts with a solid digital design. You can easily make these models using beginner-friendly CAD software, 3D scanning, or even AI tools. Once your model is ready, exporting it in the correct format and prepping it in a slicer guarantees a successful physical print.
Imagine holding a physical object that existed only in your mind just an hour ago. You could design a custom phone stand, a spare part for a broken appliance, or a miniature figurine of your favorite character. The magic of 3D printing makes this possible. However, before your printer can lay down its first layer of warm plastic, you need a digital roadmap. You need a 3D model.
For many beginners, the design phase feels like a massive roadblock. It is easy to think that you need a degree in engineering or years of digital art experience just to get started. The truth is much more exciting. Today, the tools are simpler, more intuitive, and highly accessible. Anyone can learn how to design custom parts with just a little practice and patience.
This guide will walk you through the entire journey. We will break down the best software for every skill level, look at different design methods, and share key rules to make sure your models print perfectly on the first try. Let us dive in and explore the steps to turn your ideas into physical objects.
Key Takeaways
- Pick the Right Software: Start with easy, free tools like Tinkercad before moving to advanced programs like Blender or Fusion 360.
- Keep It Watertight: Your 3D models must be manifold, meaning they have no holes or open gaps in the mesh.
- Watch Your Angles: Design with the 45-degree rule in mind to minimize the need for messy support structures.
- Set Correct Tolerances: Leave a small gap of 0.2mm to 0.5mm between moving parts so they do not fuse together.
- Export Wisely: Use 3MF or STL file formats to ensure your slicing software reads the model details perfectly.
Quick Answers to Common Questions
What is the easiest free software for designing 3D prints?
Tinkercad is the easiest free tool because it uses a simple drag-and-drop system with basic shapes right in your web browser.
What file format should I use to export my 3D models?
You should use 3MF or STL formats, as they are universally accepted by almost all 3D slicing software.
What does a watertight or manifold model mean?
A watertight model has a continuous, closed outer shell with no gaps or missing faces, allowing the slicer to know exactly what is solid and what is hollow.
Do I need a powerful computer to design 3D models?
No, browser-based tools like Tinkercad and Onshape can run on basic laptops, though complex sculpting in Blender may require a better graphics card.
How much clearance should I leave between moving parts?
You should leave a clearance tolerance of 0.2mm to 0.5mm between interlocking parts to keep them from melting together during printing.
📑 Table of Contents
Choose the Right 3D Modeling Software
The first step in your design journey is choosing your software workspace. There are many programs available, and the best choice depends on what you want to build and your current skill level. You do not need to buy expensive software to get started, as many of the best options are completely free.
Beginner-Friendly CAD Tools
If you are brand new to 3D design, start with solid modeling programs that use simple shapes. Tinkercad’s online design environment is the absolute best place to begin. It works right inside your web browser. You build models by dragging and dropping basic shapes like blocks, cylinders, and spheres. You can group these shapes together or use one shape to cut a hole in another. It feels like playing with digital building blocks, making it perfect for quick designs and learning the basics.
Advanced Parametric CAD for Functional Parts
If you want to design functional items like brackets, gears, or interlocking cases, you need parametric CAD software. Parametric design means you define exact measurements and relationships. If you change one dimension, the rest of the model updates automatically. Programs like Autodesk Fusion 360 and Onshape are industry favorites. They offer free licenses for hobbyists and let you create highly precise, professional-grade mechanical designs.
Sculpting Software for Organic Shapes
Not every print is a mechanical part. If you want to make characters, animals, or artistic sculptures, parametric CAD is not the right tool. Instead, you need digital sculpting software. Blender is a free, open-source program that acts like digital clay. You can pull, push, pinch, and smooth the surface to create incredibly detailed organic shapes. It has a steeper learning curve, but it offers limitless creative freedom.
Core Methods to Create 3D Models
Once you choose your software, you need to decide how to build your object. There are three main paths you can take to bring your concepts into the digital world.
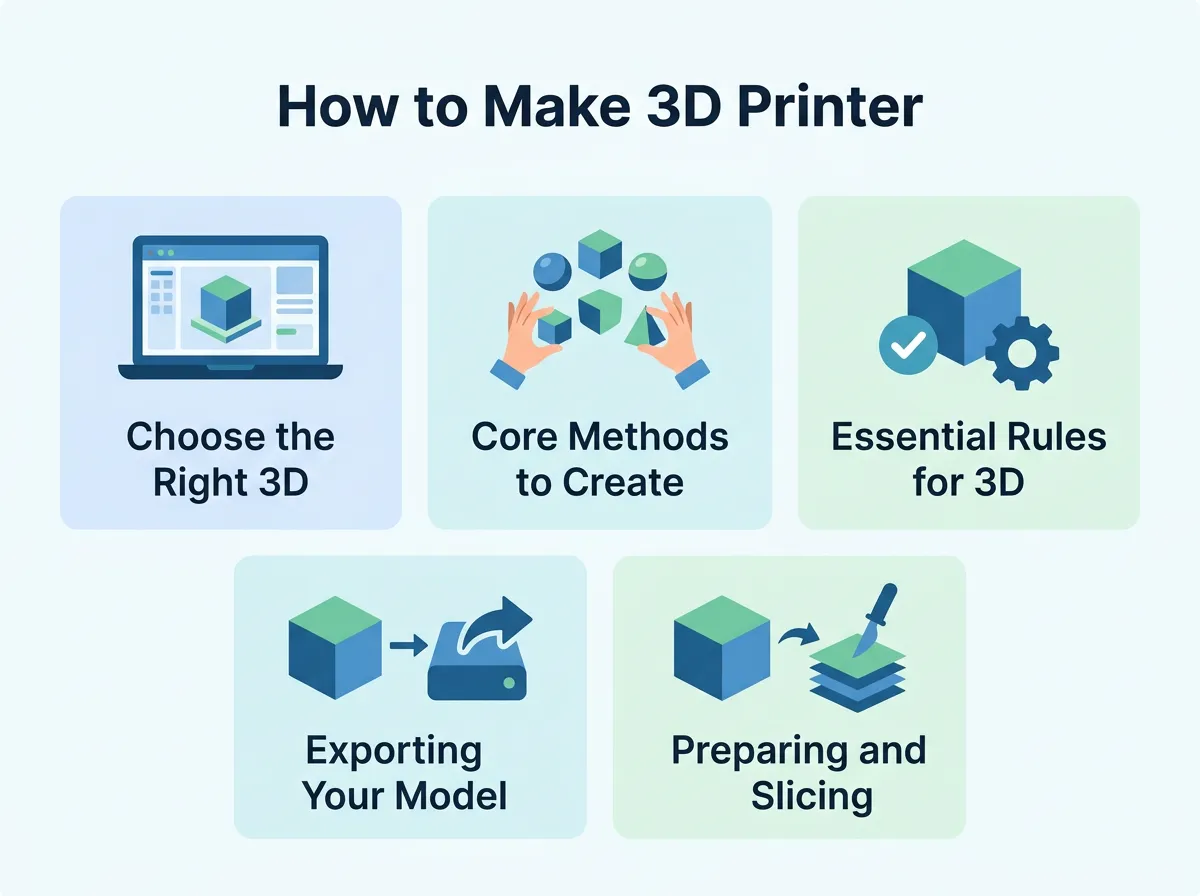
How to Make 3D Printer Models? — key points at a glance
Designing From Scratch
This is the most common method. You start with a blank digital canvas. You draw a flat 2D sketch, add dimensions, and then extrude it upward to create a 3D shape. Step by step, you add details, cut out holes, and round off sharp edges. This method gives you complete control over every single millimeter of your object.
3D Scanning Real Objects
What if you want to replicate an object that already exists? You can use 3D scanning. By using a dedicated scanner or even a smartphone app with photogrammetry, you can take dozens of photos of a physical item. The software blends these photos together to build a 3D mesh. This is a great shortcut, though you often need to clean up the scanned file in a design program before it is ready to print.
AI-Generated 3D Modeling
Technology moves fast, and artificial intelligence is now entering the design space. Modern tools allow you to generate 3D models using simple text prompts. Exploring a Creality’s design tips article can help you see how these new technologies fit into the traditional printing workflow. While AI models might still need a bit of manual tweaking for accuracy, they are fantastic for fast prototyping and quick inspiration.
Essential Rules for 3D Print Design
Designing a model for a screen is different from designing a model for the physical world. Gravity, plastic cooling, and printer nozzle sizes all affect your final result. To succeed, you must follow a few golden design rules.
The 45-Degree Rule and Overhangs
3D printers build models layer by layer, from the bottom up. Each new layer needs the previous layer to support it. If your design has parts that stick out to the side at a sharp angle, the printer will try to extrude plastic into thin air. Generally, any angle steeper than 45 degrees will need temporary support structures. To avoid wasting plastic and time, try to design chamfers and slopes that stay under this 45-degree limit.
Wall Thickness and Solid Geometry
Always design your models with realistic physical limits. If a wall is too thin, your printer nozzle will not be able to squeeze plastic into that space, or the wall will simply snap off when you touch it. Keep your wall thickness at least double the size of your printer nozzle. If you use a standard 0.4mm nozzle, aim for walls that are at least 0.8mm thick, though 1.2mm or thicker is much safer for sturdy parts.
Manifold Geometry (Watertight Models)
Your 3D model must be watertight. In the design world, this is called manifold geometry. It means the model must have a clearly defined inside and outside with no open holes in the outer shell. If your model has missing faces, your slicing software will get confused and might not print the item correctly. Reading a detailed making a 3D model for printing guide will help you understand how to inspect and repair these mesh errors before exporting.
Exporting Your Model for the Slicer
Once your design is complete, you cannot send the project file directly to your printer. You must first export it into a standardized format that slicing software can read.
STL vs. 3MF Formats
The STL format is the oldest and most common file type for 3D printing. It saves your model as a series of connected triangles. While highly compatible, STL files do not save color, material, or unit information. The newer 3MF format is rapidly becoming the industry standard. It is a smaller file size, holds precise unit data, and can store multiple objects in one workspace, preventing scale errors when importing.
Setting the Right Export Resolution
When exporting an STL, you will often see options for tolerance or deviation. This controls how many triangles make up your model. If the resolution is too low, your smooth round cylinders will look like blocky polygons. If the resolution is too high, the file size will be massive and might crash your slicing software. Aim for a happy medium where curves look smooth but file sizes remain under 50 megabytes.
Preparing and Slicing Your Design
The final step of the design pipeline happens in a slicer. A slicer is a program that translates your 3D shape into G-code, which is the exact path of instructions your printer follows.
Load your exported STL or 3MF file into a slicer like Cura, PrusaSlicer, or Bambu Studio. Here, you will choose your print settings. You can adjust the infill density to make the inside of your part hollow or solid. You can also add support structures for those tricky overhangs. Always preview the layer-by-layer simulation in your slicer before hitting print. This preview is your final safety net to spot any design mistakes before wasting physical filament.
Common Design Mistakes to Avoid
Even experienced designers make mistakes. To save yourself time and frustration, keep an eye out for these frequent errors:
- No Tolerances on Moving Parts: If you design a pin to fit into a hole with the exact same dimensions, they will fuse together. Always leave a 0.2mm to 0.5mm gap between interlocking pieces.
- Sharp Internal Corners: Sharp corners concentrate physical stress. Add a small curve or fillet to internal corners to make your printed parts much stronger.
- Incorrect Print Orientation: Think about how the model will sit on the print bed. Orient your design to maximize the surface area touching the build plate to prevent the print from peeling off halfway through.
Conclusion
Learning how to make 3D printer models opens up a whole new world of creative freedom. You are no longer limited to printing things that other people have designed. By starting with simple tools like Tinkercad, keeping basic rules like the 45-degree angle in mind, and practicing regularly, you will soon design complex, useful objects. Grab a free software tool, start playing with basic shapes, and watch your unique ideas come to life on the print bed!
Frequently Asked Questions
Can I turn a 2D picture into a 3D printable model?
Yes, you can import flat vector images (SVG files) into programs like Tinkercad or Fusion 360 and extrude them upward to give them physical height. This is a popular method for making custom keychains and flat logos.
Why did my 3D model fail to print correctly?
Print failures are often caused by poor bed adhesion, lack of necessary supports for steep overhangs, or thin walls that the printer nozzle could not physically replicate. Always check your slicer preview for red flags before printing.
Is Blender good for creating functional mechanical parts?
While you can use Blender for functional parts, it is not ideal because it is a mesh modeler rather than a parametric CAD tool. It is much easier to use Fusion 360 or Onshape when you need precise measurements and mating components.
What are support structures in 3D printing?
Supports are temporary, thin scaffolding structures that your slicer automatically generates to hold up overhanging parts of your model. Once the print finishes, you break these supports off and discard them.
How do I fix errors in an STL file?
You can repair broken STL meshes using free utility programs like Microsoft 3D Builder, Netfabb, or the built-in repair tools found in modern slicers like PrusaSlicer and Bambu Studio.
Can I make 3D printer models on my tablet?
Yes, there are several mobile-friendly design apps available today. Shapr3D and Nomad Sculpt are highly capable modeling programs designed specifically for tablets and stylus inputs.
