


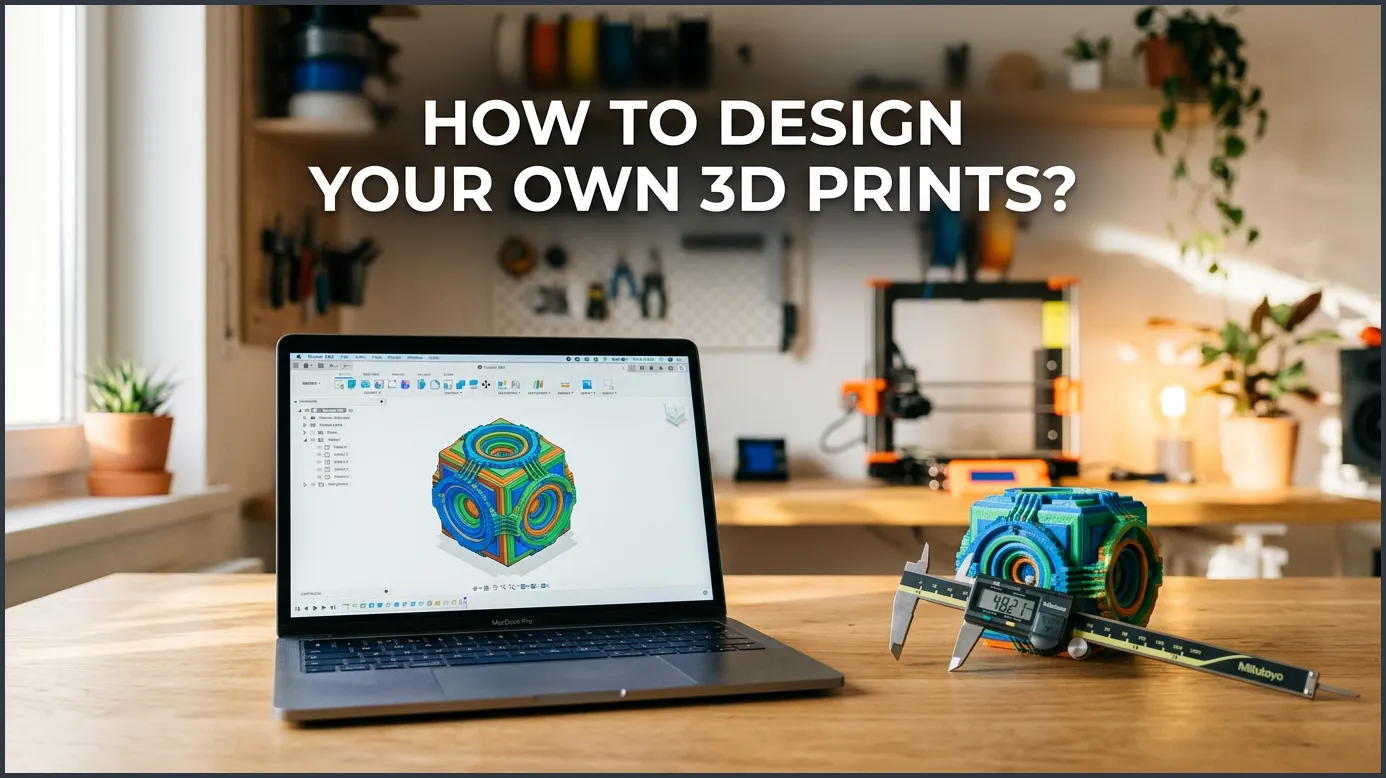
Designing your own 3D prints is an incredibly rewarding journey that transitions you from a mere hobbyist to a true creator. By choosing the right CAD software, mastering basic design constraints like overhangs and tolerances, and preparing your files with slicer software, you can easily turn any digital concept into a tangible physical object.
Imagine walking around your home and noticing a small broken bracket on your favorite shelf. You search online, but nobody sells a replacement part. This is the exact moment many people decide to learn how to design your own 3D prints. Instead of relying on files shared by others online, you can build your own custom solutions. It feels like a superpower when you can think of an object and hold it in your hand just a few hours later.
If you are new to this world, it might feel a bit scary at first. You might think you need a degree in engineering to create 3D models. That is simply not true. Anyone can learn to make custom models with a bit of practice and patience. Modern tools are highly visual and intuitive, making the learning curve smoother than ever before.
In this guide, we will walk through the entire design process from start to finish. We will look at the best design tools for every skill level. You will learn the basic rules of design for 3D printing. We will also share tips to help your prints succeed on the very first try. Let us dive in!
Key Takeaways
- Start with simple software: Beginners should begin with user-friendly, browser-based tools before moving on to complex parametric design software.
- Mind the printing constraints: Always design with 3D printing limits in mind, such as avoiding steep overhangs and adding fillets to weak corners.
- Measure twice, print once: Accurate measurements using digital calipers are vital for functional parts that must fit together perfectly.
- Account for tolerances: Leave small gaps (around 0.2mm to 0.4mm) between moving parts to prevent them from fusing during the print process.
- Optimize for orientation: Design your model knowing how it will sit on the print bed to minimize the need for support materials.
- Slicing is the final key step: Use slicer software to translate your finished 3D CAD design into G-code that your printer can read.
Quick Answers to Common Questions
What is the easiest software for designing 3D prints?
Autodesk Tinkercad is the easiest software for beginners because it uses a simple, drag-and-drop system. It runs entirely in your web browser and is completely free to use.
Can I design 3D prints on my phone or tablet?
Yes, you can design 3D prints on mobile devices using apps like Shapr3D or browser-based tools like Tinkercad. These tools often work best with a stylus or tablet pen for precision modeling.
What file format should I use to export my designs?
The most common file formats for 3D printing are STL, OBJ, and 3MF. Most modern slicing software works beautifully with any of these formats.
How do I make my 3D printed parts stronger?
To increase print strength, orient your design so stress does not pull against the layer lines. You can also increase your wall thickness and infill density in your slicer settings.
Do I need to be good at math to design 3D prints?
No, you do not need advanced math skills because modern CAD software handles the complex calculations for you. You only need basic measurement skills to design functional parts.
📑 Table of Contents
Choosing the Right 3D Design Software
Before you can print anything, you need to draw it on your computer. This process is called Computer-Aided Design, or CAD. There are many different CAD programs available today. Some are simple, while others are very advanced. The best one for you depends on your goals and your current skill level.
Beginner-Friendly Tools
If you are just starting, you do not want to get overwhelmed by complex menus. You need a tool that makes 3D modeling feel like playing with building blocks. A wonderful option for absolute beginners is Autodesk Tinkercad. This web-based program lets you drag and drop simple shapes like boxes and cylinders. You can join these shapes together or use them to cut holes in other shapes.
To start learning, you can visit Tinkercad 3D design tools to build your very first model. It is completely free and runs directly in your web browser. This tool is perfect for quick projects or simple geometric designs. Many schools use it to teach kids, but adults love it too for rapid prototyping.
Intermediate and Advanced CAD Software
Once you feel comfortable with basic shapes, you might want to try parametric design. Parametric design means you use exact numbers and constraints to control your model. If you change one measurement, the rest of the model updates automatically. This is incredibly helpful when you design your own 3D prints that need to fit real-world items.
Fusion 360 is a highly popular tool for hobbyists and professionals. It offers a free personal license for non-commercial use. Another great option is Onshape, which is also web-based and highly powerful. For organic shapes like characters, sculptures, or mini figures, you might prefer Blender. Blender is a free, open-source mesh modeler that gives you complete artistic freedom.
Core Principles of 3D Print Design
3D printers build items layer by layer. Because of this, they have physical limits. If you want to design your own 3D prints successfully, you must understand these limits. Designing for 3D printing is very different from designing for a computer screen.
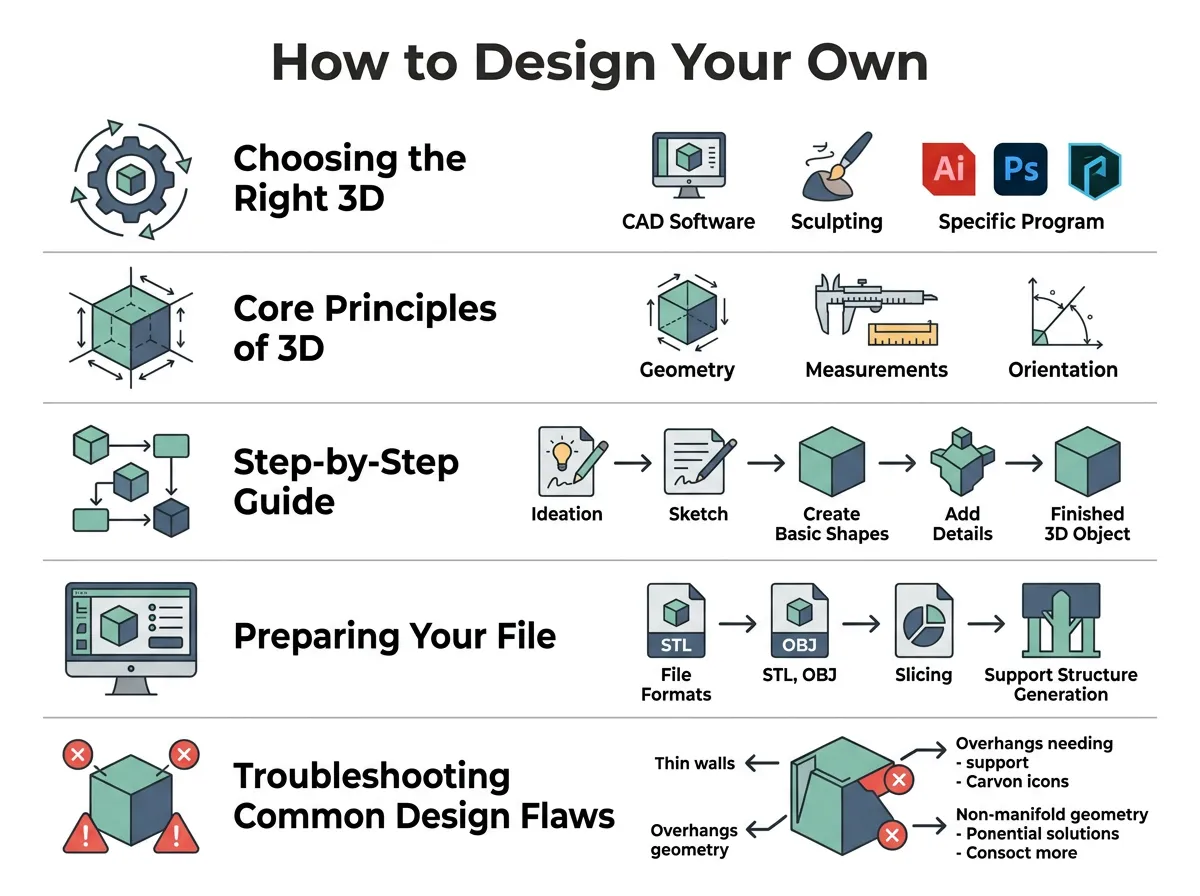
How to Design Your Own 3D Prints? — key points at a glance
The 45-Degree Rule for Overhangs
Imagine a printer trying to squeeze hot plastic into thin air. Without support underneath, the plastic will simply fall and create a messy pile of plastic spaghetti. As a general rule, a 3D printer can print angles up to 45 degrees without any support structure underneath.
When you design your own 3D prints, try to avoid steep overhangs. If you must have a horizontal ledge, consider adding a chamfer or a fillet underneath. This creates a gentle slope that the printer can follow easily. Designing with slopes saves you time, plastic, and post-processing work because you will not need to peel away support material.
Designing Tolerances and Clearances
If you are making a box with a lid, or a bolt that screws into a nut, you need to think about tolerances. Plastic expands slightly when it is hot. If you design a peg that is exactly 10 millimeters wide to fit into a hole that is exactly 10 millimeters wide, they will not fit together in real life.
To ensure your parts fit together, you must add clearance. For a snug fit, leave a gap of about 0.2 millimeters between the parts. For a loose, sliding fit, go for 0.4 millimeters. You can read more about these design fundamentals on Ignite Hamilton East Public Library, which highlights how custom design requires careful planning and spatial awareness.
Step-by-Step Guide to Your First Custom Design
Let us walk through a simple project. Imagine you want to make a custom holder for your favorite pen. This step-by-step process will show you how to design your own 3D prints from scratch.
Sketching and Ideation
Do not start on the computer right away. Grab a piece of paper and a pencil first. Draw your idea from a few different angles. Jot down some rough dimensions. If you are fitting your design around an existing object, use a digital caliper to measure it. Calipers are much more accurate than a standard plastic ruler.
Modeling and Refining
Open your chosen CAD software. If you are using a parametric tool, start by drawing a 2D sketch of the base. For our pen holder, you would draw a simple circle. Next, extrude that circle upward to turn it into a 3D cylinder.
Now, create a hole inside the cylinder. You can do this by sketching a smaller circle on top of the cylinder and extruding it downward as a “cut” command. Remember to leave enough thickness for the walls. A wall thickness of at least 1.2 to 2.0 millimeters is usually strong enough for most light objects. You can find more tips on structuring your model in this helpful guide on Flashforge 3D model creation.
Preparing Your File for the 3D Printer
Once your design looks perfect on the screen, you need to prepare it for physical printing. This bridge between your design software and your 3D printer is vital.
Exporting the Right File Formats
You cannot send a CAD project file directly to a 3D printer. You must export it as a file format that slicer software can read. The most common formats are STL, OBJ, and 3MF. The 3MF format is becoming very popular because it stores more data, like color and materials, in a smaller file size.
Setting Up Your Slicer
Open your exported file in a slicer program like Cura or PrusaSlicer. The slicer cuts your 3D model into thousands of horizontal slices. It then writes a text file called G-code. This file tells the printer exactly where to move, how fast to go, and how much plastic to squeeze out. Inside the slicer, you can adjust settings like layer height, infill density, and print speed to get the best quality possible.
Troubleshooting Common Design Flaws
Even experienced designers make mistakes. If you learn to spot design flaws early, you will save yourself a lot of wasted plastic and printing hours.
Weak Joint Areas
If your print breaks easily, it often happens along the layer lines. To fix this, think about the direction of the forces on your object. If a part needs to hold weight, try to print it in an orientation where the layers run parallel to the force, not perpendicular. You can also add rounded corners, called fillets, to distribute the physical stress.
Bed Adhesion Issues
If your print does not stick to the bed, it might warp or fall over mid-print. To prevent this, design a flat bottom for your model. If your model has a very small contact point with the bed, add a brim or helper discs in your CAD software. This gives your print a wider base to hold onto the build plate securely.
Conclusion
Learning how to design your own 3D prints is a journey of trial and error. It transforms your 3D printer from a toy that makes plastic figures into a powerful manufacturing tool. Do not feel discouraged if your first few prints do not turn out perfect. Each failed print is a valuable lesson that teaches you how to design better next time. Start with small, simple shapes, practice regularly, and enjoy the creative process!
Frequently Asked Questions
What is the difference between CAD and a slicer?
CAD software is used to design and build your 3D digital model from scratch. Slicer software takes that finished 3D model and translates it into G-code instructions that your 3D printer can read.
How much clearance should I leave between moving parts?
For tight fittings, leave a clearance of 0.2 millimeters between parts. If you want parts to slide or rotate freely, a clearance of 0.4 millimeters or more is recommended.
Is Blender good for designing functional parts?
Blender is incredibly powerful, but it is better suited for organic shapes like sculptures, characters, and artistic designs. For precise functional parts with exact measurements, CAD tools like Fusion 360 or Onshape are much better.
Why do my 3D prints warp or peel off the bed?
Peeling and warping occur when the plastic cools too quickly and shrinks, pulling away from the print bed. You can fix this by cleaning your print bed, using a heated bed, or adding a brim to your design.
Do I need a powerful computer to design 3D prints?
No, you do not need a high-end computer to start. Web-based tools like Tinkercad and Onshape run their heavy processing on cloud servers, making them run smoothly on basic laptops.
What is infill, and how does it affect my design?
Infill is the internal structure printed inside a solid-looking object to save plastic and print time. Adjusting the infill percentage and pattern allows you to balance the weight, strength, and print duration of your model.
