


Adding magnet holes to your 3D prints in Bambu Studio is incredibly simple using the “Negative Part” tool. By creating a negative cylinder or box with the exact dimensions of your physical magnet plus a tiny bit of tolerance, you can subtract that shape directly from your model. This lets you embed functional neodymium magnets easily without needing complex CAD software.
Have you ever printed a beautiful 3D model, only to wish it had a satisfying magnetic snap? Maybe you printed a deck box that refuses to stay shut, or a modular wall tile that slips out of place. Adding magnets to your designs turns simple plastic objects into highly functional, tactile tools. It makes boxes snap shut, holds miniatures to magnetic sheets, and lets you build modular toys that click together beautifully.
For a long time, if you wanted to add a magnet hole, you had to go back to your original design program. You had to measure, open up CAD software, cut out a cylinder, and export a new STL file. But what if you downloaded the model from the internet? Editing a pre-made mesh can be a massive headache. Fortunately, modern slicers are incredibly powerful.
In this guide, we will look at how to add magnet holes in Bambu Studio. You do not need any external design tools. You only need your physical magnets, a set of calipers, your 3D printer, and the Bambu Studio slicer software. Let us dive in and learn how to make your 3D prints snap together perfectly.
Key Takeaways
- No CAD Software Needed: You can add perfect magnet holes directly within Bambu Studio without opening Fusion 360 or Blender.
- Use Negative Parts: The right-click “Negative Part” option is the magic tool that carves out perfect cavities in any 3D model.
- Account for Tolerances: Always add 0.1mm to 0.2mm to your magnet’s physical measurements so the magnet actually fits.
- Embed with Pauses: You can pause your print at a specific layer height to drop magnets inside your print for a completely hidden look.
- Watch Your Polarity: Always double-check which way your magnets face before gluing or sealing them inside your plastic parts.
Quick Answers to Common Questions
How much tolerance should I add for magnet holes in Bambu Studio?
You should generally add 0.1mm to 0.2mm to the diameter of your magnet for a snug press-fit, or up to 0.3mm if you plan to use glue.
What tool do I use in Bambu Studio to make magnet holes?
You use the “Negative Part” option, which you can access by right-clicking your 3D model and selecting a shape like a cylinder or cube.
Can I embed magnets completely inside a 3D print?
Yes, you can place a negative cavity inside the model and add a “Pause” command at that specific layer height to drop the magnets in mid-print.
What is the best glue to secure magnets in PLA prints?
Cyanoacrylate (standard super glue) is the best and most reliable option for gluing neodymium magnets to 3D printed PLA plastic.
Why won’t my magnet fit in the hole I sliced?
This is usually due to filament shrinkage or over-extrusion; you need to increase your tolerance setting in Bambu Studio by an extra 0.1mm.
📑 Table of Contents
Why Use Bambu Studio for Magnet Holes?
Bambu Studio is more than just a tool that prepares your files for printing. It acts as a lightweight design tool. When you want to learn how to add magnet holes in Bambu Studio, you are taking advantage of its primitive shape features. The software allows you to add basic shapes like cylinders, cubes, and spheres directly onto your build plate.
By changing these shapes into “Negative Parts,” you tell the slicer to subtract that shape from your main model. It acts exactly like a boolean cut in CAD software. This saves you tons of time. If you find a cool model on MakerWorld or Printables, you can add your custom magnet holes in just a few clicks. It gives you ultimate control over your 3D prints without the learning curve of complex engineering software.
Step-by-Step Guide: How to Add Magnet Holes in Bambu Studio
Adding these holes is a straightforward process once you know where to look. Follow these simple steps to prepare your first magnetic print.
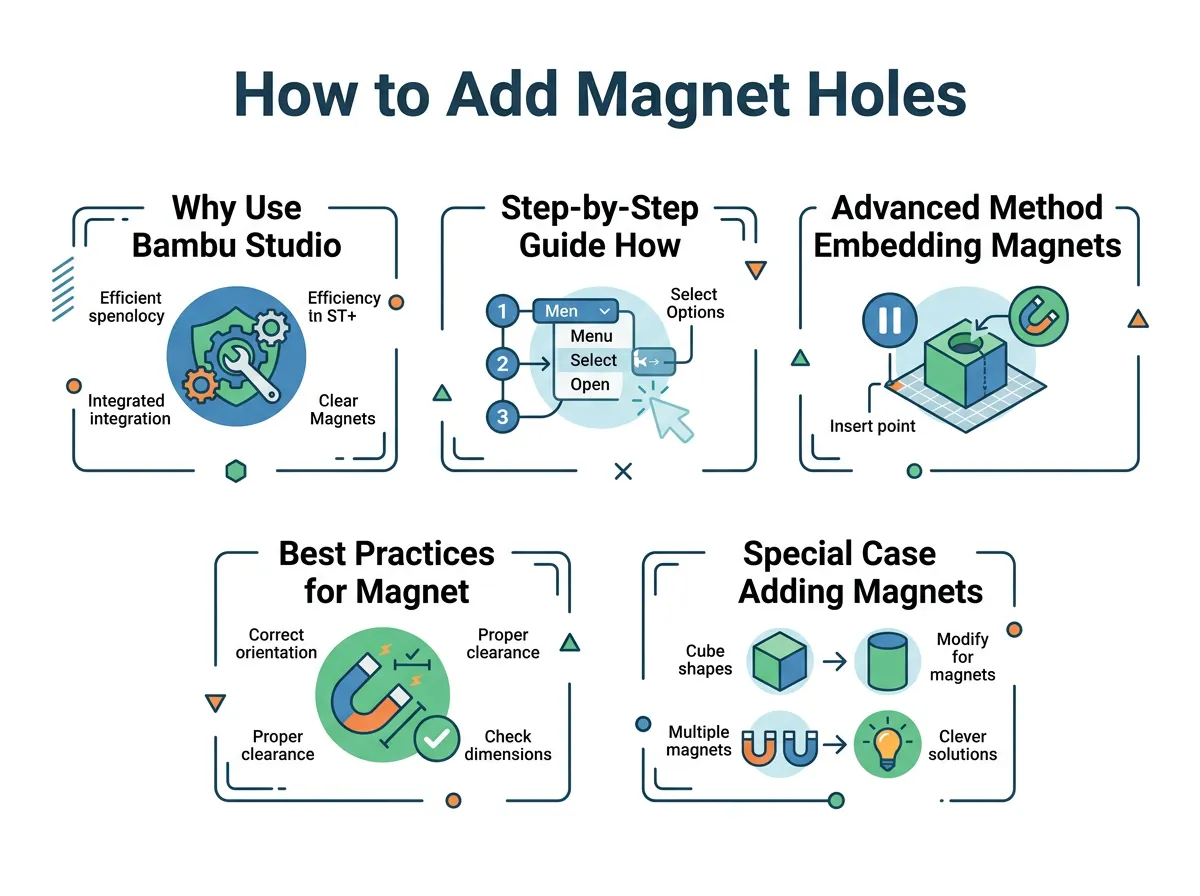
How to Add Magnet Holes in Bambu Studio? — key points at a glance
Step 1: Measure Your Physical Magnets
Before you touch your computer, grab your physical magnets and a pair of digital calipers. Never rely on the size listed on the packaging. A magnet sold as “6mm x 2mm” might actually measure 6.05mm or 5.95mm.
Once you have the true measurement, you must calculate your tolerance. 3D printers squeeze out hot plastic, which naturally expands slightly as it cools. If you make a hole exactly 6mm wide, your 6mm magnet will not fit. For a snug press-fit, add 0.1mm to 0.2mm to the diameter. If you plan to glue the magnet in, add 0.2mm to 0.3mm to give the glue some room to hold. For example, for a 6mm x 2mm magnet, you should design your hole to be 6.2mm wide and 2.1mm deep.
Step 2: Import Your Model and Create a Negative Part
Open Bambu Studio and drag your 3D model onto the build plate. Once your model is in place, right-click on it to bring up the context menu. Navigate down to Add Negative Part and select Cylinder (or Box if you are using square magnets).
A semi-transparent red shape will appear on your model. This red shape represents the volume that will be cut away from your print. To understand how this works mechanically, you can read more about utilizing a negative part for magnets in the official Bambu Lab community discussions.
Step 3: Resize the Negative Part
Select the new negative cylinder. On the top toolbar, click on the Scale tool (or press the ‘S’ key). In the scale menu on the left side of your screen, make sure you uncheck the Uniform Scale option. This is critical because you want to change the width and height independently.
Input your calculated dimensions. If your magnet is 6mm wide and 2mm thick, and you want a nice slip-fit with glue, set the X and Y axes to 6.2mm. Set the Z axis (height) to 2.1mm. Your negative cylinder is now the perfect size for your physical magnet.
Step 4: Position the Hole Precisely
With the negative cylinder selected, click on the Move tool (or press the ‘M’ key). Drag the red cylinder to the exact spot where you want your magnet to sit. You can use the coordinate input box on the left to align it precisely along the X, Y, or Z axes.
If you want the magnet to sit flush with the surface, position the negative cylinder so its top face aligns perfectly with the top surface of your model. Once positioned, click Slice Plate. In the preview screen, you will see a perfect, clean hole carved into your model, ready to receive the magnet.
Advanced Method: Embedding Magnets Inside Your Prints
What if you do not want to see the magnets at all? You can actually pause your 3D printer halfway through a print, drop the magnets into internal cavities, and print right over them! This creates a seamless, magic-like closure with completely hidden magnets.
How to Set Up a Print Pause
To do this, position your negative cylinder so it sits completely inside the model, just below the top surface. Ensure there is a thin roof of plastic (at least 0.4mm to 0.8mm thick) over the top of the magnet cavity.
Once sliced, go to the Preview tab. Use the vertical layer slider on the right side of the screen to scroll down through the layers. Find the exact layer right before the printer starts closing the roof over your magnet holes. Right-click on the layer slider bar and select Add Pause.
When you send this print to your Bambu Lab printer, it will automatically pause at this exact height. The toolhead will move out of the way, and the printer will beep. You can then drop your magnets into the cavities and resume the print. Be careful: make sure your extruder head does not have magnetic parts that will pull the magnets out of their holes when printing resumes! If your extruder is magnetic, secure the magnets with a tiny drop of fast-drying glue during the pause.
Best Practices for Magnet Placement and Gluing
When figuring out how to add magnet holes in Bambu Studio, getting the digital side right is only half the battle. You also have to handle the physical assembly correctly. Many makers run into issues where their magnets pull loose or refuse to stick together. For deep-dive discussions on troubleshooting these physical steps, check out this thread on securing magnets in 3D prints.
Tips for Flawless Magnet Assembly
- Use Super Glue (CA Glue): Standard super glue works incredibly well for bonding neodymium magnets to PLA, PETG, and ABS. Just a tiny drop is all you need.
- Scrape the Magnet: Smooth metal does not stick well to plastic. Use a bit of sandpaper to scratch the surface of your magnet before gluing. This gives the glue a rough texture to grab onto.
- Double-Check Your Polarity: There is nothing worse than gluing two magnets in, only to find out they repel each other. Mark one side of your magnets with a sharpie before assembly. Always test the attraction before the glue dries!
- Mind the Walls: Do not place magnet holes too close to the outer edges of your model. Ensure there is at least 1.2mm (about 3 perimeters) of solid plastic wall surrounding your magnet hole to prevent the plastic from cracking under magnetic force.
Special Case: Adding Magnets to Hollow Prints
If you are printing large figurines or hollow decorative boxes, you might run into issues with infill. If you cut a negative shape into a hollow print, the hole might open up into the messy, empty interior grid of your model. There will be no solid bottom for your magnet to rest on.
To solve this, you need to use “Modifiers” instead of simple negative parts. A modifier allows you to change the infill settings of a specific area. You can place a solid cylinder modifier exactly where your magnet will go and set its infill to 100%. This creates a solid block of plastic inside your hollow model where you can safely cut your magnet hole. For detailed community workarounds on this exact scenario, read this guide on adding magnet holes to a hollow print.
Conclusion
Learning how to add magnet holes in Bambu Studio opens up a world of functional 3D printing. Whether you are building clever storage boxes, modular gaming terrain, or cool mechanical toys, magnets add a professional touch that glue or plastic latches cannot match. By mastering the “Negative Part” tool and adjusting your print settings for tolerances, you can turn any static model into an interactive masterpiece. Fire up Bambu Studio, grab your calipers, and start adding some magnetic magic to your next project!
Frequently Asked Questions
How do I make a square magnet hole in Bambu Studio?
To make a square hole, right-click your model and select “Add Negative Part” then choose “Box”. You can then use the Scale tool to input the exact dimensions of your square or rectangular magnet plus a small tolerance.
Can the magnetic print bed pull magnets out during a paused print?
Yes, if you are embedding magnets, the magnetic forces from the print bed or the metal components inside the toolhead can pull the magnets out of their slots. To prevent this, secure the magnets with a tiny drop of superglue or cover them with a piece of tape during the pause.
Why does my negative part look solid in Bambu Studio?
In the main design view, negative parts appear as semi-transparent red shapes so you can see where they are positioned. Once you click “Slice Plate” and switch to the Preview tab, you will see them as actual hollow holes cut out of your model.
What happens if I forget to uncheck Uniform Scale?
If Uniform Scale is checked, changing the width of your cylinder will automatically change its height proportionally. Unchecking it allows you to set the diameter (X and Y) to match your magnet’s width while keeping the depth (Z) exactly at your desired magnet thickness.
Is it better to glue magnets or press-fit them?
Gluing is generally safer for long-term use because plastic can warp or stretch over time, causing press-fit magnets to pop out. However, a tight press-fit can work well for temporary models or low-stress parts.
Can I copy and paste magnet holes to make multiple slots?
Yes, once you have created and scaled your negative cylinder to the perfect dimensions, you can select it, copy it (Ctrl+C), and paste it (Ctrl+V) to quickly create duplicate magnet holes across your model.
