


Adding magnet holes to your 3D models in Bambu Studio is incredibly easy using the Negative Part tool. By right-clicking your model, adding a negative cylinder, and setting it to match your magnet’s dimensions plus a tiny tolerance, you can create precise slots directly in the slicer. This process saves you from having to edit your original CAD files.
Imagine this scenario. You just found the perfect 3D model online. It is a neat organizer tray for your desk, and you want to make it modular. You want it to snap to other trays using small magnets. But there is a catch. The original designer did not include any magnet holes. Now what?
In the early days of 3D printing, you had only one path. You had to load the file into a CAD program. You had to learn how to edit complex meshes. For many makers, this felt like hitting a brick wall. It was frustrating, and it took way too much time. You just wanted a simple hole, not a degree in 3D modeling.
Thankfully, modern slicers have evolved. You do not need to be a CAD expert anymore. Today, we will explore How to Add Magnet Holes in Bambu Studio? without ever leaving your slicer. We will cover everything from simple surface holes to hidden, embedded magnets. You will learn the exact steps, tips for perfect fitment, and how to avoid common mistakes along the way.
Key Takeaways
- No CAD Needed: You can add precise magnet holes directly in Bambu Studio without using external CAD programs.
- The Negative Part Tool: This built-in tool acts like a digital drill to subtract geometry from your 3D models.
- Mind the Tolerances: Always add 0.1mm to 0.2mm to your magnet’s diameter to ensure a snug, comfortable fit.
- Hidden Magnets: You can pause your print at a specific layer to insert magnets for a completely seamless look.
- Prevent Collisions: Use superglue when embedding magnets so they do not jump out and hit the printer nozzle.
Quick Answers to Common Questions
Can I add square magnet holes in Bambu Studio?
Yes, you can. Instead of choosing a cylinder, select a cube as your negative part and scale it to your square magnet’s size.
What tolerance should I use for magnet holes?
It is best to add 0.1mm to 0.2mm to the diameter of your magnet for a snug fit. This accounts for minor plastic shrinkage as your print cools.
Will the printer nozzle hit the magnet if I embed it?
No, as long as the magnet sits flush or slightly below the current print layer. Make sure the magnet is secure so it does not lift up and strike the nozzle.
How do I stop magnets from jumping out of the print bed?
You can use a tiny drop of superglue in the pocket before dropping the magnet in. This holds it secure against magnetic pull from the heated bed.
Can I add magnet holes to a hollow STL file?
Yes, but you may need to repair the model first. Use the built-in repair tool in Bambu Studio to prevent slicing errors on hollow models.
📑 Table of Contents
Understanding Negative Parts in Bambu Studio
Before we jump into the steps, let us talk about how Bambu Studio modifies models. It uses a very clever tool called “Negative Parts.” This feature is like a digital cookie cutter for your 3D prints.
What is a Negative Part?
A negative part is a shape that tells the slicer to subtract volume. Instead of adding plastic, it removes it. If you place a negative cylinder inside a solid cube, the slicer cuts a hole. The printer will print a hollow tunnel in that exact spot.
You can use many shapes for negative parts. Bambu Studio offers cubes, cylinders, spheres, and even custom STLs. For magnets, cylinders are your best friend. Most hobby magnets are round discs, so a cylinder fits them perfectly.
Why Use Slicer-Level Holes Instead of CAD?
Why not just edit the file in Fusion 360? First, CAD software has a steep learning curve. It takes time to import, convert, and edit meshes. Second, slicers are much faster. You can make changes in seconds.
If you want to try this out, you can check this helpful Bambu Studio magnet holes tutorial. It shows how easy it is to customize prints. Editing in the slicer also keeps your original files clean. You can change hole sizes on the fly if you buy different magnets later.
Step-by-Step Guide to Adding Magnet Holes
Ready to make your first hole? Grab your model and follow these simple steps.
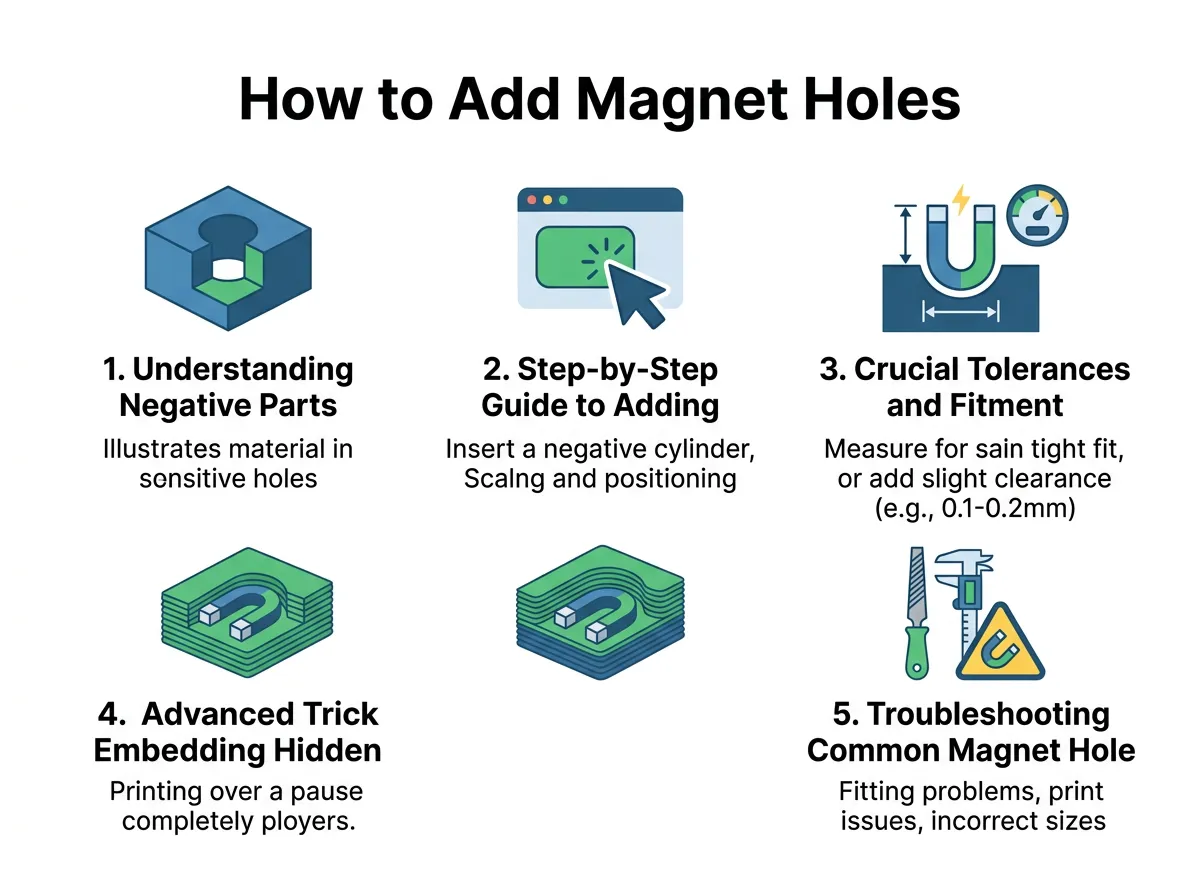
How to Add Magnet Holes in Bambu Studio? — key points at a glance
Step 1: Import Your Model
Open Bambu Studio. Drag and drop your STL or 3MF file onto the virtual build plate. Click on the model to select it. It should highlight in blue or green to show it is active.
Step 2: Add a Negative Cylinder
Right-click on your model. A drop-down menu will appear. Move your mouse to “Add Negative Part.” Click on “Cylinder.” A translucent gray cylinder will appear on your model. This gray shape represents the space that will be cut out.
Step 3: Scale to Match Your Magnet
By default, the negative cylinder might be too large. You need to resize it. Look at your physical magnet dimensions. Let us say you have a magnet that is 6mm wide and 2mm thick.
Click on the negative cylinder. Go to the Scale tool on the top menu bar. Make sure you unlock the uniform scale option. This is the little lock icon. Set the X and Y dimensions to match your magnet diameter. Set the Z dimension to match the depth. You can learn more about how users manage these shapes in this Bambu Lab forum thread on negative parts.
Step 4: Position the Hole
Use the Move tool to place the cylinder. You can drag it manually. If you need precise placement, use the coordinate input box on the left. Move it so it sits exactly where you want the magnet. You can even check the layer preview to make sure it cuts through the right walls.
Crucial Tolerances and Fitment Tips
Here is a common issue. You print a perfect 6mm hole. You try to push your 6mm magnet in. It does not fit. Why does this happen?
The Golden Rule of Tolerances
Plastic shrinks as it cools. Also, 3D printers are not always 100% accurate. This means you need a tiny tolerance gap.
For a snug fit, add 0.1mm to 0.2mm to the diameter of your hole. For example, if your magnet is 6mm wide, set your negative cylinder to 6.2mm. If you want a loose fit so you can easily apply glue, add 0.3mm. This keeps your print from cracking under pressure.
Testing with Test Prints
Do not print a huge 20-hour model without testing first. Print a small test block. Put three or four different hole sizes in it. Try 6.1mm, 6.2mm, and 6.3mm. See which one fits your magnet best. This saves a lot of plastic and time.
Advanced Trick: Embedding Hidden Magnets
Do you want a sleek, professional look? You can hide magnets inside your prints. This means they are completely invisible from the outside.
Pausing the Print
To hide a magnet, you must place it inside the print while it is printing.
First, place your negative cylinder inside the model. Make sure it does not break through the top surface. Slice your model. Now, go to the Preview tab. Slide the layer bar down. Find the exact layer right before the hole gets covered by the next solid layer. Right-click the layer slider and select “Add Pause.” When you print, the machine will stop at this layer. It will beep and move the toolhead away.
Avoiding Nozzle Collisions
Drop your magnet into the hole. Be careful! Magnets are attracted to the metal parts of your printer. If your print bed is magnetic, the magnet might jump out of the hole and stick to the nozzle.
Use a tiny drop of glue to keep it in place. You can learn more about securing these parts in this thread on gluing magnets into 3D prints. Once the magnet is secure, resume the print. The printer will lay down plastic right over the magnet, sealing it inside forever.
Troubleshooting Common Magnet Hole Issues
Sometimes things do not go as planned. Let us look at how to fix common errors.
Dealing with Loose Magnets
If your magnet falls out, do not panic. You can use superglue or hot glue to secure it. If you want a clean mechanical fit next time, reprint with a slightly smaller tolerance. Some makers use a soldering iron to gently heat the magnet and press it into a tight hole. But be careful. High heat can ruin a magnet’s magnetic force permanently.
Slicing Errors on Hollow Parts
Are you printing a hollow model? Adding a negative part to a hollow print can sometimes cause slicing issues. The slicer might get confused about what is inside and what is outside.
If you encounter this, check out this community chat on adding holes to hollow models discussion. Often, repairing the model mesh in Bambu Studio before adding the negative part solves the issue instantly.
Conclusion
Learning how to Add Magnet Holes in Bambu Studio? is a total game-changer. It opens up a whole new world of functional 3D prints. You can make magnetic chess sets, modular storage boxes, or wall mounts. The Negative Part tool is easy to use, fast, and highly flexible.
Remember to always test your tolerances. A small test print today saves a lot of wasted filament tomorrow. Now, open up Bambu Studio, grab some magnets, and start creating amazing functional designs!
Frequently Asked Questions
What shape is best for negative parts?
A cylinder shape is best for standard round disc magnets. If you use block or bar magnets, use a cube shape instead.
Can I lose magnetic strength when embedding magnets?
Yes, heat can weaken magnets. Keep your print bed temperature below 60 degrees Celsius for neodymium magnets, or use a quick drop-in method during a print pause.
Do I need to glue embedded magnets?
It is highly recommended to use a small dab of superglue. This prevents the magnet from sticking to the extruder nozzle or jumping out due to the magnetic bed.
Is it possible to edit magnet holes after slicing?
No, once the file is sliced, the paths are set. You must return to the prepare tab, adjust your negative parts, and slice the file again.
Why is my negative part not cutting a hole?
Make sure you selected “Negative Part” and not “Generic Part” from the menu. Also, ensure the negative part actually intersects with the solid model mesh.
Does Bambu Studio support custom shaped magnet holes?
Yes, you can import any custom STL file as a negative part. This is perfect if you are using non-standard or custom-shaped magnets in your design.
