


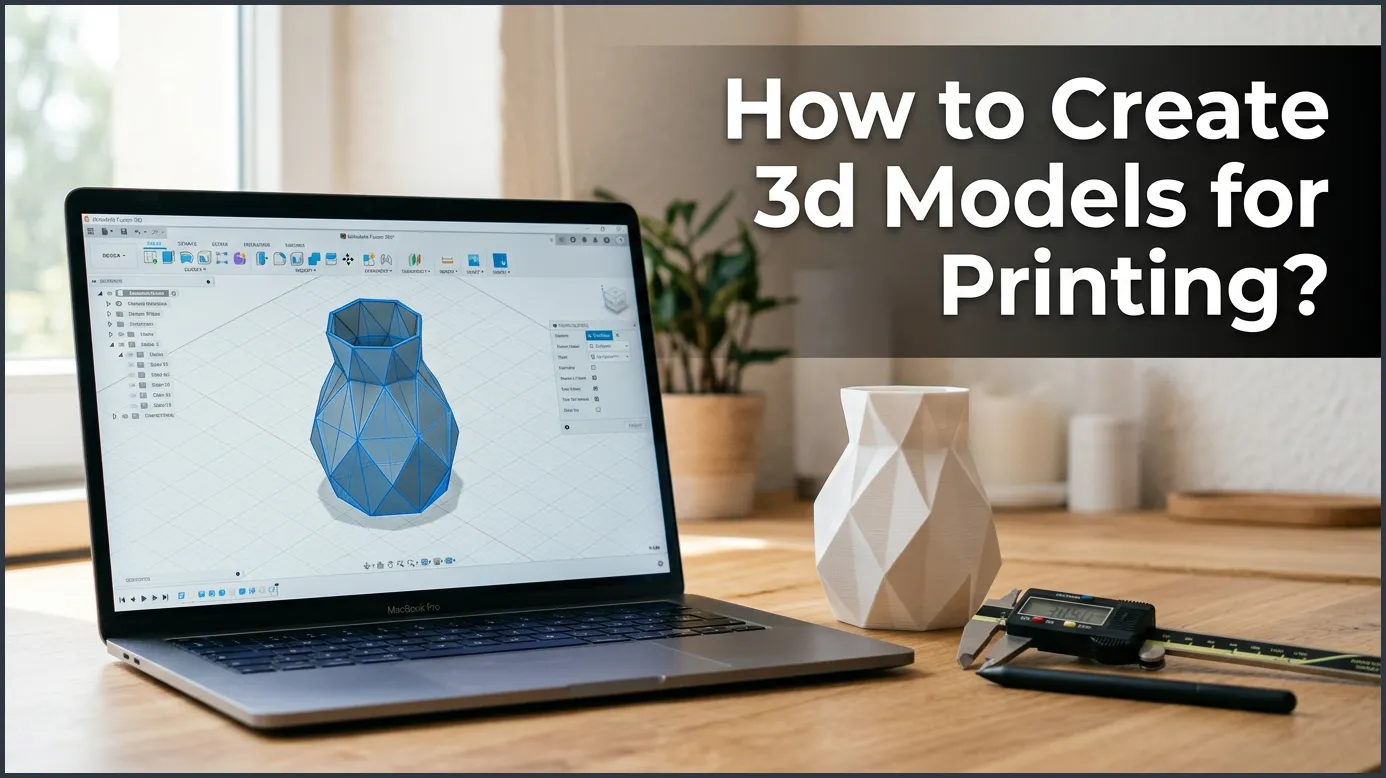
Creating 3D models for printing involves choosing the right software, designing with 3D print limitations in mind, and exporting the file in a format like STL or OBJ. By mastering basic shapes and rules like wall thickness, you can easily turn your ideas into physical objects.
Imagine looking at a blank screen. Then, just hours later, you hold a real, physical object in your hand. You designed it yourself. This is the magic of 3D printing. But before you can print, you need a digital design. If you want to know How to Create 3D Models for Printing?, you might feel a bit lost at first. There are so many programs and rules to learn.
Do not worry. Learning How to Create 3D Models for Printing? is much easier than it looks. You do not need to be an engineer or a professional artist to start. In this guide, we will break down the whole process into easy, simple steps that anyone can follow.
Key Takeaways
- Choose the right software: Pick your tool based on your project, like CAD for functional parts or sculpting software for art.
- Mind the wall thickness: Ensure walls are thick enough to support themselves during printing.
- Avoid steep overhangs: Keep angles under 45 degrees or plan to use support structures.
- Make it watertight: Ensure your 3D mesh is fully closed with no holes.
- Export correctly: Save your final design in standard formats like STL, OBJ, or 3MF.
Quick Answers to Common Questions
What is the easiest free software for 3D modeling?
Tinkercad is the easiest free software for beginners because it uses simple drag-and-drop shapes. It runs directly in your web browser with no download needed.
Can I use Blender to make models for 3D printing?
Yes, Blender is an excellent free tool for creating artistic and organic 3D models. You just need to ensure your finished models are exported as watertight STL files.
What file format do I need for 3D printing?
The most common file formats for 3D printing are STL, OBJ, and 3MF. These files are then imported into a slicing software to prepare them for the printer.
What is a manifold or watertight model?
A watertight model is a solid 3D shape that has no gaps, holes, or missing faces in its outer shell. This ensures the 3D printer can read the shape correctly without errors.
Do I need to be good at drawing to design 3D models?
No, you do not need drawing skills because solid modeling uses simple pre-made geometric shapes. You just need to learn how to combine and resize these shapes digitally.
📑 Table of Contents
The Two Main Ways to Design
Choosing the correct approach is the first step in learning How to Create 3D Models for Printing?. When you start learning How to Create 3D Models for Printing?, you will see two main design styles. Each style fits a different kind of project.
Solid Modeling for Functional Parts
Solid modeling is like building with digital blocks. You use exact measurements to make parts. If you want to fix a broken bracket or make a custom phone stand, this is the method for you. It uses geometric shapes like cubes, spheres, and cylinders. You can add or subtract these shapes to build your object.
Organic Sculpting for Art
Sculpting is like working with digital clay. You push, pull, and stretch the material to make shapes. This is the best way to make characters, monsters, or organic shapes. When people ask How to Create 3D Models for Printing? for miniature gaming, they usually mean digital sculpting. It requires more artistic skill but lets you make beautiful, detailed designs.
Finding the Right Software
To begin, you need the right tool. Many people ask about How to Create 3D Models for Printing? with free software. The software you choose depends on your skill level and what you want to make.
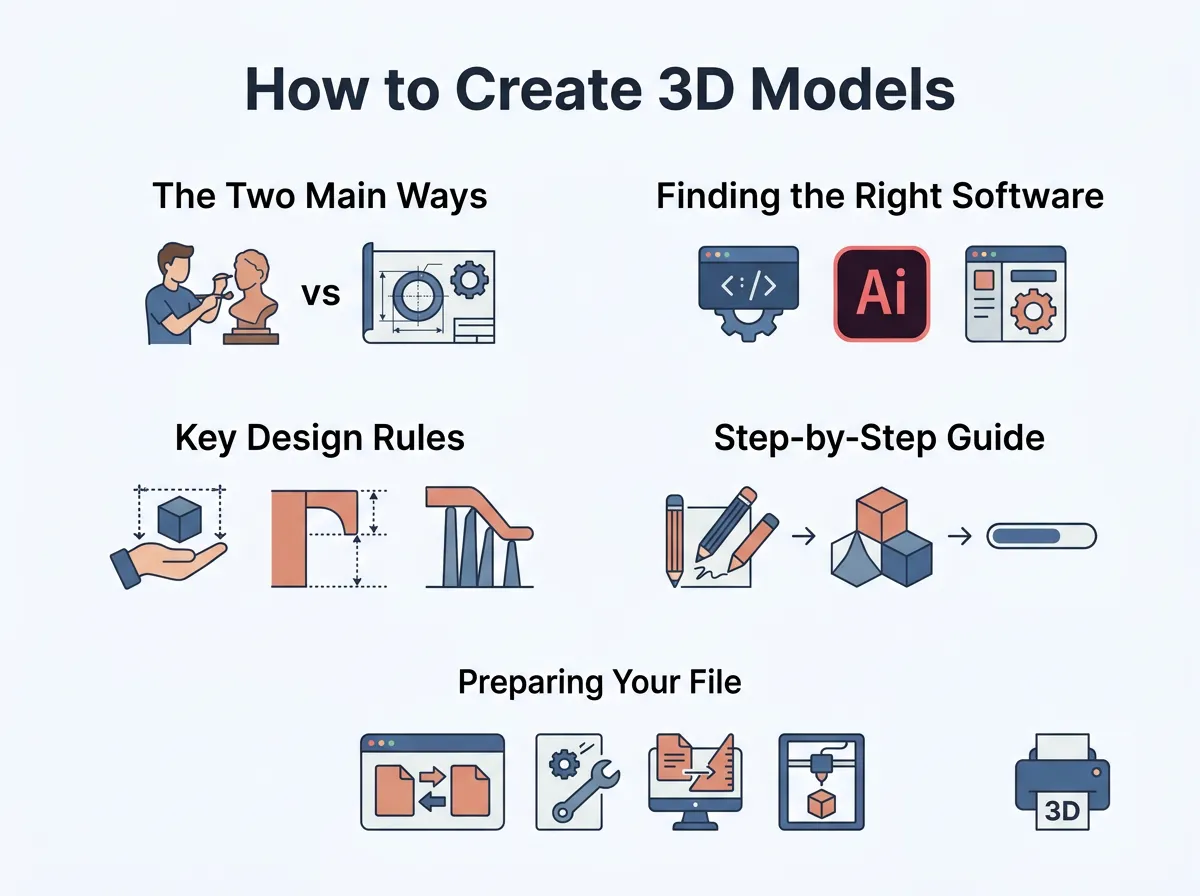
How to Create 3D Models for Printing? — key points at a glance
Tinkercad: Best for Complete Beginners
If you are wondering How to Create 3D Models for Printing? without spending hours learning complex tools, start here. You can use the free Tinkercad 3D design software directly in your web browser. It uses basic shapes that you drag and drop. It is perfect for kids and adults who want to learn the basics fast.
Fusion 360: Best for Engineering
For functional parts, Fusion 360 is a fantastic choice. It is a powerful CAD tool. It lets you create highly precise parts with exact measurements. Once you learn the basics, you will see how easy it is to make custom gears, brackets, and boxes.
Blender: Best for Artistic Designs
Blender is free and open-source. It is famous for its powerful sculpting tools. It has a steep learning curve. However, if you want to know How to Create 3D Models for Printing? like action figures or fantasy monsters, Blender is the ultimate tool.
Key Design Rules for Success
Designing for a screen is different from designing for the physical world. Gravity and plastic behave in specific ways. You must keep these rules in mind when learning How to Create 3D Models for Printing?.
Make Sure Your Walls Are Thick Enough
If your model has walls that are too thin, they will break easily. Sometimes, they will not even print at all. Always check your slicer settings. Make sure your model walls are thicker than your printer’s nozzle size. A safe wall thickness is usually at least 1.2 to 2 millimeters.
Understand Overhangs and Angles
3D printers build objects layer by layer from the bottom up. They cannot print in thin air. If your model has a part that sticks out at a sharp angle, it might droop. A good rule of thumb is the 45-degree rule. Any angle steeper than 45 degrees will need extra support structures. You can read more about these critical design limits in this helpful modeling for 3D printing guide.
Ensure Your Model Is Watertight
A watertight model has no holes in its outer shell. In the 3D world, this is called manifold geometry. If your model has gaps, the printer will get confused. It will not know what is inside and what is outside. Most software tools have a button to check and fix these gaps automatically.
Step-by-Step Guide to Your First Model
This step is crucial when figuring out How to Create 3D Models for Printing? because it saves time. Let us look at a simple workflow. This will show you How to Create 3D Models for Printing? from scratch.
Step 1: Sketch Your Idea on Paper
Do not start with the software right away. Grab a pencil and paper. Sketch your idea from the top, front, and side. Write down the main measurements. Having a plan makes the digital work much faster and less frustrating.
Step 2: Create the Base Shapes
Open your software. Start with basic shapes. If you are making a coffee mug, start with a cylinder. If you are making a toy car, start with a box. Do not worry about details yet. Just get the overall size and shape right on your screen.
Step 3: Cut Away and Combine
Now, use subtraction and addition tools. To make the hole in your mug, place a smaller cylinder inside the big one and subtract it. To make a handle, merge a ring shape with the side of the cylinder. According to the Creality 3D printing design steps, keeping your shapes grouped correctly makes edits much easier.
Step 4: Add the Details
Once the main structure is solid, you can add details. Round off sharp edges using the fillet tool. This makes the object feel nicer to hold. It also makes the final print stronger. Sharp corners can concentrate stress and lead to cracks.
Preparing Your File for the Printer
You must complete this step to truly understand How to Create 3D Models for Printing?. Once you finish your model, you cannot just send it directly to the printer. You must prepare it first. This is a vital part of learning How to Create 3D Models for Printing?.
Export as an STL or OBJ File
You need to save your work in a format that printer software can read. The most common format is STL. Another good option is OBJ, which can save color data. More modern users prefer 3MF files because they hold more detailed data in a smaller file size.
Use a Slicing Software
Next, import your file into a slicer program like Cura or PrusaSlicer. The slicer cuts your 3D model into thin horizontal layers. It turns the model into G-code, which is a list of commands for your printer. The G-code tells the printer exactly where to move, how fast to go, and how much plastic to melt.
Common Mistakes and How to Avoid Them
Even experienced designers make mistakes. If you want to master How to Create 3D Models for Printing?, watch out for these traps.
Ignoring Tolerances for Moving Parts
If you are making two parts that fit together, they cannot be the exact same size. Plastic expands slightly when it melts. If you design a 10mm peg to fit into a 10mm hole, they will stick. Always leave a small gap. A tolerance of 0.2mm to 0.4mm is usually perfect for a snug fit.
Designing Flat Bottoms with Sharp Edges
If your model has a large flat base, it can warp. As the hot plastic cools down, it shrinks. This shrinkage can pull the corners of your model up off the print bed. To prevent this, round off the bottom edges slightly or use a brim in your slicer settings.
Conclusion
Learning How to Create 3D Models for Printing? opens up a world of endless creativity. It turns your 3D printer from a toy that prints online files into a powerful tool for creation. Start with small, simple shapes in Tinkercad. Do not be afraid to make mistakes. Each failed print is just a lesson that helps you get better. Grab your digital tools and start designing today!
Frequently Asked Questions
How long does it take to learn how to create 3D models?
You can learn the basics of simple tools like Tinkercad in just a single afternoon. However, mastering advanced CAD tools or artistic sculpting software like Blender can take several months of regular practice.
Why is my 3D model failing to print?
Prints often fail due to issues like too-thin walls, lack of support structures for steep angles, or not having a flat base. Make sure your model is watertight and has enough surface area touching the print bed.
Is there free software available for 3D design?
Yes, there are many excellent free software options available. Tinkercad is great for absolute beginners, Blender is perfect for artistic sculpting, and Fusion 360 offers a free personal use license for functional designs.
What is the difference between CAD and sculpting?
CAD software uses precise mathematical measurements to build functional parts with geometric shapes. Sculpting software acts like digital clay, allowing you to pull and push shapes to create organic forms like characters.
Do I need a powerful computer for 3D modeling?
Simple programs like Tinkercad can run easily on any basic computer or tablet. However, complex sculpting in Blender or advanced designs in Fusion 360 will perform much better on a computer with a dedicated graphics card and extra RAM.
What is a tolerance in 3D design?
Tolerance is the tiny intentional gap left between two connecting parts to ensure they fit together in real life. Because plastic expands slightly during printing, leaving a tolerance of 0.2mm to 0.4mm prevents parts from fusing together.
