


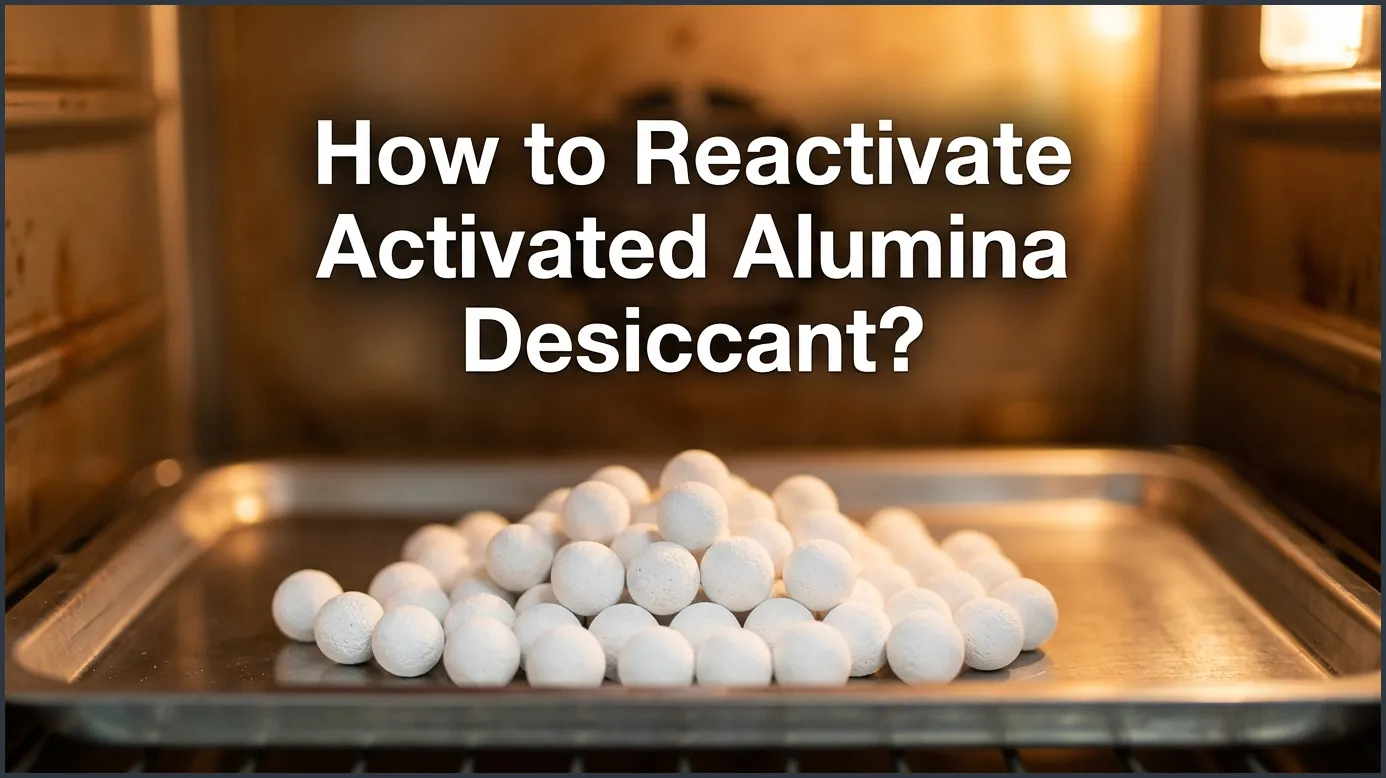
To reactivate activated alumina desiccant, heat the saturated beads in an oven at 350°F to 480°F (175°C to 250°C) for 3 to 6 hours. This heat releases the trapped moisture. Once heated, cool the beads in an airtight container to prevent them from absorbing new moisture.
Imagine opening your storage tub only to find your precious camera gear, 3D printing filament, or valuable tools covered in mold. Moisture is a silent enemy. It sneaks into tight spaces and ruins sensitive items before you even notice. Thankfully, we have a secret weapon to protect our things: activated alumina desiccant. These small, white beads act like tiny magnets for moisture, keeping your storage spaces dry and safe.
But what happens when these beads absorb all the water they can hold? They stop working. Many people throw them away at this stage, thinking they are useless. That is a huge waste of money and resources. The good news is that you can easily restore these beads at home. By learning how to refresh them, you will succeed in winning the war against moisture without constantly buying new supplies.
In this guide, we will walk you through the entire process. You will learn the exact steps to heat, cool, and store your beads. We will also share important safety tips so you do not damage your oven or the desiccant itself. Let us dive in and learn how to make your moisture absorbers work like new again!
Key Takeaways
- Use the right temperature: Keep the heat between 350°F and 480°F to dry the beads safely.
- Avoid overheating: Never go above 500°F, or you might damage the physical structure of the beads forever.
- Cool in a sealed container: Hot desiccant grabs moisture quickly, so cool it in an airtight glass jar.
- Save money: Reactivating your desiccant beads reduces waste and cuts down on replacement costs.
- Use safe tools: Use metal trays and glass containers instead of plastic to handle the high heat safely.
Quick Answers to Common Questions
What temperature is needed to reactivate activated alumina?
You should heat the beads to a temperature between 350°F and 480°F (175°C to 250°C) for safe reactivation.
How long does it take to bake activated alumina desiccant?
It typically takes between 3 to 6 hours in the oven to drive off all the trapped moisture.
Can I reactivate alumina beads in a microwave?
No, you should not use a microwave because it can cause uneven heating and physically crack the beads.
How should I cool the beads after baking?
Cool the hot beads inside a sealed, airtight glass container so they do not absorb moisture from the surrounding air.
How many times can you reuse activated alumina?
With careful heating below 500°F, you can successfully reactivate and reuse the beads dozens of times.
📑 Table of Contents
What is Activated Alumina and How Does It Work?
Before we jump into the heating process, let us look at what makes this material so special. Activated alumina is made from aluminum oxide. It is highly porous, meaning it is filled with tiny, microscopic tunnels. These tunnels create a massive surface area. In fact, just one gram of this material can have a surface area of hundreds of square meters!
The Power of Adsorption
Unlike a sponge that absorbs water into its body, activated alumina uses a process called adsorption. During adsorption, water molecules stick to the surface of the pores. They do not sink inside the material. Because the water stays on the surface, we can easily strip it away with heat. This unique physical bond is what makes reactivation possible.
Why Choose Activated Alumina Over Silica Gel?
You might wonder why people choose alumina over common silica gel. Alumina is much tougher. It handles physical wear and tear very well. It does not break down or turn to dust easily. If you love DIY desiccant projects, you already know that durability is key. Alumina also performs exceptionally well in high-humidity environments and can withstand higher temperatures than silica gel during reactivation.
Why You Should Reactivate Your Desiccant
Reusing your items is always a smart choice. When you reactivate activated alumina desiccant, you get several direct benefits. First, it is great for your wallet. Buying fresh desiccant every few months adds up. Reheating them costs pennies in electricity or gas.
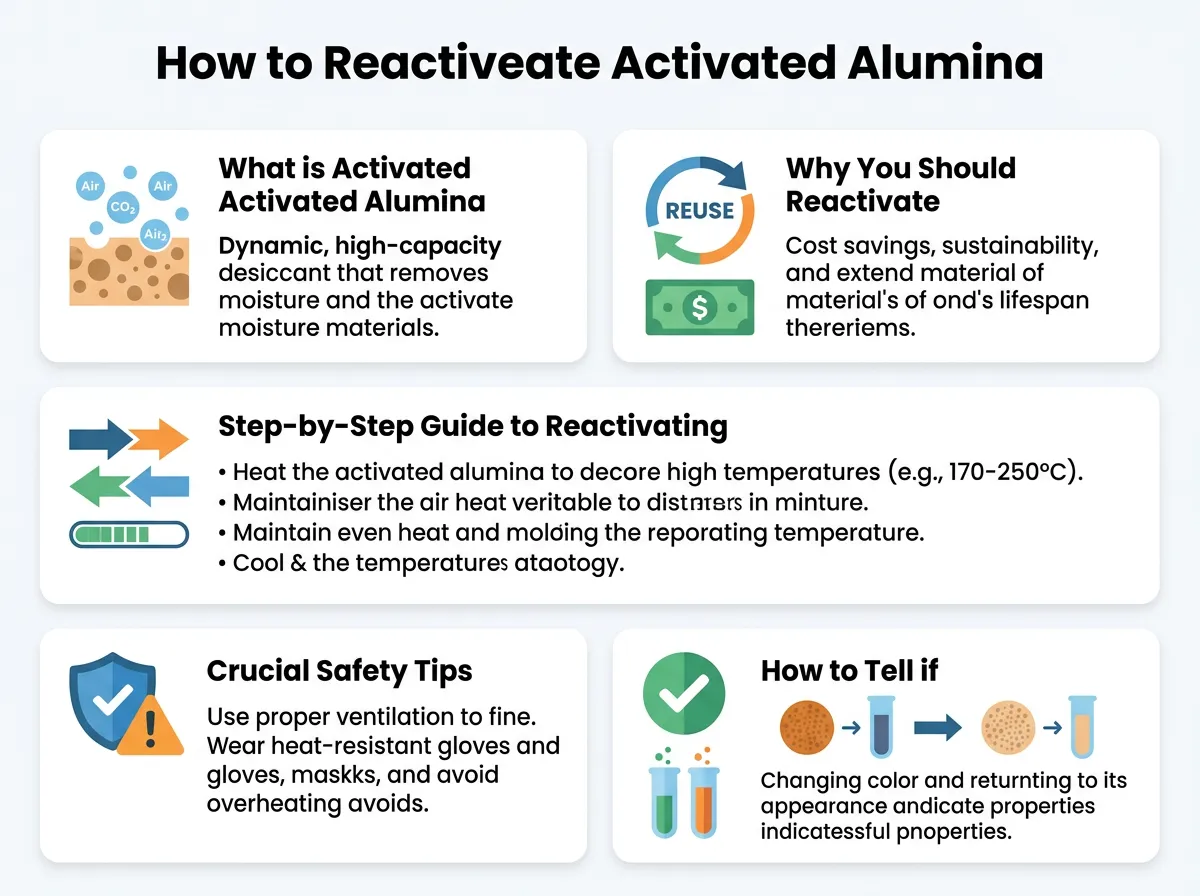
How to Reactiveate Activated Alumina Desiccant? — key points at a glance
Saving Money and Reducing Waste
In our modern world, we throw away too many things. Reactivating your desiccant keeps plastic packaging and spent beads out of landfills. A single batch of high-quality alumina can be reused dozens of times before it loses its strength. It is a simple way to practice sustainability in your daily life.
Industrial vs. Home Use Benefits
While home users love saving money, industries rely on reactivation to keep operating costs low. Large factories use massive amounts of alumina to dry compressed air and gases. For deep industrial details, you can consult this complete guide on how to regenerate activated alumina. Whether you are drying a closet or running a factory, the basic science remains the same.
Step-by-Step Guide to Reactivating Activated Alumina
Now, let us get to the core of the matter. Reactivating your beads is a simple process, but it requires care. Follow these clear steps to get the best results safely.
Step 1: Gathering Your Supplies
First, collect the items you need. You do not need fancy lab gear. Most of these items are already in your kitchen:
- Saturated activated alumina beads.
- A clean, flat metal baking sheet or oven-safe glass dish.
- An oven (a kitchen oven or a toaster oven works great).
- Oven mitts or heat-resistant gloves.
- An airtight glass jar (like a mason jar) with a tight lid.
Step 2: Setting the Right Temperature
Preheat your oven. The ideal temperature range is between 350°F and 480°F (175°C to 250°C). If you set the temperature too low, the water will not escape the pores. If you set it too high, you risk ruining the beads. For a reliable approach, try setting your oven to 400°F (204°C), as described in this practical activated alumina regeneration setup.
Step 3: The Baking Process
Spread the wet beads evenly across your metal baking sheet. Try to keep the layer thin—about half an inch deep is perfect. This ensures that heat reaches every bead evenly. Place the tray in the oven. Let the beads bake for 3 to 6 hours. The exact time depends on how wet the beads were when you started. A three-hour bake is usually plenty for home use.
Step 4: Safe Cooling and Storage
Once the baking time is up, turn off the oven. Put on your oven mitts and carefully remove the tray. Do not leave the beads on the counter to cool openly! If you do, they will instantly start absorbing moisture from the air around them. Instead, pour the hot beads directly into your airtight glass jar and seal the lid tightly. Let them cool inside the closed jar until they reach room temperature.
Crucial Safety Tips and Pitfalls to Avoid
While the process is easy, working with heat always requires caution. Keep these safety tips in mind to protect yourself and your equipment.
The Danger of Overheating
It is tempting to turn the oven up to 600°F to speed up the process. Do not do this! High heat can shrink the pores inside the alumina. Once these pores shrink, the beads can never absorb moisture again. Keep your temperature below 500°F to extend the life of your desiccant.
Managing Dust and Ventilation
Alumina beads can create a small amount of fine dust. Try not to breathe this dust in, as it can irritate your lungs. Pour the beads gently. It is also a good idea to open a window or turn on your kitchen exhaust fan while baking. This clears out any stale moisture and air from the oven.
How to Tell if Your Desiccant is Fully Regenerated
How do you know if your hard work paid off? There are two simple ways to check if your beads are dry and ready for action.
Weight Measurement Test
This is the most accurate method. Before you bake your beads, weigh them on a kitchen scale. Write this number down. After baking and cooling, weigh them again. Dry beads weigh significantly less than wet beads. If the weight stops dropping, you know all the trapped water has evaporated.
Indicator Beads and Color Changes
Some alumina mixtures include a few color-changing indicator beads. These indicators are usually blue when dry and turn pink when wet. If you use these, simply look at the tray. When the pink beads turn bright blue again, your reactivation process is complete.
Conclusion
Reactivating your activated alumina desiccant is a rewarding, simple, and eco-friendly task. With just a standard oven, a glass jar, and a few hours of time, you can restore your beads to peak performance. You will protect your valuable electronics, keep your storage areas fresh, and save hard-earned money. Next time your desiccant gets saturated, do not throw it away. Heat it up, cool it down, and keep winning the war against moisture!
Frequently Asked Questions
How do I know when my activated alumina is fully saturated?
You can tell your desiccant is saturated when it gains weight from moisture or when color-changing indicator beads turn from blue to pink. If your enclosed space starts to feel damp, the beads have likely stopped working.
Can I use a toaster oven to dry my desiccant?
Yes, a toaster oven works wonderfully for smaller batches of beads. Just make sure to monitor the temperature closely so it does not exceed 480°F.
Is the dust from activated alumina harmful?
Alumina dust is not toxic, but it can irritate your nose, throat, and lungs if you breathe it in. It is best to handle the beads in a well-ventilated area and pour them gently.
Why did my alumina beads turn brown after heating?
Beads turn brown if they were contaminated with oil, dust, or organic materials before heating. Always make sure your beads are clean before baking them.
Can I leave the beads in the oven to cool down?
No, leaving them in the oven to cool is a bad idea because they will reabsorb the moisture that was just released into the oven air. Always transfer them to an airtight jar to cool.
What happens if I heat the desiccant above 500 degrees?
Heating above 500°F can damage the microscopic structure of the alumina. This reduces its total surface area, meaning it will never be able to hold as much moisture again.
