


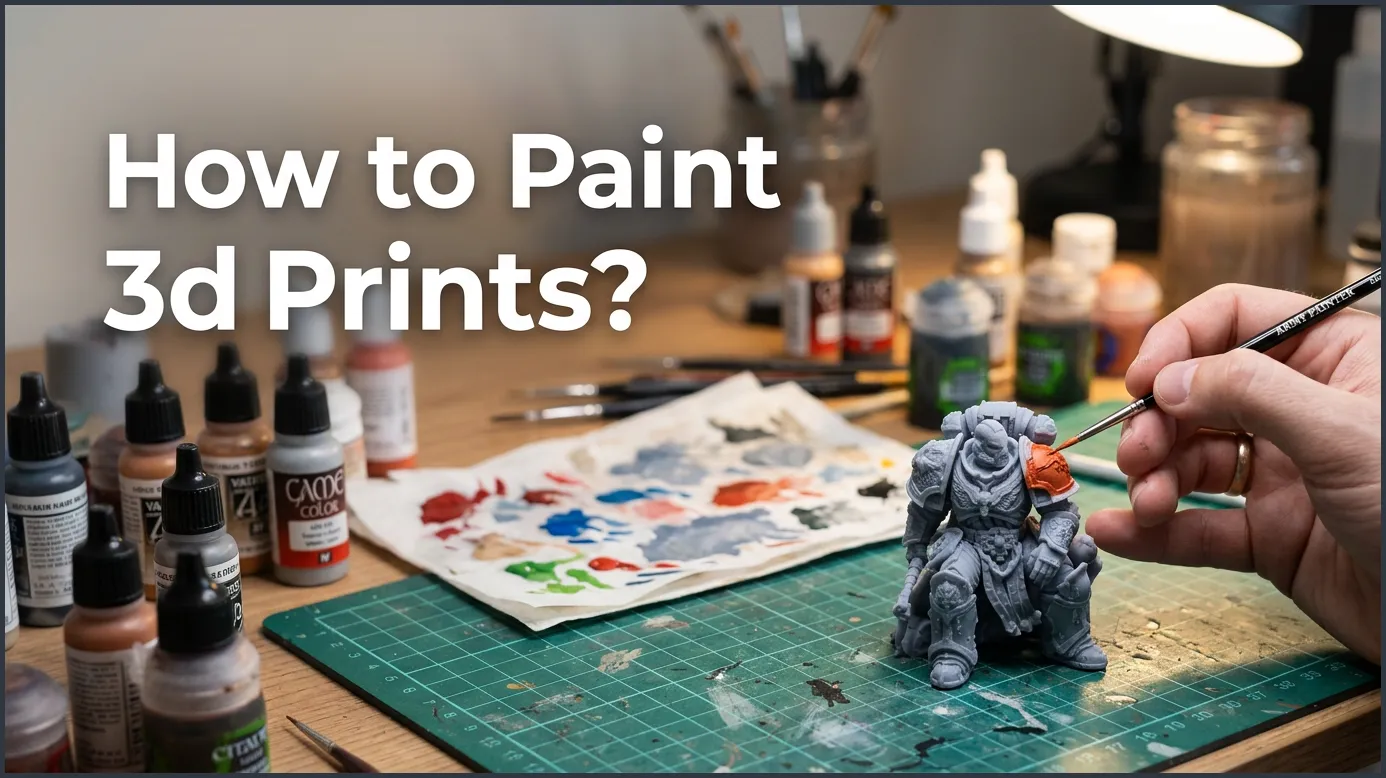
Painting your 3D models is the ultimate way to bring your plastic creations to life. By properly sanding, priming, and applying thin coats of acrylic paint, you can turn a rough print into a gorgeous masterpiece. With a little patience, anyone can master this fun and creative post-processing craft.
Imagine holding a freshly printed 3D model in your hands. You spent hours designing it, watching the printer build it layer by layer. But right now, it is just a solid block of grey or white plastic. It looks neat, but it lacks life. You want it to look like a real movie prop, a sleek prototype, or a vibrant tabletop miniature. How do you bridge that gap?
Learning how to paint 3D prints is the best way to transform raw plastic into a stunning piece of art. Whether you use a budget FDM printer or a high-end resin machine, painting brings out the finest details of your work. It hides those annoying layer lines and lets your creativity run wild. In this guide, we will walk you through the entire process from start to finish.
You do not need to be a professional artist to get amazing results. With the right tools, a bit of patience, and some simple techniques, you can make your prints look spectacular. We will cover preparation, priming, painting, and sealing so you can paint with confidence.
Key Takeaways
- Preparation is key: Sanding your print removes layer lines and makes the surface smooth.
- Always use primer: Primer helps the paint stick to the plastic and reveals hidden flaws.
- Apply thin coats: Multiple light layers of paint look much better than one thick coat.
- Choose acrylics: Acrylic paints are affordable, dry fast, and clean up easily with water.
- Seal your work: A clear topcoat protects your paint job from scratches and fading.
Quick Answers to Common Questions
Can you paint 3D prints without sanding them first?
Yes, but you will see all the layer lines and print imperfections clearly. Sanding is highly recommended for a professional, smooth finish.
What is the best type of paint to use on 3D prints?
Acrylic paint is the best option because it is affordable, dries quickly, and bonds well to primed plastic.
Do I need to use a primer before painting?
Yes, using a primer is crucial because it helps the paint adhere to the plastic and prevents peeling.
Can I use spray paint on 3D prints?
Yes, spray paint is excellent for covering large areas quickly and achieving a smooth finish without brush strokes.
How do I protect my finished paint job from scratching?
Apply a clear protective topcoat, such as a matte or glossy varnish, to seal and protect your painted model.
📑 Table of Contents
1. Gather Your Tools and Materials
Before you touch your print with a brush, you need to set up your workspace. Having the right supplies nearby makes the process smooth and fun. You do not need to spend a fortune, but investing in quality basics will save you from major headaches later on.
Choosing the Right Paint
Acrylic paint is the gold standard for 3D printed models. It is cheap, easy to find, and dries very fast. Best of all, it is water-soluble, which means you can clean your brushes with plain water. You can buy acrylics in small tubes for hand brushing, or use spray cans for larger, even coats. For those who want the absolute best finish, an airbrush is a fantastic tool, though it requires a bit of practice.
Essential Sanding Supplies
You will need various grits of sandpaper. Grab a pack that includes 120, 220, 320, and 400-grit sandpaper. If you want a mirror-smooth finish, you can even go up to 1000-grit or higher. Needle files are also highly useful for reaching into tight corners and small crevices that sandpaper cannot reach.
Safety and Protection
Your health comes first. When you sand plastic, you create tiny particles that you should not breathe in. Always wear a basic dust mask. If you are using spray primers or aerosol paints, make sure you work in a well-ventilated area, like an open garage or outdoors, and wear a respirator mask. For more tips on setting up a safe workspace, you can check out this helpful guide on tips for painting 3D objects before you get started.
2. Preparing the 3D Print (Sanding)
If you want to know how to paint 3D prints and get professional results, here is the golden rule: preparation is 90% of the work. If you paint directly onto raw plastic, every single layer line and print flaw will stand out. Sanding smooths these lines away.
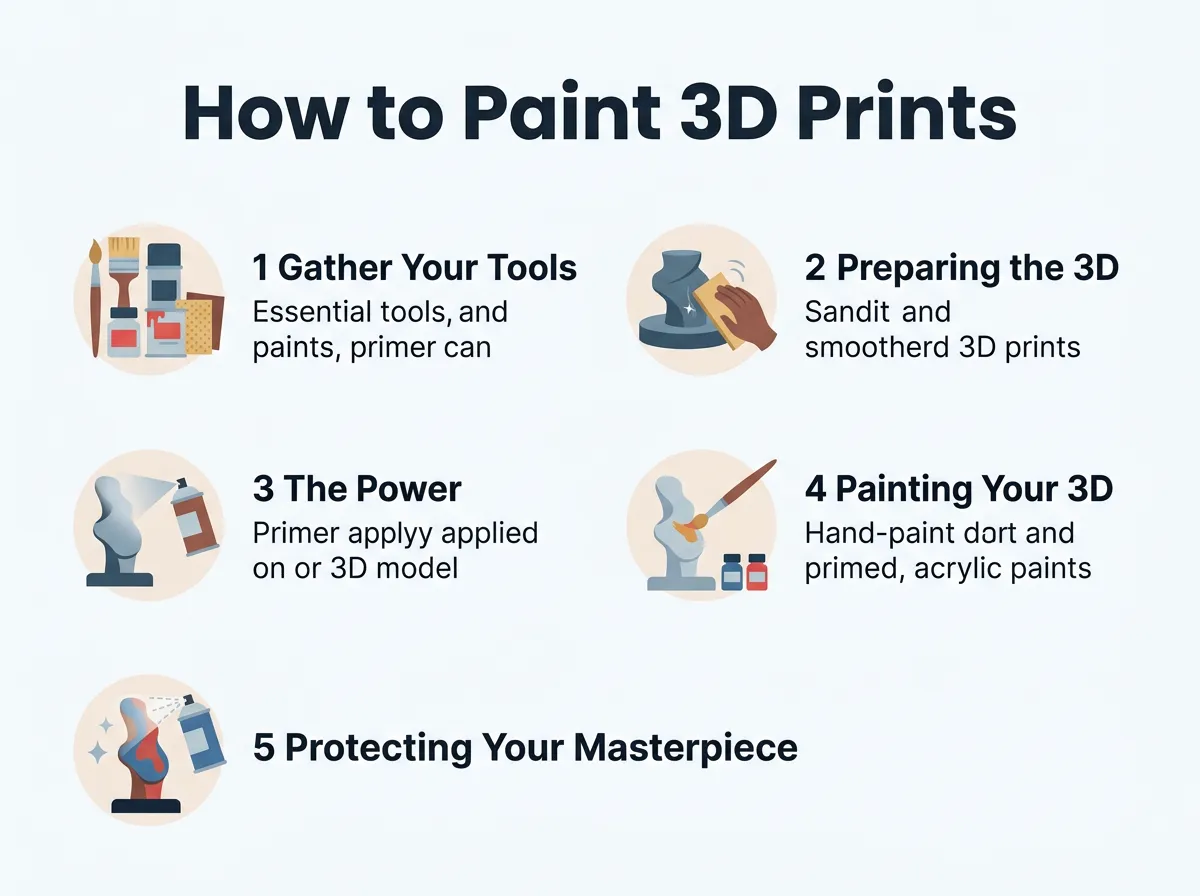
How to Paint 3D Prints? — key points at a glance
Step-by-Step Dry Sanding
Start with your lowest grit sandpaper, like 120-grit. Gently rub the surface of your print in a circular motion. Do not press too hard, or you might melt the plastic from the friction. You will quickly see white dust forming as the high spots wear down. Once the surface feels relatively even, switch to 220-grit, and then to 320-grit. Each step removes the scratches left by the previous sandpaper.
Why Wet Sanding Matters
After dry sanding, it is time for wet sanding. Wetting your sandpaper or print with a little water does two great things. First, it keeps the plastic cool, which prevents melting. Second, it traps the fine dust so it does not float into the air. Use 400-grit or 600-grit wet sandpaper for this step. When you are done, wipe the print with a damp cloth and let it dry completely. It should feel as smooth as a polished stone.
3. The Power of Priming
Never skip the primer. Paint does not like to stick to bare plastic. It will run, pool, or peel off easily if you do not use a base. A good primer acts as a bridge, bonding tightly to the plastic and giving your paint a textured surface to cling to. Priming is a crucial step in the guide on priming and painting prints to ensure longevity and quality.
Choosing Your Primer
For most 3D prints, a “filler primer” is your best friend. Filler primer is slightly thicker than normal spray paint. As you spray it, it fills in any tiny remaining gaps and layer lines. You can find filler primer at any local auto parts or hardware store. Standard plastic primer works well too, especially for highly detailed prints where you do not want to fill in tiny details.
How to Apply Primer
Shake the spray can vigorously for at least a minute. Hold the can about 8 to 12 inches away from the model. Spray in quick, sweeping motions, starting and stopping the spray off the model. Do not hold the spray in one spot, or the primer will run and drip. Apply two or three thin coats, waiting about 15 minutes between each coat. Once dry, look closely at your model. The uniform grey or white primer coat will reveal any remaining imperfections. If you see spots you missed, let it dry, sand those areas again, and re-prime.
4. Painting Your 3D Prints
Now comes the most exciting part. Your model is clean, smooth, primed, and ready for color. This is where your creation truly comes to life. Let us look at the best ways to apply your paint.
Brush Painting Techniques
If you are painting small figurines or detailed models, hand brushing is the way to go. Use high-quality acrylic paints. The secret to a beautiful hand-painted finish is thinning your paint. Dip your brush in a little water before mixing it with paint on your palette. The paint should have the consistency of milk. Apply thin coats. The first coat might look patchy, but do not worry. Two or three thin coats will look incredibly smooth and won’t hide the fine details of your print.
Spray Painting and Airbrushing
For larger models, helmets, or cosplay props, spray paint or an airbrush is the best choice. Spray cans cover large areas quickly and leave no brush strokes. Just like priming, use light, sweeping passes. If you are painting different parts in different colors, use painter’s tape to mask off the areas you do not want to paint yet. Press the tape down firmly along the edges to prevent paint from leaking underneath. If you are working on industrial prototypes or high-use parts, look at professional methods for painting 3D printed parts to get a rugged, durable finish.
Adding Depth with Washes and Dry Brushing
Want to make your model look realistic? Use two easy hobby techniques: washes and dry brushing. A “wash” is highly diluted, dark paint. When you brush it over the model, it runs into the deep cracks and shadows, making the details pop. “Dry brushing” is the opposite. Dip a dry, stiff brush into light paint, then wipe almost all of it off on a paper towel. Gently rub the brush over the raised edges of your print. This catches the high points, making them look highlighted and metallic.
5. Protecting Your Masterpiece
You have spent hours sanding, priming, and painting. The last thing you want is for your hard work to chip or scratch the first time someone touches it. You must seal your model with a clear topcoat.
Choosing a Clear Coat
Clear coats come in three main finishes:
- Matte: Removes all shine. Excellent for skin, clothing, and realistic military models.
- Satin: Gives a soft, semi-shiny look. Great for leather, wood, and general models.
- Glossy: Highly reflective. Perfect for metal armor, glass, visors, and wet-looking surfaces.
Select the spray-on clear coat that fits your design. You can also mix them, using matte on some parts and glossy on others for a dynamic look.
Applying the Final Seal
Apply the clear coat just like you did the primer and spray paint. Spray in light, even coats from a distance. One or two thin layers are usually enough to protect your paint from fingerprints, dust, and light scratches. Let the final coat cure in a dust-free area for at least 24 hours before handling your model.
Conclusion
Learning how to paint 3D prints takes your making skills to a whole new level. It turns simple plastic shapes into professional-looking objects that you can proudly display. While the process requires time and care, the results are highly rewarding. Take your time with the sanding, never skip the primer, paint in thin layers, and seal your finished piece. With these steps, your 3D prints will look like they jumped straight off a retail shelf. Grab your sandpaper, pick up a brush, and start creating today!
Frequently Asked Questions
Is acrylic paint waterproof once it dries?
While dried acrylic paint resists water, it is not completely waterproof and can degrade over time. To make it water-resistant, you should seal it with a waterproof polyurethane clear coat.
How long does it take for the paint to dry?
Acrylic paints typically dry to the touch within 20 to 30 minutes. However, you should wait at least 24 hours for the paint and clear coat to fully cure before handling the model extensively.
Can I paint PLA and ABS plastic with the same paint?
Yes, you can use the same acrylic paints and primers on both PLA and ABS plastics. The preparation steps like sanding and priming remain exactly the same for both materials.
Why is my paint peeling off my 3D print?
Peeling paint is usually caused by skipping the primer step or paint being applied to a dirty, oily surface. Always wash your sanded print to remove dust and hand oils before applying primer.
Can I use an airbrush for painting 3D prints?
Absolutely, an airbrush is one of the best tools for painting 3D prints. It allows for incredibly smooth color transitions, thin coats, and professional shading on miniatures and large models alike.
How do I get paint into tight corners and deep crevices?
Use a small, fine-tipped detail brush with thinned paint to reach tight spaces. You can also apply a dark wash, which will naturally flow into deep crevices and create realistic shadow effects.
