


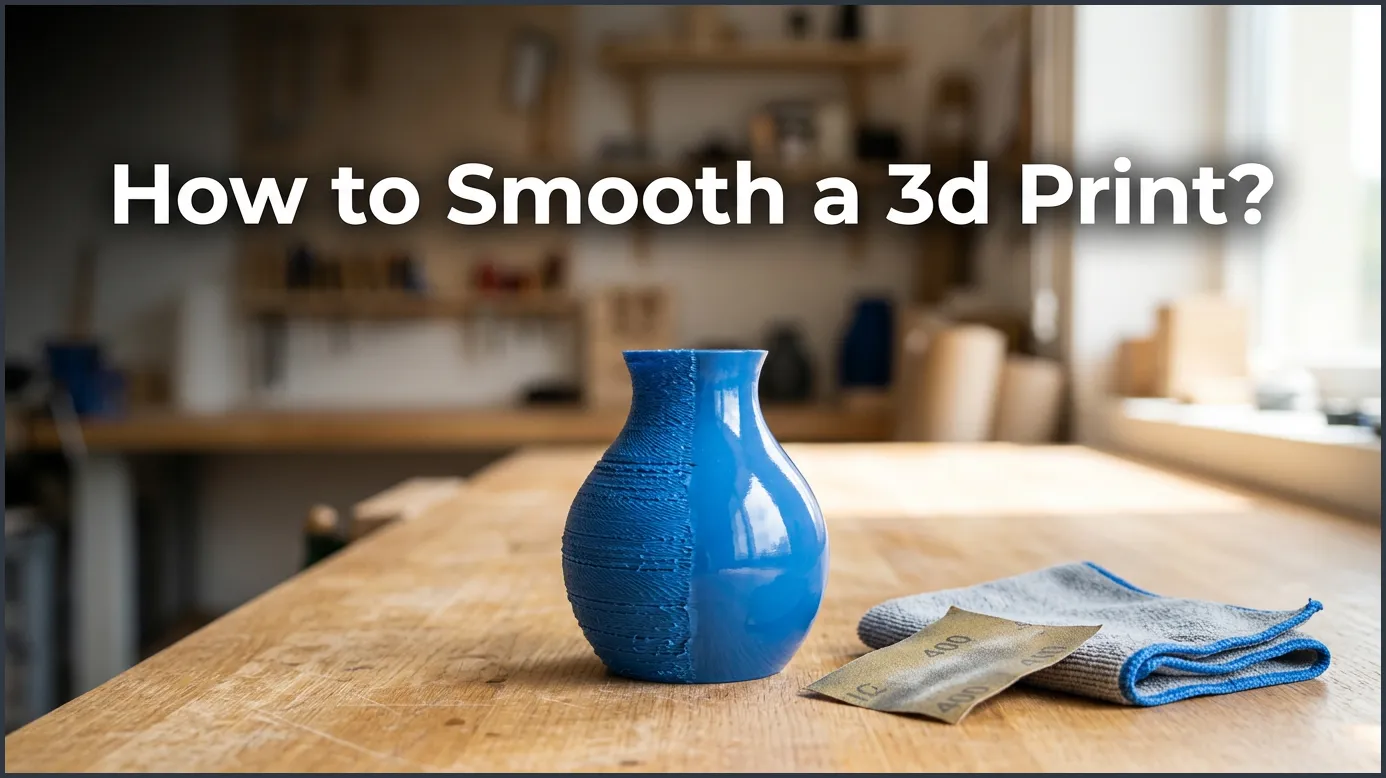
To smooth a 3D print successfully, you can use physical techniques like sanding and polishing, chemical methods like acetone vapor bathing, or surface coatings like epoxy resins. The best approach depends heavily on your filament type, as PLA requires different treatments than ABS or PETG. With the right tools and safety gear, you can easily transform rough layer lines into a professional, glossy finish.
You just finished a long 3D print. It took ten hours. You pull it off the print bed. It looks great, but those tiny layer lines are everywhere. They catch the light. They feel rough to the touch. You want your print to look like a shiny shop product. This is a very common goal for makers.
If you want to know how to smooth a 3D print, you are in the right place. There are many paths to get that perfect, glossy finish. Some ways use manual work. Other ways use chemicals or coatings. This guide will walk you through each method step by step. We will cover the best tools, the safest steps, and the right methods for every type of filament.
Key Takeaways
- Choose by material: Different filaments need different smoothing methods; for example, acetone works great on ABS but will melt PLA.
- Sanding is universal: Wet sanding is the safest and most reliable way to smooth almost any 3D printed plastic.
- Chemicals require care: Chemical smoothing, like vapor polishing, yields high-gloss results but requires excellent ventilation and safety gear.
- Coatings hide lines: Applying an epoxy resin or primer filler is the easiest way to cover layer lines without losing structural detail.
- Safety comes first: Always wear a mask, gloves, and protective eyewear when sanding plastics or handling harsh chemical solvents.
- Patience pays off: Moving slowly through progressively finer sandpaper grits creates the absolute best results.
Quick Answers to Common Questions
Can you smooth PLA with acetone?
No, acetone does not dissolve PLA and will only make your print soft and gummy. You must use other methods like sanding, epoxy coatings, or specific primers for PLA prints.
What is the fastest way to smooth a 3D print?
The fastest way is using a thick spray primer filler combined with quick sanding, or using an acetone vapor bath if you are working with ABS plastic.
Is wet sanding better than dry sanding?
Yes, wet sanding is better because water keeps the plastic cool, prevents melting, and stops harmful plastic dust from flying into the air.
Can you use a hair dryer to smooth a 3D print?
No, a hair dryer does not get hot enough or concentrate the heat well enough to smooth layer lines, so you should use a dedicated heat gun instead.
Does smoothing a 3D print make it weaker?
Sanding can slightly reduce strength by thinning the walls, while coating your print with epoxy resin actually makes it much stronger.
📑 Table of Contents
The Magic of Sanding and Polishing
Sanding is the oldest trick in the book. It is cheap. It works on almost any plastic. You do not need fancy chemical tools. You only need sandpaper and some elbow grease. When you want to know how to smooth a 3D print, sanding is the first method to try.
Step-by-Step Dry Sanding
Dry sanding is where you start. You want to knock down the high spots first. Start with a coarse grit. A 120-grit or 220-grit sandpaper is perfect for this. Rub the print in light, circular motions. Do not push too hard. If you push too hard, you will create friction. Friction creates heat. Heat will melt your plastic and ruin the print. Clean off the dust often to see your progress.
The Secrets of Wet Sanding
Once the print is fairly flat, switch to wet sanding. Wet sanding makes the plastic incredibly smooth. It also stops plastic dust from flying into the air. Dip your sandpaper in water. Use 400-grit, then 600-grit, and go all the way up to 2000-grit.
The water washes away the tiny bits of plastic. It keeps the surface cool. According to Creality’s comprehensive guide on smoothing, wet sanding is the most reliable way to prepare your prints for a paint job. When you finish with 2000-grit paper, use a soft cloth and plastic polish. Your print will shine like glass.
Chemical Smoothing for a Glossy Finish
Chemical smoothing is like magic. It melts the outer layer of your print just enough to blend the lines together. It is fast and looks highly professional. But you must be careful. You must choose the right chemical for your specific plastic.
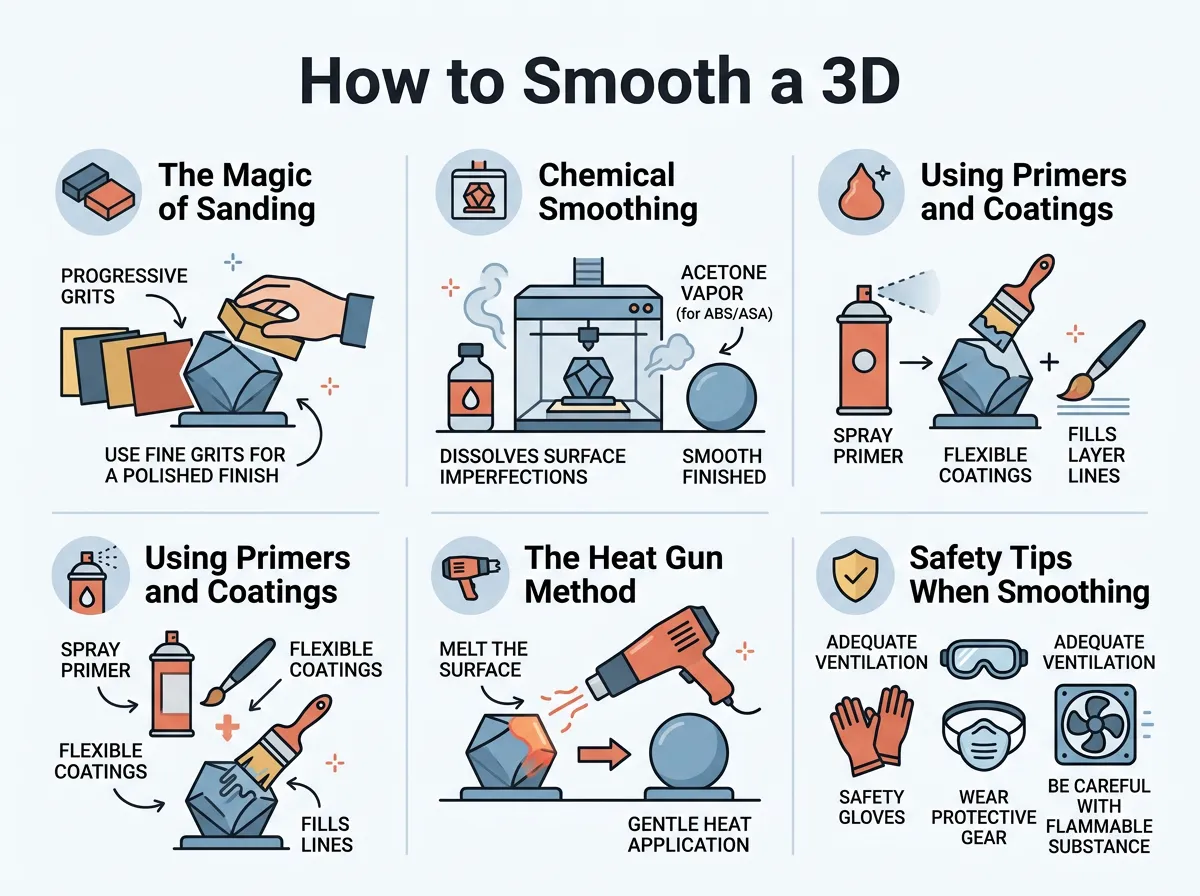
How to Smooth a 3D Print? — key points at a glance
Acetone Vapor Bath for ABS and ASA
If you print with ABS or ASA, acetone is your best friend. Acetone melts these plastics quickly. To do a vapor bath, you need a sealed container. Put paper towels soaked in acetone on the walls of the container. Place your print on a small stand inside. Do not let the print touch the wet towels. The vapors will fill the box. In just a few minutes, the surface of your print will start to melt. Take it out and let it dry. It will dry hard and super shiny. Keep in mind that acetone does not work on PLA.
Alternative Chemicals for PLA
Many people ask how to smooth a 3D print made of PLA using chemicals. PLA is tough to melt with safe household chemicals. You can use ethyl acetate. This is found in some non-acetone nail polish removers. It works slowly but can smooth out PLA. There is also tetrahydrofuran (THF). It works well but is very toxic. Always work outside or in a well-ventilated room when using these chemicals.
Using Primers and Coatings to Hide Lines
Sometimes you do not want to remove material. You might have thin walls. In this case, you should add material to fill the gaps. This is the best way to keep your print strong. If you want to know how to smooth a 3D print without losing small details, coatings are great.
The Power of Primer Fillers
A primer filler is a special spray paint. It is thick. When you spray it on your print, it settles into the low grooves. Let the primer dry completely. Then, sand it down lightly with 400-grit sandpaper. The primer stays in the cracks but comes off the high spots. Repeat this two or three times. Soon, your print will be perfectly flat. This is the top method used by prop makers.
Applying Epoxy Resins
Epoxy resin is another great option. You paint a thin layer of two-part epoxy over your print. The resin is self-leveling. It flows into the layer lines and creates a hard, shell-like coating. Products like XTC-3D are made just for this. This method is great because it makes your print much stronger. It is also safe to use indoors compared to chemical vapors. For a great summary of this approach, you can read Flashforge’s guide to 3D print smoothing, which highlights how coatings save time on large parts.
The Heat Gun Method
Can you use heat to smooth plastic? Yes, you can. A heat gun is a fast tool to fix minor surface flaws. It is cheap and fast, but it requires a very steady hand.
How to Apply Heat Safely
To use a heat gun, set it to a low temperature. Hold it about six inches away from your 3D print. Keep the gun moving at all times. If you stop in one spot for even a second, the plastic will sag and warp. You want to apply just enough heat to make the outer skin shiny. This method is perfect for removing the white stress marks that happen after you pull off support structures. It is also a good way to clean up tiny plastic hairs and strings.
Safety Tips When Smoothing Prints
Smoothing prints can be dangerous if you are not careful. Plastic dust and chemical fumes can harm your health. Here is how to protect yourself.
Wear the Right Gear
Always wear a dust mask when sanding. Tiny plastic particles can get into your lungs. When using chemicals like acetone, wear nitrile gloves. Regular latex gloves can melt when they touch solvents. Always wear safety glasses. A stray drop of chemical or a piece of flying plastic can hurt your eyes.
Work in the Right Space
Never use chemical vapors in a closed room. Work outside if you can. If you must work indoors, open all windows and use a strong fan. Keep chemicals away from open flames. Acetone vapors are highly flammable. One spark can cause a fire. As discussed in JLC3DP’s breakdown of smoothing methods, keeping a clean and safe workspace is the secret to a successful post-processing flow.
Choosing the Best Method for Your Project
Now you know how to smooth a 3D print using many different ways. But which one should you choose? It depends on your project goals and your material.
If you want a quick fix with no safety risks, go with sanding and primer filler. It is safe, easy, and works on PLA, PETG, and ABS. If you want a glass-like finish on an ABS print, use the acetone vapor bath. If you want to make your print stronger while hiding lines, use an epoxy coating. With a little patience, your prints will look like they came from a store shelf. Grab some sandpaper or a spray can and start smoothing your creations today!
Frequently Asked Questions
What sandpaper grit should I start with?
You should start with a coarse 120-grit or 220-grit sandpaper to knock down the largest layer lines. Once the surface is relatively even, you can transition to higher grits like 400, 1000, and 2000 for a polished finish.
How do I smooth PETG prints?
PETG is highly resistant to chemicals, so the best way to smooth it is through dry and wet sanding. You can also apply a high-quality epoxy resin coating to fill the layer lines without sanding.
Can I paint my 3D print after smoothing it?
Yes, smoothing your print is the best way to prepare it for paint. Applying a primer filler first will help the paint bond to the plastic and look perfectly professional.
What is the safest chemical for smoothing PLA?
Ethyl acetate is the safest chemical option for PLA, and it is commonly found in non-acetone nail polish removers. However, physical sanding and coatings are still safer and more reliable for PLA.
Why is my 3D print turning white after sanding?
Sanding scratches the plastic and leaves behind fine dust, which gives the print a cloudy or white appearance. You can restore the original color by cleaning the print and applying a clear coat, polish, or gentle heat.
Does smoothing change the dimensions of my print?
Yes, aggressive sanding and chemical melting will slightly change the outer dimensions of your print by removing material. If your parts need to fit together perfectly, you should use a thin epoxy coating instead of sanding.
