


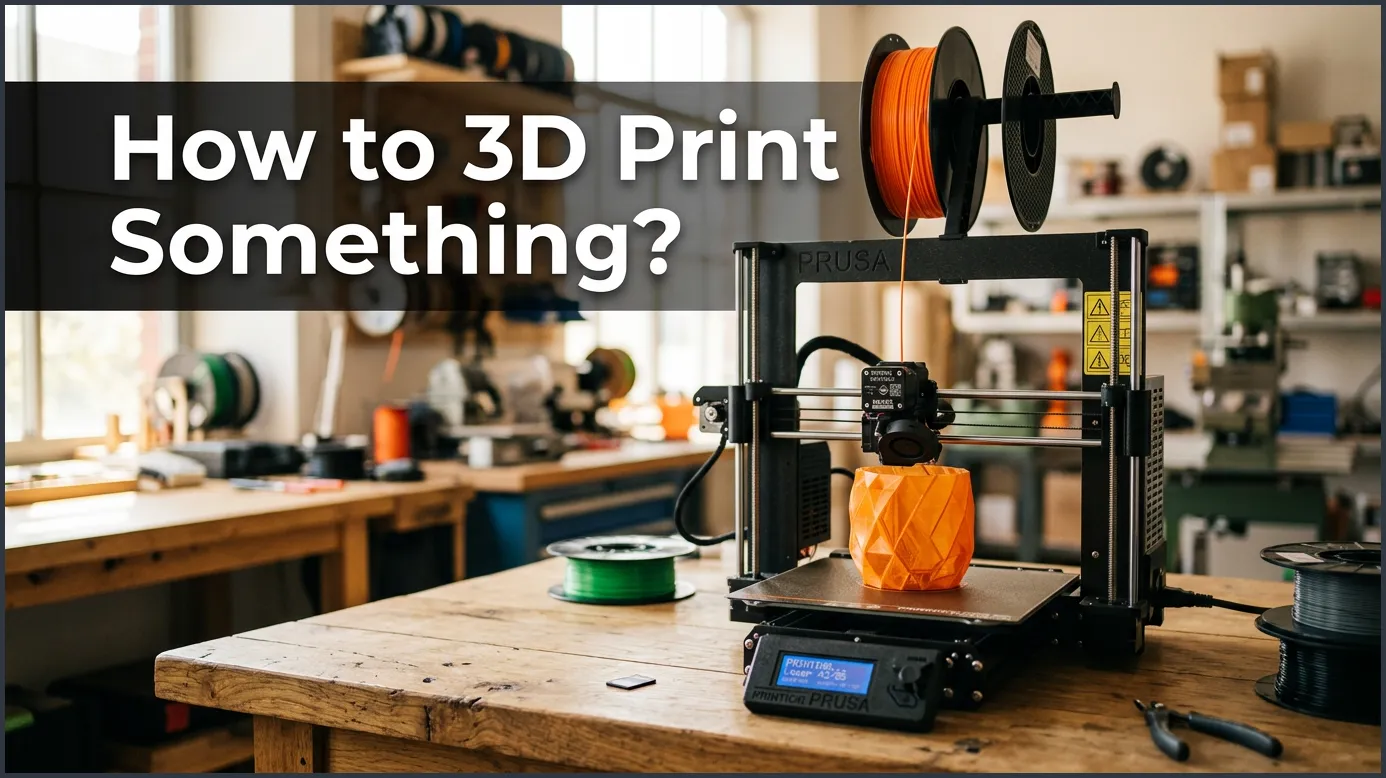
To 3D print something, you need to obtain a 3D digital model, prepare it using slicing software to generate G-code instructions, and send it to your 3D printer. From there, the machine heats up a material like plastic filament to build your object layer by layer. Mastering this process unlocks endless possibilities for creating custom tools, toys, and replacement parts at home.
Have you ever looked at a broken plastic clip on your backpack and wished you could just make a new one? Or maybe you had a brilliant idea for a custom desk organizer but could not find it in any store. Not long ago, manufacturing physical items was left to big factories. Today, you can do it right from your desk.
Learning how to 3D print something might feel like science fiction at first. You watch a robotic arm glide back and forth, slowly growing a physical object out of thin air. This technology has grown incredibly fast. To learn more about its history and types, you can read this comprehensive introduction to 3D printing technology. It looks complicated, but once you break it down, the process is very simple. Anyone can learn to do it with a little patience.
In this guide, we will walk you through the entire journey. We will cover where to find files, how to set up your machine, and how to get a perfect finish. Let us dive in and learn how to bring your ideas to life.
Key Takeaways
- Get a 3D Model: You can download ready-made 3D files from online libraries or design your own using CAD software.
- Slicing is Crucial: Slicing software translates your 3D model into thin layers and converts it into G-code that the printer understands.
- Choose the Right Filament: PLA is the best and easiest filament for beginners, while PETG and ABS offer more durability.
- Level the Print Bed: A perfectly level bed is the most important factor for getting your first layer to stick.
- Post-Processing Adds Polish: Simple steps like removing supports and light sanding can make your 3D prints look professional.
Quick Answers to Common Questions
What is the easiest material for beginners to 3D print?
PLA (Polylactic Acid) is the easiest material to print because it melts at a low temperature, does not require a heated bed, and warps very little.
Do I need to know how to use CAD to 3D print?
No, you do not need CAD skills because you can download thousands of free, pre-made designs from websites like Printables and Thingiverse.
How long does it take to 3D print a small object?
A small object like a chess piece or a simple ring typically takes between 30 minutes to two hours to print, depending on the speed and layer height settings.
What program do I need to prepare my files for printing?
You need a slicing program, such as Cura, PrusaSlicer, or Bambu Studio, to convert your 3D models into G-code files that the printer can read.
Why is my 3D print not sticking to the bed?
Your print is likely not sticking because the print bed is not level, the nozzle is too far from the build surface, or the bed is dirty and needs to be cleaned with isopropyl alcohol.
📑 Table of Contents
Step 1: Finding or Designing Your 3D Model
Every physical print begins as a digital file on your computer. This file is a three-dimensional map of your object. If you want to know how to 3D print something, you first need to decide how you will get this digital file. You have two main paths to choose from: downloading a model or making your own.
Downloading Ready-to-Print Files
You do not need to be an expert designer to start printing. In fact, most people start by downloading models that other creators have shared. Websites like Thingiverse, Printables, and Cults3D host millions of free designs. You can find everything from cute toy dragons to useful replacement parts. To get a head start, you can check out this helpful learn the fundamentals of 3D printing resource to see how designs translate into real-world objects.
When you browse these sites, look for files that end in “.STL”, “.OBJ”, or “.3MF”. These are the standard formats for three-dimensional models. Always read the user comments and check the photos of other people’s successful prints. This will tell you if the file is easy to print or if it has design flaws.
Designing Your Own 3D Models
If you have a unique idea, you can design it yourself. For beginners, Tinkercad is an amazing, free web-based tool. It lets you build complex objects by combining simple shapes like boxes, spheres, and cylinders. If you need to make mechanical parts with exact measurements, you can step up to parametric software like Fusion 360 or Onshape. Designing your own parts is highly rewarding and teaches you a lot about geometry.
Step 2: Slicing Your Model for the Printer
Your printer cannot read a standard 3D file directly. It needs a list of coordinate instructions telling it where to move, how fast to go, and how much plastic to squeeze out. When you want to know how to 3D print something, you must learn to bridge the gap between digital art and machine movement. This is where slicing software comes in.
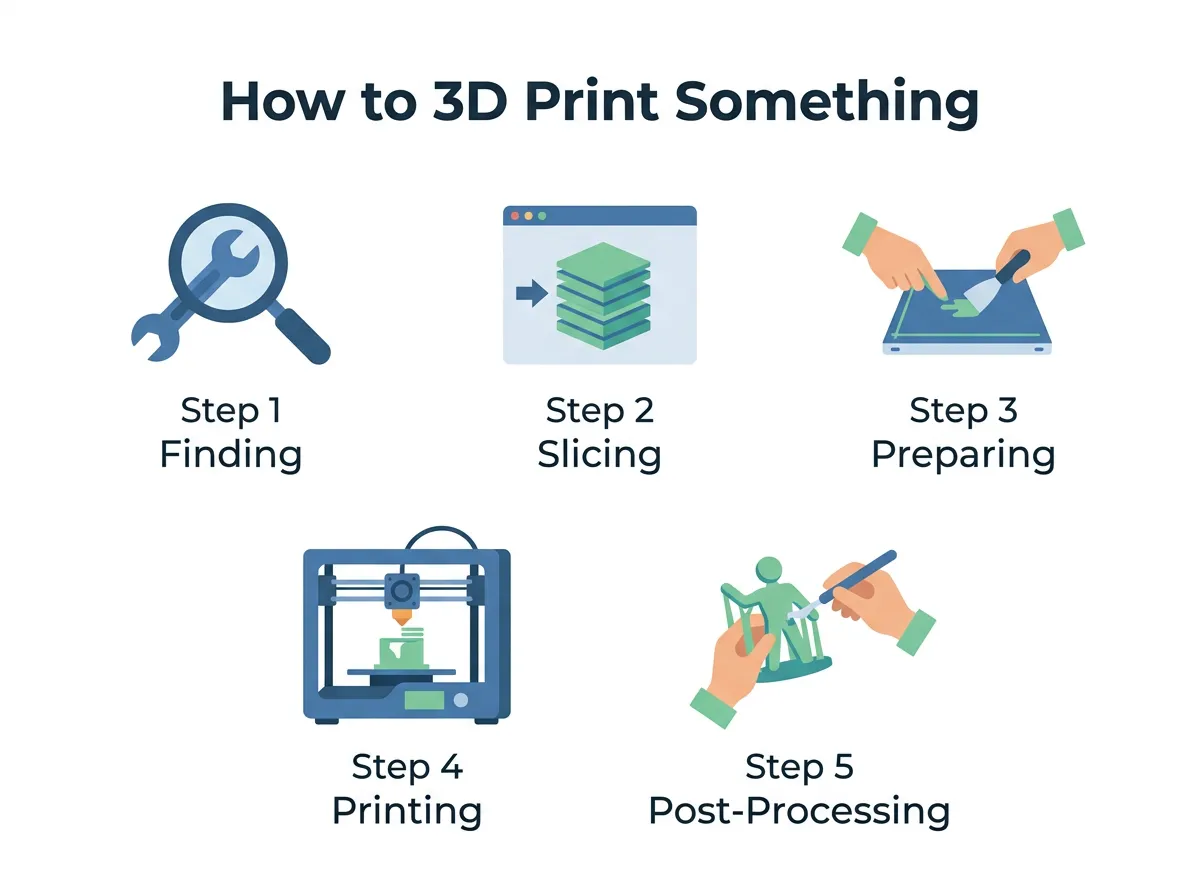
How to 3D Print Something? — key points at a glance
What is Slicing Software?
A slicer is a program that cuts your digital model into hundreds of thin, horizontal layers. It then translates these layers into a language called G-code. G-code is the actual recipe that your machine reads. Popular slicing programs include Cura, PrusaSlicer, and Bambu Studio. Most of these programs are completely free to use. For a deeper look, BCN3D offers a great six-step guide to the printing process that highlights how slicing fits into the workflow.
Key Slicer Settings to Know
When you open your file in a slicer, you will see many options. Do not let them scare you. You only need to focus on a few basic settings to get started:
- Layer Height: This controls the detail of your print. A lower number (like 0.12 mm) makes the print look smooth but takes longer. A higher number (like 0.28 mm) prints much faster but looks rougher.
- Infill: You do not need to print solid plastic. The slicer fills the inside of your object with a grid pattern. An infill of 15% to 20% is perfect for most decorative items.
- Supports: If your model has parts that overhang in mid-air, the printer cannot print them on nothing. You must turn on supports, which are temporary scaffolds that you break off later.
Step 3: Preparing Your 3D Printer
Setting up your workspace is a critical step when figuring out how to 3D print something. Before you hit the start button, you need to prepare your hardware. A little bit of prep work prevents failed prints and saves a lot of wasted plastic.
Bed Leveling and Calibration
The most important step in preparation is making sure your print bed is level. If the nozzle is too far from the bed, the plastic will not stick. If it is too close, the plastic cannot get out, and you might damage your bed. Many modern machines have automatic bed leveling, which is a massive help. If you have a manual printer, you will need to use a thin sheet of paper to test the gap between the nozzle and the bed at all four corners.
Loading the Filament
Next, you need to choose your material. Plastic filament comes on a spool. The most popular material is PLA (Polylactic Acid). PLA is cheap, made from cornstarch, and does not smell bad when it melts. It is the best material for anyone learning how to 3D print something. Heat up your printer’s nozzle to about 200 degrees Celsius, feed the tip of the filament into the extruder, and push it through until plastic flows out of the nozzle cleanly.
Step 4: Printing Your Object
Now that your machine is ready, you are finally prepared to actually learn how to 3D print something in real life. You transfer your G-code file to the printer. This is usually done with an SD card, a USB drive, or over a Wi-Fi connection. Select your file on the printer screen and watch the magic begin.
Monitoring the First Layer
Never walk away from your machine immediately. Always sit and watch the first layer print completely. The first layer is the foundation of your entire build. If the plastic lines do not stick to the bed or if they bunch up, stop the print immediately. Clean your bed with isopropyl alcohol and relevel it before trying again. If you are looking for advanced industrial systems, you can explore professional 3D printers to see how high-end machines handle layer adhesion.
Dealing with Common Mid-Print Issues
Even with great preparation, issues can pop up. You might notice “stringing,” which looks like spider webs between parts of your print. This happens if your nozzle temperature is too high. Another issue is warping, where the corners of your print lift off the bed. This is usually caused by drafty air cooling the plastic too quickly. Keep your printer in a warm, draft-free room to avoid this.
Step 5: Post-Processing and Finishing Touches
The final phase of learning how to 3D print something is post-processing. Once the print is finished, let the bed cool down completely. The plastic will contract slightly as it cools, making it much easier to pop the object off the build plate.
Removing Support Material
If your model required support structures, you will need to remove them now. You can use needle-nose pliers or flush cutters to gently pry the supports away. Be careful not to gouge the surface of your actual model. Wearing safety glasses is a smart idea, as small bits of plastic can fly off as you snap them free.
Sanding and Painting
If you want a flawless look, you can sand your print. Start with a medium-grit sandpaper (like 220 grit) and work your way up to a fine grit (like 400 or 600 grit). You can also apply a spray-on primer designed for plastic. This fills in the tiny layer lines. Once dry, you can paint your model with acrylic paints or spray paint to make it look like a store-bought product.
Conclusion
Learning how to 3D print something is a rewarding journey of trial and error. From finding your first file on Thingiverse to watching the plastic melt onto the build plate, every step teaches you something new. Once you master how to 3D print something, the only limit is your imagination. Do not get discouraged if your first few prints do not turn out perfect. Over time, you will learn how to fine-tune your slicer settings and level your bed with ease. Grab your first spool of PLA, load up a model, and start creating today!
Frequently Asked Questions
Can I 3D print something from a regular photo?
You cannot print a 2D photo directly, but you can convert it into a 3D model. Programs like Selva3D can turn flat images into 3D files, or you can use lithophane generators to make beautiful light-revealed pictures. This process takes a bit of extra setup but produces stunning results.
What is infill in 3D printing?
Infill is the internal structure of your 3D print. Instead of printing a solid block of plastic, the slicer creates a hollow interior with geometric patterns like grids or honeycombs. This saves a lot of time, reduces weight, and cuts down on the amount of plastic used.
Is 3D printing expensive as a hobby?
Starting out has become very affordable, with reliable entry-level printers costing under two hundred dollars. Spools of PLA filament are also cheap, usually ranging from fifteen to twenty-five dollars per kilogram. Your main ongoing cost will just be buying new filament colors and occasional replacement nozzles.
How do I fix stringing on my 3D prints?
Stringing is caused by plastic oozing from the nozzle while it moves across open spaces. You can fix this by enabling retraction settings in your slicer, which pulls the filament back slightly during travel moves. Lowering your print temperature by five degrees can also help reduce ooze.
Can you use a 3D printer without a computer?
While you need a computer to design or slice your models, you do not need one connected to the printer during the actual print. You can simply load your sliced G-code onto an SD card or USB drive, plug it directly into the machine, and start the print from the built-in screen.
Is it safe to breathe the air around a running 3D printer?
PLA filament is generally safe to print because it is made from organic materials and does not emit toxic fumes. However, printing with materials like ABS or Nylon releases harmful chemicals and requires a well-ventilated area or an enclosed printer with an air filter.
