


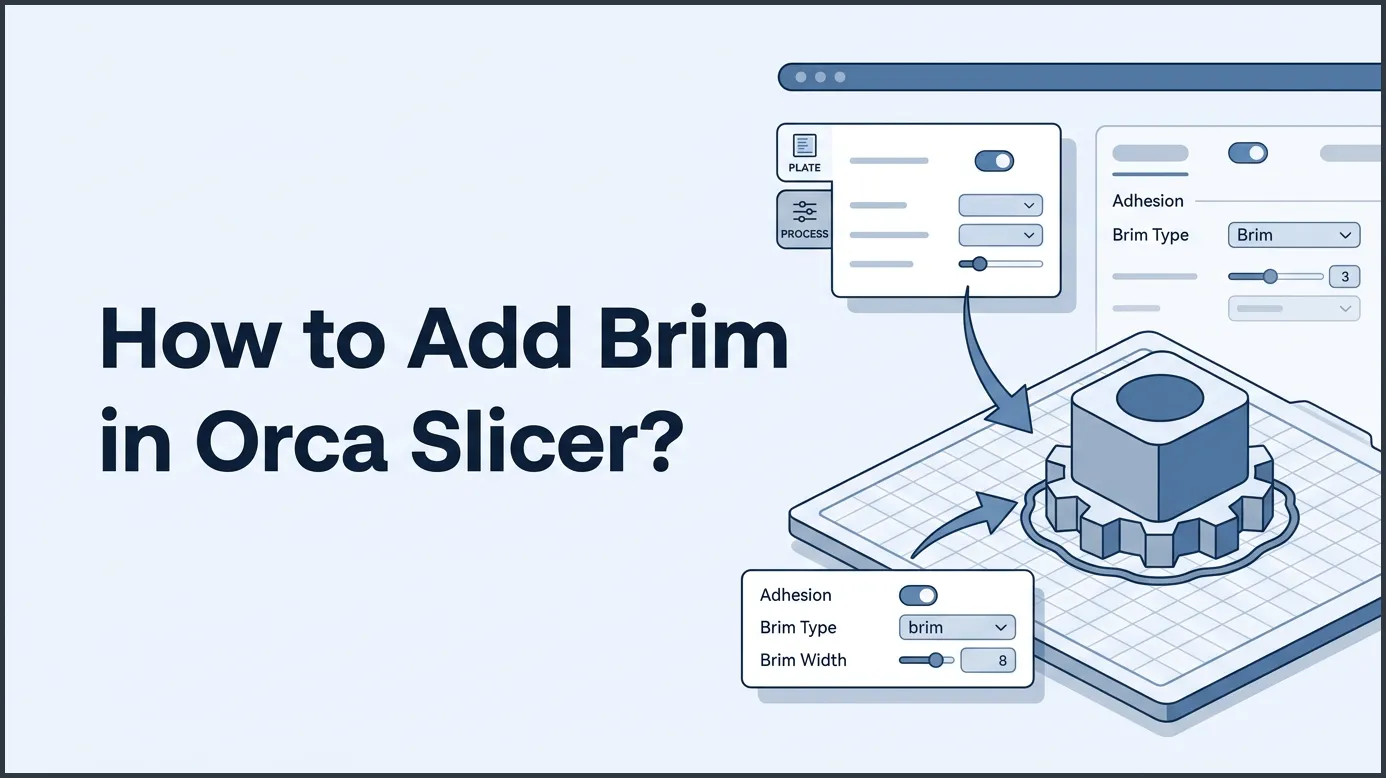
Adding a brim in Orca Slicer is a highly effective way to stop your 3D prints from warping and peeling off the build plate. You can easily turn on this feature by going to the “Others” tab under your process settings and choosing your preferred brim type. Adjusting the brim width and gap will ensure your prints stick well and come off cleanly.
You sit down and watch your 3D printer. It works well for the first few layers. You walk away with a smile on your face. A few hours later, you come back to check on it. Your heart drops. The corners of your print are lifting off the bed. The base of your model is warped, and the print is ruined. This is a very common issue in 3D printing, but there is an easy way to fix it.
Orca Slicer is a fantastic tool that helps you get the best results from your 3D printer. It has many settings to help you solve adhesion issues. One of the best tools at your disposal is the brim. If you want to know how to add brim in Orca Slicer?, you have come to the right place. This guide will walk you through the entire process in a simple, friendly way.
By the end of this guide, you will know how to use this feature like a pro. You will say goodbye to warping and hello to perfect first layers. Let us dive in and see how this handy tool works!
Key Takeaways
- Better Bed Adhesion: A brim adds a flat, wide area around your model to keep it stuck to the print bed.
- Prevents Warping: It stops sharp corners from cooling too fast and lifting off the bed.
- Easy Setup: You can turn a brim on in just a few clicks using the Others tab in Orca Slicer.
- Smart Adjustments: Tweaking the brim gap lets you balance strong grip with easy removal.
- Material Benefits: Brims are crucial for high-temperature filaments like ABS, ASA, and Nylon.
Quick Answers to Common Questions
How do I turn on a brim in Orca Slicer?
To turn on a brim, open Orca Slicer, go to the Process panel, click on the “Others” tab, and choose your preferred brim type from the drop-down menu.
What is the best brim gap in Orca Slicer?
The best brim gap is usually between 0.1 mm and 0.2 mm, which provides enough stickiness to hold the print while remaining easy to peel off.
Can I add a brim to only the outside of my model?
Yes, you can select “Outer brim only” in the brim type menu to keep the inside holes of your model clear.
Why is my brim not sticking to the model?
If your brim is not sticking, your brim object gap might be too large, or your first layer print temperature might be too low.
Does a brim use a lot of filament?
No, a brim is only one layer thick and uses very little filament, making it a highly cost-effective way to prevent print warping.
📑 Table of Contents
What is a Brim in 3D Printing?
Before we press any buttons, let us talk about what a brim actually is. Think of a brim like the wide brim of a summer hat. In 3D printing, a brim is a single layer of plastic that sticks out from the edges of your model. It looks like a flat skirt that touches the walls of your print.
The main job of a brim is to hold your print down. It increases the surface area of your print. More plastic on the bed means more grip. To learn more about how this works, you can read about what a brim actually does in 3D printing to stop parts from moving.
A brim is different from a skirt or a raft. If you want to know the difference between skirts and brims, remember that a skirt does not touch your model. A skirt just primes your nozzle. A brim attaches directly to your model. A raft is a thick platform built under your model. Brims are often the best choice because they use less filament and are easy to remove.
How to Add Brim in Orca Slicer?
Now, let us get to the step-by-step process. Adding a brim in Orca Slicer is very quick. Follow these simple steps to get started:
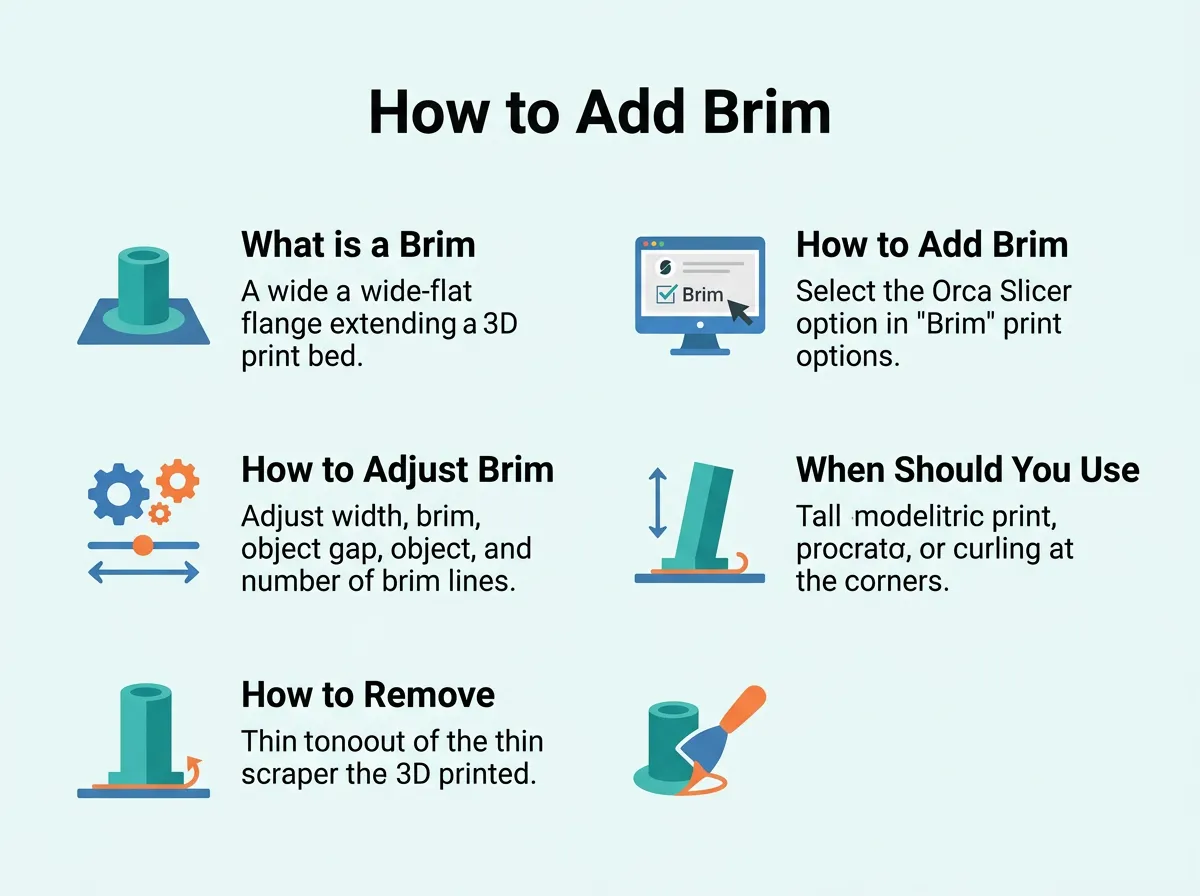
How to Add Brim in Orca Slicer? — key points at a glance
Step 1: Open Your Project
First, open Orca Slicer on your computer. Load the 3D model you want to print. You can drag and drop your file onto the virtual build plate. Make sure your model is flat on the bed.
Step 2: Go to the Process Panel
Look at the left side of your screen. You will see the Process panel. This panel holds all your printing settings. Make sure you are in the Advanced mode. You can toggle this on near the top of the panel.
Step 3: Click the Others Tab
Inside the Process panel, you will see several tabs. These include Quality, Strength, Speed, and Support. Click on the tab named Others. This is where Orca Slicer hides its bed adhesion settings.
Step 4: Find the Brim Settings
Scroll down until you see the section labeled Brim. You will see a few drop-down menus and number fields. This is where the magic happens.
Step 5: Choose Your Brim Type
Click on the drop-down menu next to Brim type. You will see a few options:
- No brim: This turns the brim off completely.
- Auto: Orca Slicer decides if your model needs a brim based on its shape.
- Outer brim only: This adds a brim to the outside edges of your model.
- Inner brim only: This adds a brim to the inside holes of your model.
- Outer and inner brim: This adds plastic to both the inside and outside edges.
For most prints, Outer brim only is the best choice. It gives great grip without filling in holes that need to stay open.
Step 6: Slice and Preview
Once you select your brim type, click the Slice plate button in the top right corner. Go to the Preview tab. You will see a green or colored brim around the base of your model. If it looks good, you are ready to print!
How to Adjust Brim Settings in Orca Slicer
Sometimes, the default brim is not quite right. It might stick too hard, or it might be too small. You can change these settings to make things perfect. Let us look at the most important numbers you can change.
Brim Width
This setting controls how wide your brim will be. It is measured in millimeters. A standard brim is usually 5 mm wide. If you have a very tall or narrow print, you might want to increase this to 8 mm or 10 mm. This gives your print a much stronger base.
Brim Object Gap
This is the most important setting for clean prints. The brim object gap is the distance between the brim and your actual model. It is measured in millimeters. The default value is usually 0.1 mm or 0.15 mm.
If the gap is too small, the brim will fuse to your print. It will be very hard to peel off. If the gap is too large, the brim will not hold your print down at all. If you want to dive deep into these numbers, you can check out the official Orca Slicer brim settings page for tips.
Brim Flow Ratio
This setting controls how much plastic is squeezed out for the brim. If you want a solid brim that does not fall apart, keep this at 1 or slightly higher. A strong brim is a happy brim!
When Should You Use a Brim?
You do not need to use a brim for every single print. Some prints do just fine without one. So, when should you turn this feature on?
1. High-Warp Filaments
Some plastics shrink as they cool. ABS, ASA, and Nylon are famous for warping. If you are printing with these materials, you should almost always use a brim. PLA and PETG do not warp as much, but they can still benefit from a brim on cold days.
2. Models with Small Footprints
If your model is tall and thin, like a vase or a statue of a person, it has very little contact with the bed. A small bump from the print head can knock it over. A brim acts like a wide stand to keep it stable.
3. Sharp Corners
Sharp corners are prone to lifting. The cooling plastic pulls inwards and upwards at the corners. A brim holds those sharp corners flat against your build plate.
How to Remove a Brim Easily
Once your print is done, you need to remove the brim. If you set up your gap correctly, this should be easy. Here is how to do it safely:
Let your print cool down completely. Do not try to pull it off while it is hot. Cold plastic is stiffer and snaps away much better. Gently bend the build plate if you have a flexible magnetic sheet. This will often peel the brim right off the bed.
Use your fingers to peel the brim away from the model. It should rip away like tape. If it is stuck, you can use a deburring tool or a craft knife. Run the blade along the edge of your model at a slight angle. Be very careful not to cut yourself or scrape your print. A clean edge makes your model look highly professional!
Conclusion
Learning how to add brim in Orca Slicer? is a game changer for your 3D printing journey. It is a simple tool that solves one of the biggest problems in the hobby. No more lifted corners. No more knocked-over models. Just clean, flat prints that look exactly how you want them to.
Remember to experiment with the brim width and object gap. Every printer and filament is a little bit different. With a few quick tests, you will find the perfect settings for your setup. Now, open Orca Slicer, add that brim, and start printing with confidence!
Frequently Asked Questions
What is the difference between a brim and a skirt in Orca Slicer?
A skirt is a loop of plastic printed around your model that does not touch it, used to prime the nozzle. A brim touches the outer walls of your model to help it stick to the bed.
Why is my brim so hard to remove?
If your brim is hard to remove, your brim object gap is too small. Increase the gap in your Orca Slicer settings by 0.05 mm increments until it peels away easily.
Should I use a brim with PLA filament?
You usually do not need a brim with PLA because it does not warp much. However, you should use one if your PLA model is very tall, thin, or has sharp corners.
What is an inner brim?
An inner brim is a layer of plastic printed inside the hollow parts or holes of your model. It helps keep the interior edges of your print secure on the build plate.
Can a brim prevent a model from tipping over?
Yes, a brim creates a wider base for your model, which significantly reduces the chances of the print head knocking it over during tall prints.
Does Orca Slicer have an automatic brim option?
Yes, Orca Slicer has an “Auto” brim setting that analyzes your model’s contact area and automatically decides if a brim is needed.
