


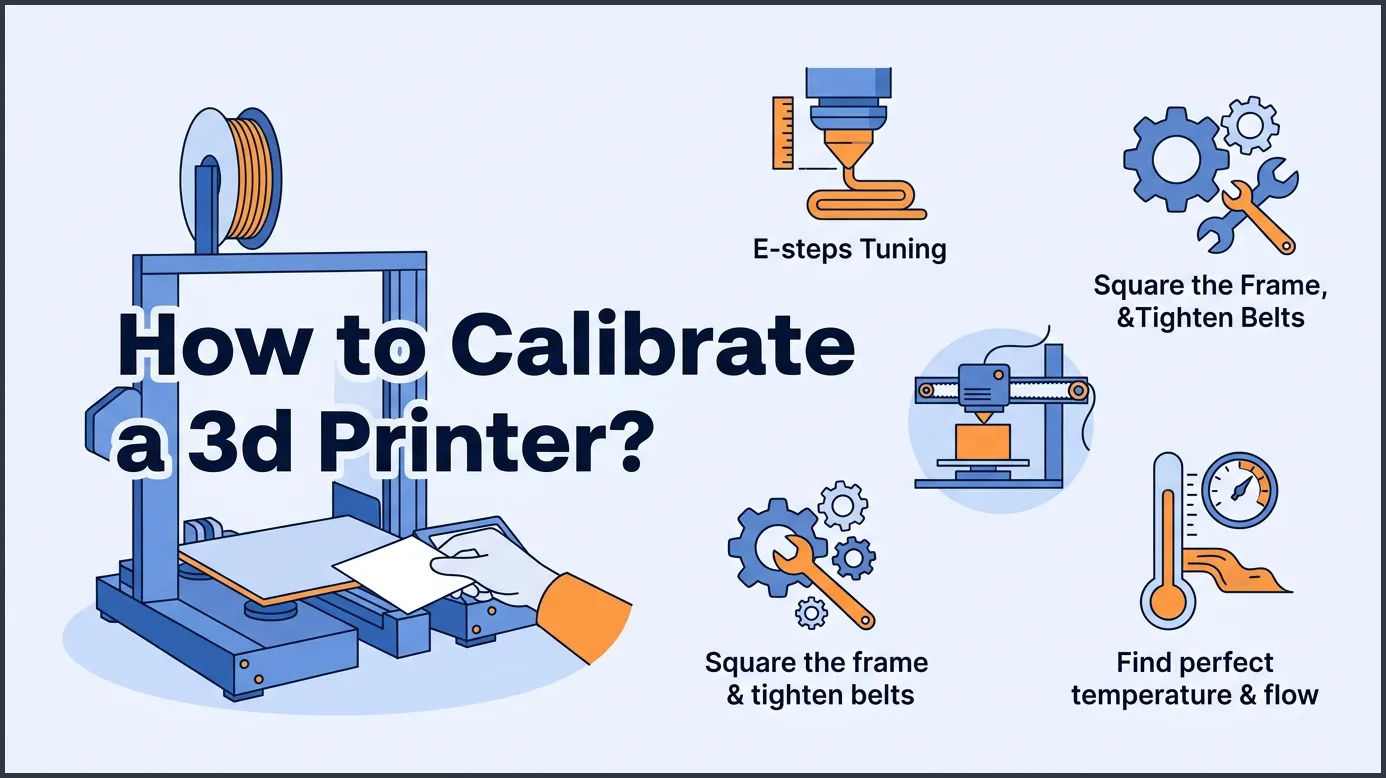
Calibrating your 3D printer is the key to fixing failed prints and getting smooth, beautiful results. This complete guide walks you through bed leveling, extruder E-step tuning, and temperature settings to make printing easy. Follow these simple steps to transform your print quality from messy to magnificent in no time.
Imagine this. You just bought a shiny new 3D printer. You set it up, unbox a fresh roll of colorful filament, and hit print. You wait with excitement. But instead of a cool model, you get a messy blob of plastic spaghetti. Or maybe your print lifts at the corners, peels off, and ruins hours of work. We have all been there. It is a very frustrating feeling.
The good news is that you do not need a new printer. You just need to fine-tune the one you have. Learning how to calibrate a 3D printer is the secret to getting clean, smooth, and perfect prints every single time. It is like tuning a guitar. Once it is in tune, the music sounds beautiful.
In this guide, we will break down the calibration process into easy, step-by-step tasks. You do not need to be a math genius or an engineer. With just a few simple tools and some patience, you can turn your printer into a high-performance machine. Let us get started and fix those prints!
Key Takeaways
- Start with a level bed: A flat, level build plate is the base of every good print.
- Tune your E-steps: Calibrating your extruder ensures the right amount of filament is pushed out.
- Find the sweet spot for temperature: Different filaments need different heat levels for perfect flow.
- Check your axis belts: Tight belts prevent loose, wobbly lines and ghosting.
- Fine-tune your first layer: The perfect Z-offset keeps your prints stuck firmly to the bed.
Quick Answers to Common Questions
How often should I calibrate my 3D printer?
You should do a quick calibration check every few weeks or whenever you change filament brands. A full calibration is highly recommended after moving the printer or changing physical parts like the nozzle.
What tools do I need to calibrate a 3D printer?
You only need a few basic tools including a piece of standard paper, a ruler, a marker, and digital calipers. These simple items will help you tune everything from your bed level to your axis dimensions.
Why is my 3D printer nozzle scraping the bed?
This happens because your Z-offset is too low or your bed leveling screws are too loose. Adjust your Z-offset higher and relevel your bed using a piece of paper to prevent nozzle damage.
What is the most important calibration step?
Bed leveling is the most critical step because it ensures your first layer sticks properly to the build plate. Without a good first layer, the rest of your print will fail regardless of other settings.
Why does my filament keep stringing?
Stringing is usually caused by printing at a temperature that is too high or having low retraction settings. Printing a temperature tower and increasing retraction distance slightly will quickly solve this issue.
📑 Table of Contents
Step 1: Leveling the Print Bed (The Base of Success)
The print bed is the foundation of your print. If the bed is not level, your print will not stick. If it is too close, the nozzle will clog. If it is too far, the plastic will drift away. Getting the bed level is the most critical step in learning how to calibrate a 3D printer correctly.
Manual Bed Leveling with the Paper Test
This is the classic way to level a bed. First, turn on your printer. Heat the bed and nozzle to your normal printing temperatures. This is vital because metal expands when hot. If you level it cold, it will change when it heats up.
Now, grab a standard piece of printer paper. Home your printer. Move the nozzle to one corner of the bed, right above the leveling screw. Slide the paper between the nozzle and the bed. Turn the bed knob until you feel a slight drag on the paper. The paper should slide, but you should feel the nozzle scraping it gently. Repeat this for all four corners. Do it twice, because adjusting one corner can affect the others.
Auto-Bed Leveling and Z-Offset
Many modern printers have auto-bed leveling sensors. These sensors map the bed to find any warp. However, you still need to set your Z-offset. The Z-offset tells the printer exactly how far the nozzle is from the sensor.
To set this, use the paper test under the nozzle at the center of the bed. Go into your printer menu and adjust the Z-offset value until the nozzle grips the paper gently. Save the settings. This ensures your first layer is always perfect.
Step 2: Calibrating the Extruder (E-Steps Tuning)
Your extruder is the motor that pushes filament into the nozzle. If it pushes too much, your prints will look blobby. If it pushes too little, your prints will have gaps and weak walls. We call the setting that controls this “E-steps.” Tuning this is a key step when you want to know how to calibrate a 3D printer for precise dimensions.
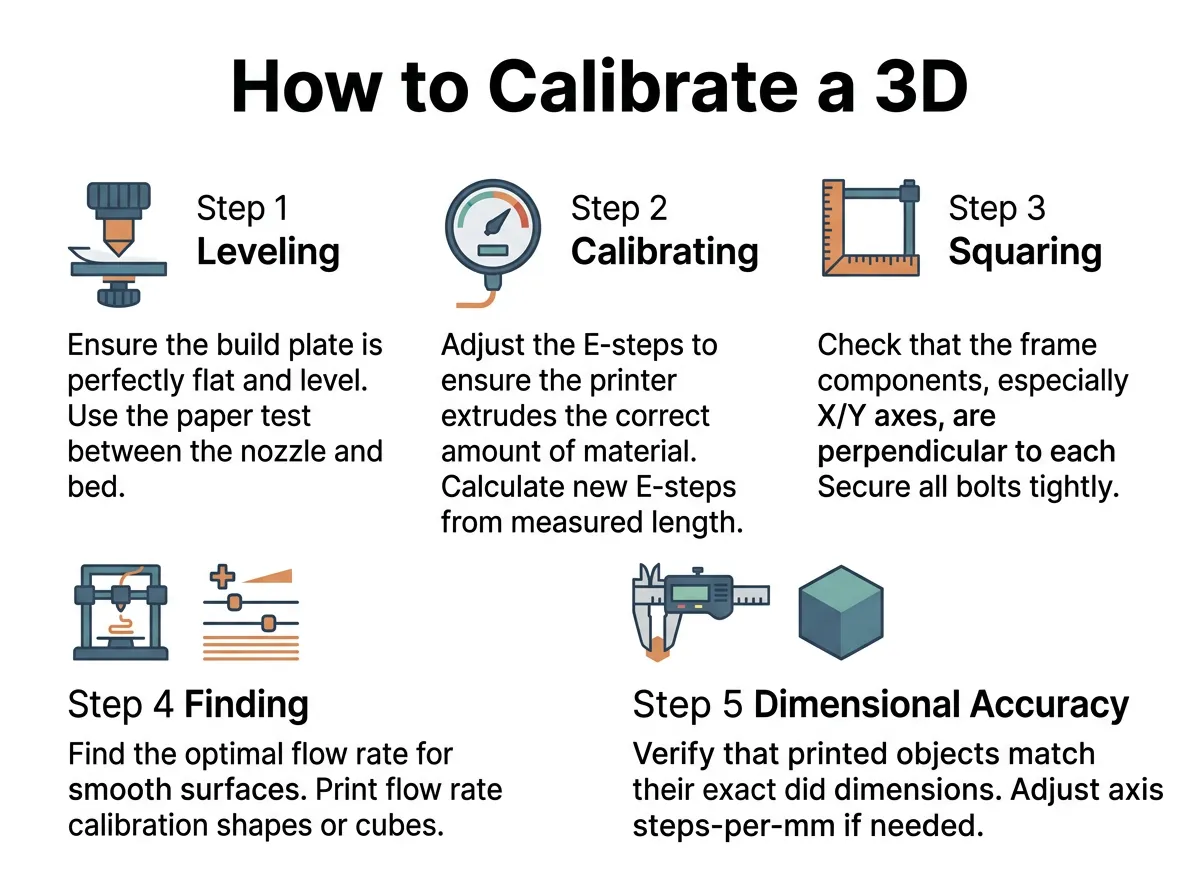
How to Calibrate a 3D Printer? — key points at a glance
Why E-steps Matter
Every printer has a default number of motor steps per millimeter. But manufacturing changes mean your printer might be slightly off. If your printer thinks it is pushing 100 millimeters of plastic, but it only pushes 90, your parts will be weak. You can easily fix this with a ruler and a marker.
How to Measure and Calculate Your E-steps
First, heat your nozzle. Use a ruler to measure 120 millimeters from the entry point of your extruder up the filament. Mark this spot with a fine-tip pen. Now, go to your printer menu and tell the extruder to feed exactly 100 millimeters of filament.
Once it stops, measure the distance from the extruder to your mark. If your extruder is perfect, you should have exactly 20 millimeters left. If you have 25 millimeters left, your printer only fed 95 millimeters. To get the perfect calibration values, you can use excellent online tools like the Teaching Tech calibration guide to calculate your new steps per millimeter. Save the new value in your printer’s firmware.
Step 3: Squaring the Frame and Tightening Belts
Your printer moves on belts and wheels. If the frame is wobbly or the belts are loose, your prints will have wavy lines. This is often called ghosting or ringing. A sturdy frame leads to beautiful, sharp details.
Belts and Rollers
Check the belts on your X and Y axes. They should be tight, like a low guitar string. If you pluck them, they should make a low, dull twang. If they are loose and floppy, tighten them using the tension screws. Do not make them too tight, or you will strain the motors.
Next, check the rubber wheels on the metal rails. If you can spin a wheel freely with your finger without the carriage moving, it is too loose. Turn the eccentric nuts on the wheels until they grip the rail firmly but still roll smoothly.
Lead Screws and Z-Axis Binding
The long threaded rod on your Z-axis is the lead screw. It moves the print head up and down. If it is dirty or dry, it can bind. This causes uneven layers. Clean the screw with a cloth and apply a tiny bit of lithium grease. Make sure the screw is straight and aligned with the motor.
Step 4: Finding the Perfect Temperature and Flow
Different brands of plastic melt at different temperatures. Even two rolls of PLA from the same brand might need different settings. Finding the right heat and flow rate is essential for smooth surfaces.
Printing a Temperature Tower
A temperature tower is a small test model. It prints different sections at different temperatures. You can see where the print looks best. If the temperature is too hot, you will see thin hairs of plastic called stringing. If it is too cold, the layers will not stick together. Look at the tower to find the sweet spot with the best bridging and cleanest finish.
Adjusting Flow Rate (Extrusion Multiplier)
Even after tuning E-steps, different materials slip or squish differently. You can tune your flow rate in your slicer software. This is often called the extrusion multiplier. If your walls are too thick, lower the flow by 2% or 3%. If your top layers have gaps, raise it slightly. For a highly detailed approach to this, check out the Ellis Print Tuning Guide for advanced flow tuning methods.
Step 5: Dimensional Accuracy and Retraction
If you want to print parts that fit together, like gears or boxes, your printer must be highly accurate. If a hole is supposed to be 10 millimeters, it should measure 10 millimeters in real life. Understanding how to calibrate a 3D printer means testing your setup under different conditions.
Tuning Retraction to Stop Stringing
Retraction is when the printer pulls the filament back slightly before moving across open gaps. This stops plastic from dripping out of the nozzle. If your retraction distance is too low, you will get hairy, messy prints. If it is too high, you can cause a clog. Start with a retraction distance of 1 millimeter for direct drive extruders, or 5 millimeters for Bowden tube setups. Adjust in small steps until the stringing stops.
Printing Calibration Cubes
Download a simple 20×20 millimeter calibration cube. Print it and let it cool. Use a pair of digital calipers to measure the X, Y, and Z sides. They should all be exactly 20.00 millimeters. If they are off by more than 0.1 millimeters, you may need to adjust your axis steps per millimeter in your printer settings. This ensures your functional parts fit together perfectly every time.
Keeping Your Printer Calibrated Over Time
Calibration is not a one-time chore. Over time, vibrations will loosen screws, belts will stretch, and nozzles will wear out. To keep your print quality high, you should perform routine checks.
Regular Maintenance Checks
Every few weeks, quickly check your bed level. Dust the frame and wipe down the build plate with isopropyl alcohol. Check the nozzle for wear. If you print abrasive materials like glow-in-the-dark filament, your brass nozzle can wear out quickly. Replacing a worn nozzle is cheap and saves hours of troubleshooting.
Conclusion
Learning how to calibrate a 3D printer takes a little bit of time, but the reward is massive. You will spend less time staring at ruined prints and more time enjoying beautiful, finished models. Start with the basics: level your bed and tune your E-steps. Once you master those, move on to temperature and flow settings. With a well-tuned printer, your creativity is the only limit. Happy printing!
Frequently Asked Questions
What are E-steps in 3D printing?
E-steps, or extruder steps, are the number of steps the extruder motor takes to push out one millimeter of filament. Calibrating this ensures your printer extrudes the exact amount of plastic needed for strong and clean walls.
Can auto-bed leveling replace manual leveling?
Not entirely. Auto-bed leveling creates a digital mesh to compensate for a warped bed, but you still need to manually get the bed reasonably level first and set your Z-offset correctly.
How do I know if my belts are too tight?
If your belts are too tight, they will strain your motors, causing them to run very hot or make whining noises. The belt should be snug enough to prevent slipping but still have a tiny bit of give when pressed.
What does a calibration cube tell me?
A calibration cube helps you measure the accuracy of your printer’s X, Y, and Z axes. By measuring the printed cube with calipers, you can see if your printer matches the dimensions of your digital 3D model.
Does filament color affect printing temperature?
Yes, different colors of the same filament brand can require different temperatures. The dyes and additives used to color the plastic change its melting point and flow properties slightly.
How do I fix warping on the corners of my prints?
Warping is caused by plastic cooling too quickly and pulling away from the bed. You can fix this by cleaning your bed with alcohol, increasing your bed temperature, or using a brim in your slicer settings.
