


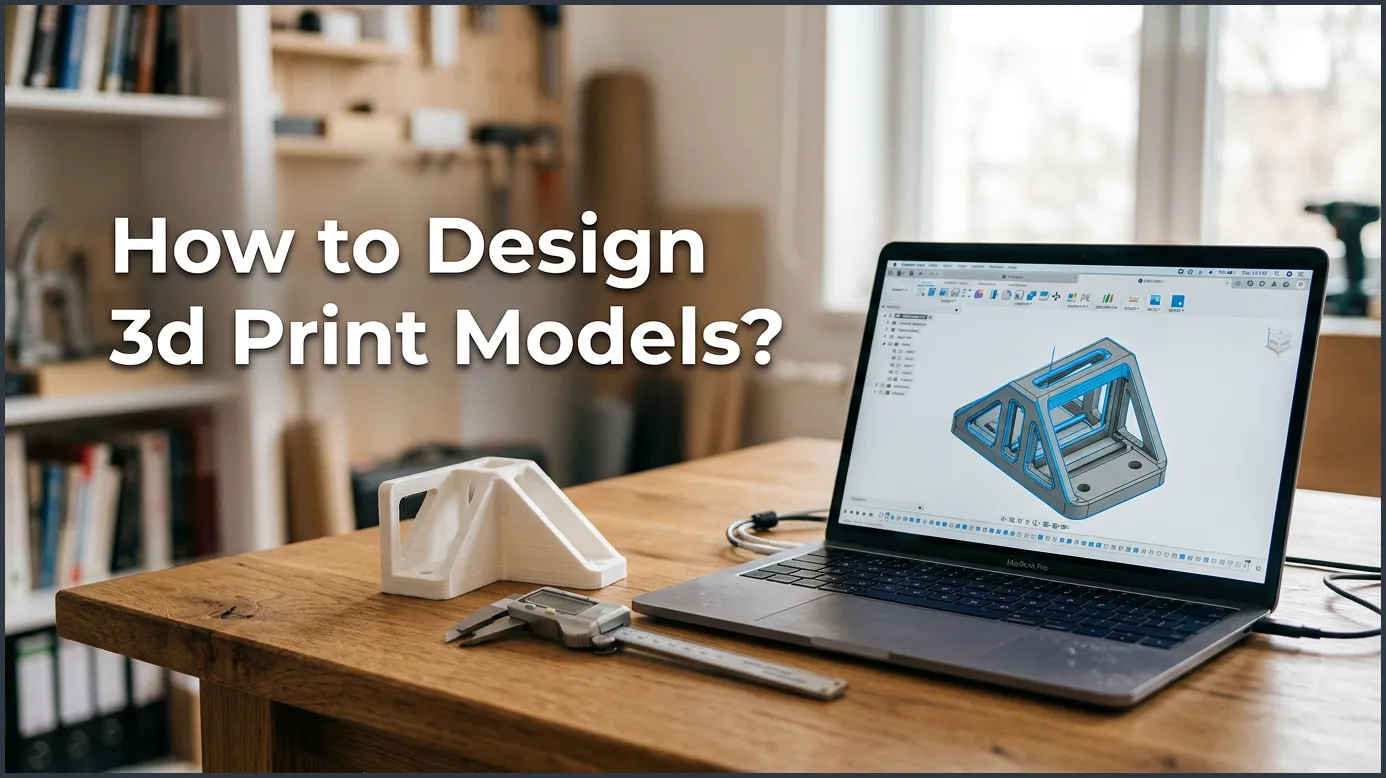
To design great 3D print models, you must choose the right software, follow key design rules, and understand how physical plastic behaves. By mastering simple concepts like wall thickness, overhang angles, and clearances, you can easily turn your digital ideas into perfect physical prints.
Imagine having a machine in your room that can make almost anything you want. You plug it in, load some plastic filament, and wait. But there is a small problem. You want to build a custom shelf bracket, a toy, or a replacement part, but you cannot find the file online. To get the exact piece you need, you must create it yourself. This is where learning how to design 3D print models comes into play. It transforms your printer from a simple toy into a powerful manufacturing tool.
Designing for 3D printing is quite different from designing for a screen. On a computer screen, shapes can float in mid-air without any issues. In the real world, gravity exists. Plastic needs support, layers must stick together, and parts need to fit. In this guide, we will break down the entire process. We will look at software choices, key design rules, and tips to make your designs successful. Ready to bring your ideas to life? Let’s dive in.
Key Takeaways
- Pick the Right Tool: Start with easy shape-based tools and move to advanced CAD software as your skills grow.
- Limit Overhang Angles: Keep design angles under 45 degrees to avoid messy, droopy plastic layers.
- Mind Your Wall Thickness: Always design walls that are at least twice the width of your printer nozzle.
- Leave Room for Movement: Add a gap of 0.2mm to 0.4mm between moving parts so they do not fuse.
- Focus on Bed Adhesion: Make sure your model has a flat, stable base to keep it steady during the print.
- Check the Slicer Preview: Always view the digital layers before printing to catch weak spots early.
Quick Answers to Common Questions
What is the easiest software for 3D print design?
Tinkercad is the easiest software for beginners because it uses simple shapes and works directly in your web browser.
What is the 45-degree rule in 3D printing?
The 45-degree rule states that any overhang angle steeper than 45 degrees needs support structures to print successfully without drooping.
How thick should 3D print walls be?
Walls should be at least two to three times your nozzle width, which is usually between 0.8mm and 1.2mm for a standard nozzle.
What file format should I use to export my 3D design?
You should export your designs as STL or 3MF files, as these are the standard formats accepted by 3D slicer software.
How much gap should I leave between moving parts?
You should leave a clearance gap of 0.2mm to 0.4mm between moving parts to prevent them from melting and fusing together.
📑 Table of Contents
Pick the Right 3D Modeling Software
The first step in your design journey is choosing your software. There are many options available today. The best one for you depends on your experience and what you want to build.
Beginner-Friendly Tools
If you are new to this world, do not worry. You do not need a degree in engineering to start. You can begin with simple, browser-based tools that let you combine basic shapes. For instance, you can use easy-to-use platforms like Tinkercad to drag and drop cubes, spheres, and cylinders. You can join these shapes together or cut holes in them. It is as simple as playing with digital building blocks. This is the perfect playground to learn how 3D space works without getting overwhelmed.
Intermediate and Professional Software
Once you feel comfortable, you might want to create more complex shapes. Parametric design tools are excellent for parts that need exact measurements. Programs like Fusion 360 or Onshape let you draw 2D sketches and extrude them into 3D objects. If you want to make organic shapes like characters or sculptures, sculpting software is better. You can explore a wide variety of 3D modeling software to find the one that fits your style. The right tool depends on whether you are making a mechanical gear or a fantasy monster.
Master the Key Rules of 3D Design
Designing for physical production means working with physical limits. When learning how to design 3D print models, there are golden rules you must follow to ensure your prints do not fail.
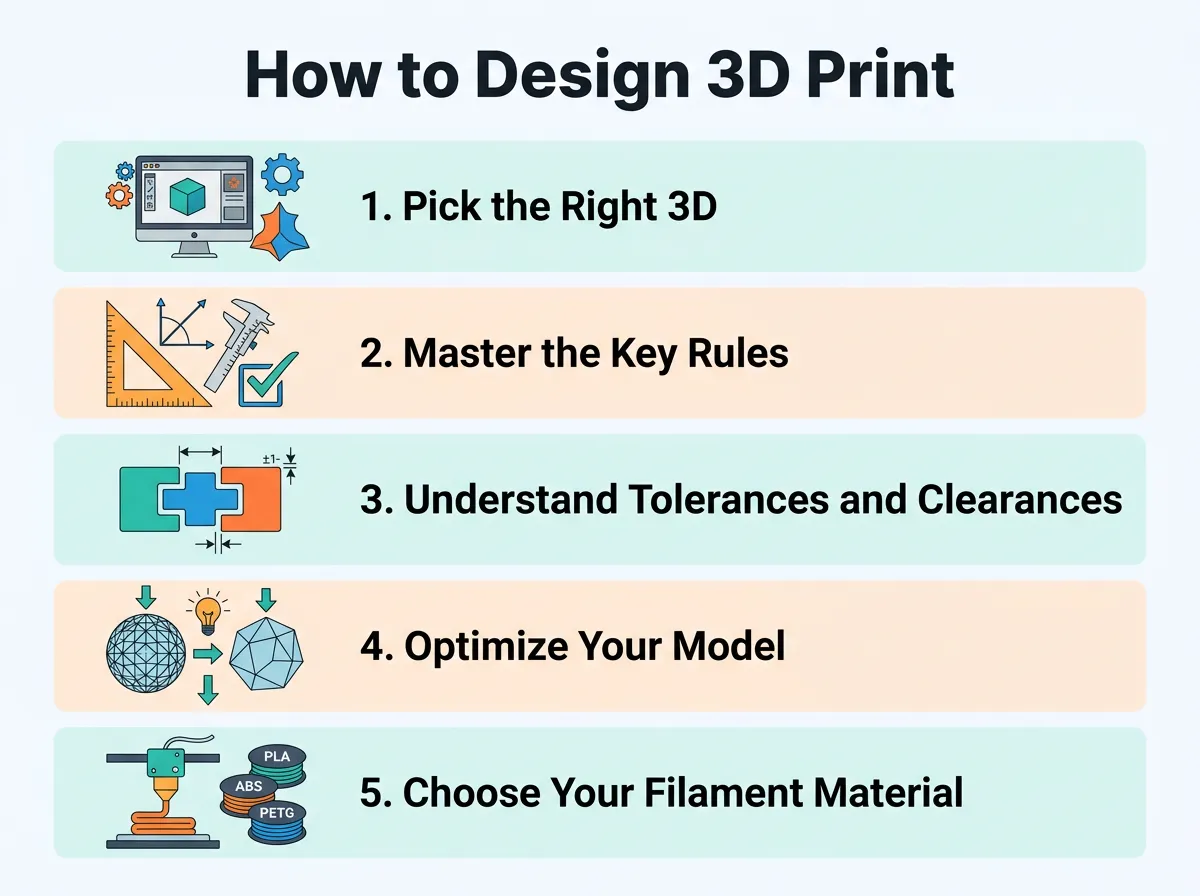
How to Design 3D Print Models? — key points at a glance
Avoid Extreme Overhangs and Bridges
A 3D printer builds things layer by layer, from the bottom up. Each layer needs something underneath to support it. If your design has a part that sticks out into the air at a sharp angle, it is called an overhang. As a rule of thumb, keep your angles under 45 degrees. If the angle is steeper, the hot plastic will droop and make a mess. If you must have steep angles, you will need to add support structures. However, supports waste material and can be hard to remove, so it is always best to design without them when you can.
Mind Your Wall Thickness
Walls that are too thin will bend, crack, or not print at all. Your model must be strong enough to hold its own weight. Generally, walls should be at least two or three times the width of your printer’s nozzle. For a standard 0.4mm nozzle, this means your walls should be at least 0.8mm to 1.2mm thick. For parts that need to carry heavy loads, make them even thicker. Learning how to balance wall thickness is a major step in learning how to design 3D print models that last. For deeper technical insights, check out this comprehensive guide on 3D design principles.
Understand Tolerances and Clearances
When you design objects that contain multiple parts, you must consider physical fit. Plastic does not behave exactly like a perfect digital model.
Designing Moving Parts
Have you ever tried to print a gear or a hinge, only to find the parts fused together? This happens because 3D printers are not perfect. The plastic expands slightly when it melts. If you design two parts to fit together with zero space between them, they will stick together forever. You must leave a small gap, known as tolerance or clearance. For moving parts, a gap of 0.2mm to 0.4mm is usually enough to let them move freely.
Compensation for Shrinkage
Different plastics behave in different ways. Some materials shrink as they cool down. If you are designing a lid to fit on a box, you must account for this shrinkage. You might need to make the lid slightly larger or the box slightly smaller. A good tip is to print small test rings first. This lets you check the fit before printing the whole model.
Optimize Your Model for the Bed
How you place your model on the build plate changes everything. When you learn how to design 3D print models, you must think about how the model will sit while printing.
Flat Surfaces and Adhesion
Your print needs to stick firmly to the build plate during the print job. If it moves even a tiny bit, the print will fail. To prevent this, always design your model with at least one flat, stable surface. This surface will act as the base. If your model is highly detailed and has no natural flat bottom, consider cutting it in half. You can print the two halves flat on the bed and glue them together later.
Strength and Layer Lines
Remember that 3D prints are weakest along their layer lines. Think of a print like a stack of paper cards. It is easy to split the cards apart. If you print a thin peg standing straight up, it will snap easily under pressure. However, if you print that same peg lying flat on the bed, the long strands of plastic will make it much stronger. Always design with the print direction in mind.
Choose Your Filament Material Early
The type of plastic you use changes how you should design your model. Let’s look at the two most common types.
Designing for PLA
PLA is the easiest plastic to print. It does not shrink much and sticks well to the bed. When you design for PLA, you can focus on fine details. However, PLA gets soft in warm environments. Do not use it for things that sit in a hot car or outside in the sun.
Designing for PETG and ABS
PETG is tough and handles heat well, but it can be sticky. You should design parts with slightly larger clearances for PETG to avoid parts sticking together. ABS is strong but shrinks a lot as it cools. If you design large, flat parts in ABS, they might warp and pull away from the bed. Keep ABS designs compact and use rounded corners to reduce tension.
Final Prep: Slicing and Exporting
After finishing your design, you must prepare it for the printer. Knowing how to design 3D print models for easy slicing makes the process much smoother.
Choosing the Right File Format
Once your model is ready, you need to export it. The most common format is STL, which represents your model as a mesh of triangles. Another great option is 3MF, which holds more data and keeps files smaller. Make sure your mesh is “watertight.” This means there are no holes or missing faces in your digital model. If water could leak out of it, the slicer software will get confused.
Running a Slicer Preview
Before you hit print, load your file into a slicer. The slicer cuts your model into layers and writes the code for the printer. Always look at the layer preview screen. Walk through the layers one by one. This preview is your final safety check. It will show you where supports are needed, how the infill will look, and if there are any weak spots.
Conclusion
Learning how to design 3D print models is a skill that grows with time. Do not expect your first design to be perfect. Start with simple shapes like a custom hook or a basic box. Test your designs, see where they fail, and fix them. Each mistake is a lesson that makes you a better designer. With patience and practice, you will soon be able to create anything you can imagine. Grab your software, start sketching, and enjoy the creative journey!
Frequently Asked Questions
Do I need to be good at math to design 3D models?
No, you do not need advanced math skills to design 3D models. Most modern software handles the complex math for you, allowing you to focus on shapes, measurements, and visual design.
Why did my 3D print fall over during printing?
Your print likely fell over because it did not have enough surface area touching the build plate. To fix this, design a wider flat base or use a slicer feature called a brim to improve bed adhesion.
Can I edit STL files directly?
STL files are difficult to edit because they are made of flat triangles rather than editable shapes. It is always best to make changes in your original CAD software and export a new STL file.
What does it mean if a 3D model is watertight?
A watertight model has a completely closed outer shell with no holes, gaps, or missing faces. Slicers need watertight models to understand what is solid inside and what is hollow.
How can I make my 3D designs stronger?
You can make your designs stronger by increasing the wall thickness, using rounded corners instead of sharp angles, and printing the model in an orientation where the forces run parallel to the layer lines.
Should I design my own supports?
Generally, you do not need to design your own supports because modern slicing software generates them automatically. However, designing custom support tabs can sometimes save print time and material.
