


To make 3D models for printing, you need to choose the right CAD software, design with physical print limitations in mind, and export your file in an STL or OBJ format. By mastering basic shapes, managing wall thickness, and avoiding steep overhangs, you can easily turn your digital ideas into physical objects. Starting with simple, free design tools is the best way to build your skills quickly.
Imagine the thrill of holding an object that only existed in your mind an hour ago. Maybe it is a custom bracket for your shelf. Maybe it is a toy for your child. Or maybe it is a replacement part for a broken home appliance. When you learn how to make 3D models for printing, you gain a superpower. You are no longer limited to what you can buy in a store. You can create exactly what you need, when you need it.
Many people think that 3D design is too hard. They see complex screens with hundreds of buttons and feel lost. But the truth is much simpler. Anyone can learn this skill. You just need the right tools and a few basic rules. You do not need to be an artist or an engineer to get started.
In this guide, we will break down the entire process. We will look at the best software for every skill level. We will learn the vital design rules that keep your prints from failing. Finally, we will show you how to prepare your files for the printer. By the end of this article, you will have a clear roadmap to start your design journey.
Key Takeaways
- Start simple: Use beginner tools like Tinkercad before moving to advanced parametric software.
- Mind the wall thickness: Ensure your walls are at least twice the thickness of your printer nozzle to prevent fragile prints.
- Respect the 45-degree rule: Avoid steep overhangs to reduce the need for messy support structures.
- Ensure watertight meshes: Always close gaps and holes in your model so the slicing software can read it correctly.
- Export to STL or 3MF: Save your projects in standardized formats for hassle-free printing.
Quick Answers to Common Questions
What is the easiest free software for beginners to make 3D models?
Tinkercad is the easiest free software because it lets you build objects using simple, drag-and-drop shapes in your web browser.
Can I use Blender to make 3D models for printing?
Yes, Blender is an excellent and free tool for designing organic shapes, characters, and artistic models for 3D printing.
What file format is best for 3D printing?
The STL format is the most popular and widely supported file type, though the newer 3MF format is also excellent for saving space and data.
Why do my 3D printed designs keep breaking?
Your designs might keep breaking because the walls are too thin or there is not enough internal infill to support the structure.
Do I need a powerful computer to design 3D models?
No, basic web-based tools like Tinkercad run smoothly on simple laptops, though complex sculpting or engineering software may require better hardware.
📑 Table of Contents
Step 1: Choose Your 3D Modeling Software
Before you can draw anything, you need a digital canvas. There are many programs available today. Some are completely free, while others are professional tools. Your choice depends on your goals and your budget. Knowing how to make 3D models for printing starts with finding the software that fits your style.
Beginner-Friendly Options
If you are new to this world, do not start with complex software. You want a tool that lets you play with basic shapes. The easiest place to start is with Tinkercad’s web-based modeling tool. This free program runs right in your web browser. You do not need to download anything. It works by combining simple shapes like blocks, cylinders, and spheres. You can glue these shapes together or use them to cut holes out of other shapes. It is as easy as playing with building blocks.
Intermediate and Advanced Tools
Once you feel comfortable, you might want more control. For functional parts, parametric design is best. This means you design using precise measurements. Fusion 360 and Onshape are wonderful choices for this style. They let you sketch a 2D shape and pull it into the third dimension. If you want to make organic shapes, like characters or sculptures, you need a different tool. Blender is a free, powerful program for digital sculpting. It has a steep learning curve, but it is incredibly powerful. For more options, you can check out Creality’s comprehensive modeling guide to find the perfect fit for your workflow.
Step 2: Understand Key 3D Printing Design Rules
Designing for a screen is different from designing for the physical world. On a computer screen, gravity does not exist. Plastic does not bend. But in the real world, physics always wins. You must learn how to make 3D models for printing by following physical rules.
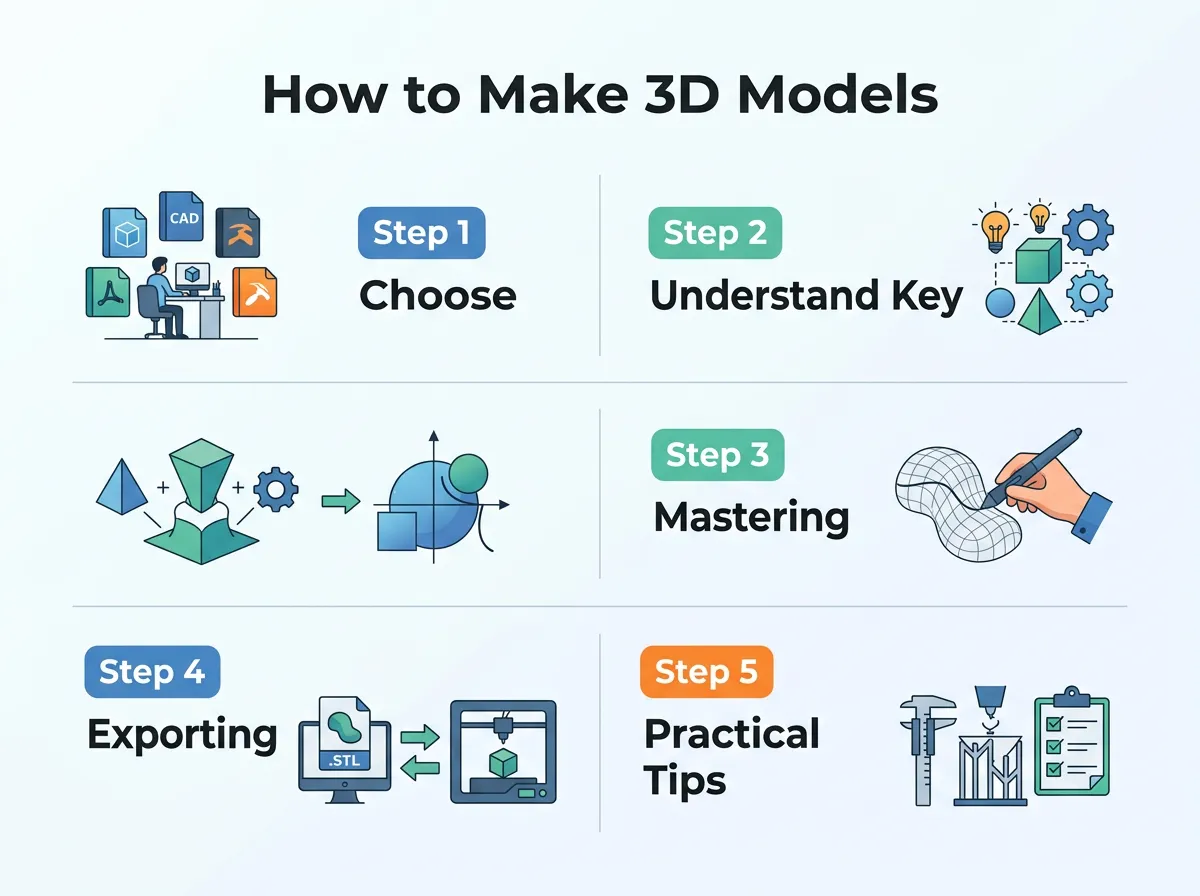
How to Make 3D Models for Printing? — key points at a glance
The Importance of Wall Thickness
A common mistake is making walls too thin. If a wall is too thin, the printer cannot extrude enough plastic to make it strong. It will bend, crack, or even fail to print at all. As a general rule, your walls should be at least twice as thick as your printer’s nozzle size. If you use a standard 0.4mm nozzle, aim for a minimum wall thickness of 0.8mm. For parts that need to hold weight, make them even thicker.
Managing Overhangs and Angles (The 45-Degree Rule)
3D printers build objects layer by layer, from the bottom up. Each new layer needs the previous layer to support it. If you try to print in mid-air, the hot plastic will fall and make a messy nest of plastic spaghetti. This is why you must watch your overhang angles. Most printers can handle an angle of up to 45 degrees without any issues. If your design has angles steeper than 45 degrees, you will need to add support structures. These supports must be peeled off after printing, which can leave rough marks. Designing with gentle slopes helps you avoid this extra work.
Step 3: Mastering the “Watertight” Mesh Concept
When you create a 3D model, the computer sees it as a shell made of flat triangles. This shell must be completely closed.
What is a Watertight Model?
Think of your model as a hollow plastic toy. If you fill it with water, will any water leak out? If the answer is yes, then your model is not watertight. In the design world, this is often called a manifold mesh. If there are holes, gaps, or overlapping faces, the slicing software will get confused. The slicer will not know what is the inside of the model and what is the outside. This can cause the printer to skip layers or fill solid areas with hollow air.
How to Check and Fix Mesh Errors
Luckily, you do not have to find these tiny holes with your bare eyes. Most design programs have built-in tools to check for errors. There are also free repair tools like Netfabb or 3D Builder. These programs can analyze your files and patch any holes automatically. Always run your files through a repair check if your slicing software shows strange warning signs. For a deeper look at these technical steps, you can read Formlabs’ expert design tips to ensure your meshes are always flawless.
Step 4: Exporting Your Model for the Slicer
Once your model is finished and checked, you need to save it. You cannot send your raw design file directly to the printer. Once you master how to make 3D models for printing, exporting files correctly becomes second nature.
Choosing the Right File Format (STL, OBJ, 3MF)
The most common file type for 3D printing is the STL file. It is simple and widely supported by every slicer on the market. Another good option is the OBJ file, which can store color and texture information. Recently, the 3MF format has become very popular. It is smaller than an STL file and holds more data, such as unit measurements and printer settings. Any of these three will work well for most projects.
Importing Into Your Slicer Software
After exporting, you open your file in a slicer program like Cura or PrusaSlicer. The slicer takes your 3D model and cuts it into hundreds of thin, flat slices. It then writes a code file called G-code. This file tells your printer exactly where to move, how fast to go, and how much plastic to melt.
Step 5: Practical Tips for Your First Print Design
Learning how to make 3D models for printing takes practice. Do not expect your very first design to be perfect. Use these practical tips to speed up your learning curve.
Start with Simple Geometric Calibration Prints
Instead of trying to design a complex action figure on day one, start with something basic. Try to make a simple cube with a precise hole in the middle. Print it out and measure it with calipers. This will teach you how your printer handles tolerances. You will learn if a 10mm peg actually fits into a 10mm hole. Usually, you need to add a small gap of about 0.2mm to make parts fit together smoothly.
Learn from Your Printing Failures
Every failed print is a lesson. If your print falls over, look at the base. Did it have enough contact area with the print bed? If the top layers look messy, did you have too many steep overhangs? By looking closely at your failures, you will learn how to design better shapes next time. This hands-on loop of designing, printing, and tweaking is the fastest way to master the craft.
Conclusion
Making your own 3D models is a highly rewarding hobby. It changes you from a consumer into a creator. You start to see the world as a collection of shapes that you can modify and improve. It gives you the power to bring your imagination to life.
Start small with free web tools. Learn the basic rules of walls and angles. Always make sure your files are watertight before you try to print them. With time and practice, you will be able to design anything you can imagine. Grab your digital tools, start sketching, and enjoy the wonderful world of 3D creation!
Frequently Asked Questions
What does watertight mean in 3D printing?
A watertight model has a completely closed shell with no missing faces or open gaps. This ensures that the slicing software can tell the difference between the inside and the outside of the object.
Do I need to learn coding to make 3D models?
No, you do not need any coding skills to design 3D models. Most design software uses visual interfaces where you draw, sculpt, or combine shapes with your mouse.
What is the difference between CAD and sculpting software?
CAD software uses precise measurements and geometric shapes, making it perfect for functional parts. Sculpting software acts like digital clay, which is ideal for organic shapes like animals and characters.
How thick should the walls of my 3D model be?
Your walls should be at least twice the thickness of your printer’s nozzle. For a standard 0.4mm nozzle, aim for a minimum wall thickness of 0.8mm to ensure strength.
Can I turn a 2D picture into a 3D model?
Yes, you can import flat SVG vector files into programs like Tinkercad or Fusion 360 and extrude them into 3D shapes. There are also online tools that can convert images into simple 3D models automatically.
Why does my 3D design need support structures?
Support structures are needed for design parts that hang out at sharp angles or print in mid-air. Without supports, gravity would pull the hot plastic down, causing the print to fail.
