


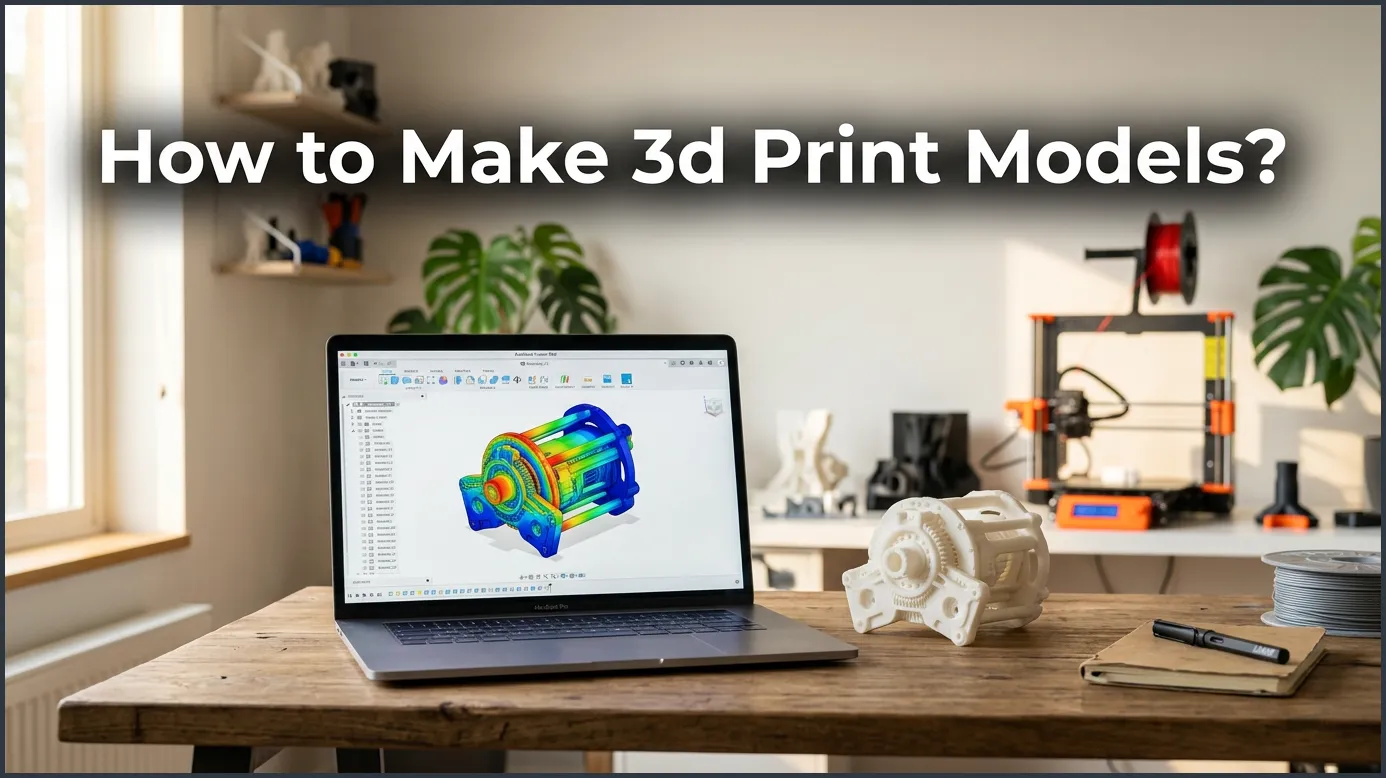
To make 3D print models, you must design a digital 3D object using CAD software, follow key printing rules like wall thickness and supports, and export the file in STL format. Finally, you process the file through a slicer to prepare it for your printer. Anyone can master this creative process with the right steps and a little patience.
Have you ever looked at a plastic item in your house and thought, “I could design a better version of that”? Maybe you want to fix a broken drawer pull, or perhaps you want to make a custom toy for a friend. The ability to create physical items from thin air feels like magic. But before you can print anything, you need a digital design.
Many beginners feel stuck when they face a blank screen. It is easy to think that design is only for engineers or digital artists. The truth is that creating your own objects is highly accessible. This guide will show you exactly how to make 3D print models? even if you have never drawn a line on a computer before. Let us dive into the simple steps to bring your ideas to life.
Key Takeaways
- Pick the Right Software: Start with simple browser tools and move to advanced CAD software as you gain confidence.
- Design for the Real World: Always consider physical limitations like gravity, wall thickness, and flat bases.
- Export Correctly: Save your 3D designs in STL or OBJ formats so your printer can read them.
- Use a Slicer: Slice your model to translate your design into layers and toolpath codes.
- Start Small: Begin with simple objects like keychains to learn the workflow without getting frustrated.
Quick Answers to Common Questions
What is the easiest free software to make 3D print models?
Tinkercad is the easiest free software for beginners because it uses simple drag-and-drop shapes. It runs in your web browser and requires no installation.
What file format do I need for 3D printing?
You need to export your designs as an STL, OBJ, or 3MF file. These formats can be read by slicing software to prepare them for printing.
Can I 3D print a model without support material?
Yes, you can print without supports if your design has angles flatter than 45 degrees and no parts hanging in mid-air.
What is a slicer in 3D printing?
A slicer is software that translates your digital 3D model into layer-by-layer instructions, called G-code, for your printer to follow.
Why did my 3D printed parts not fit together?
Your parts did not fit because you did not design a tolerance gap. You must leave a space of 0.2mm to 0.4mm between pieces to account for plastic expansion.
📑 Table of Contents
Step 1: Choose Your Design Software
Your first step is to pick a tool to build your digital shape. You do not need to spend money to get started. There are fantastic free tools online for every skill level.
Beginner-Friendly Web Tools
If you are brand new, you should start with block-based design. A great place to start is with the free web app Tinkercad 3D design tool. It works right inside your web browser. Instead of drawing lines, you drag and drop shapes like cubes, cylinders, and spheres. You can group these shapes together or use one shape to cut a hole in another. It is as simple as playing with digital toy blocks.
Intermediate and Advanced Software
Once you want to make complex mechanical parts, you will need parametric software. These programs let you type in exact measurements. If you want to learn how to make 3D print models? with professional tools, you can find helpful tutorials in this Instructables 3D modeling guide. Fusion 360 and Onshape are excellent choices for functional parts. For artistic designs like statues or monsters, sculpting software like Blender is the standard.
Step 2: Understand 3D Printing Constraints
Designing for a screen is different from designing for the physical world. In a virtual world, gravity does not exist. In the real world, hot plastic needs support so it does not fall down while printing.
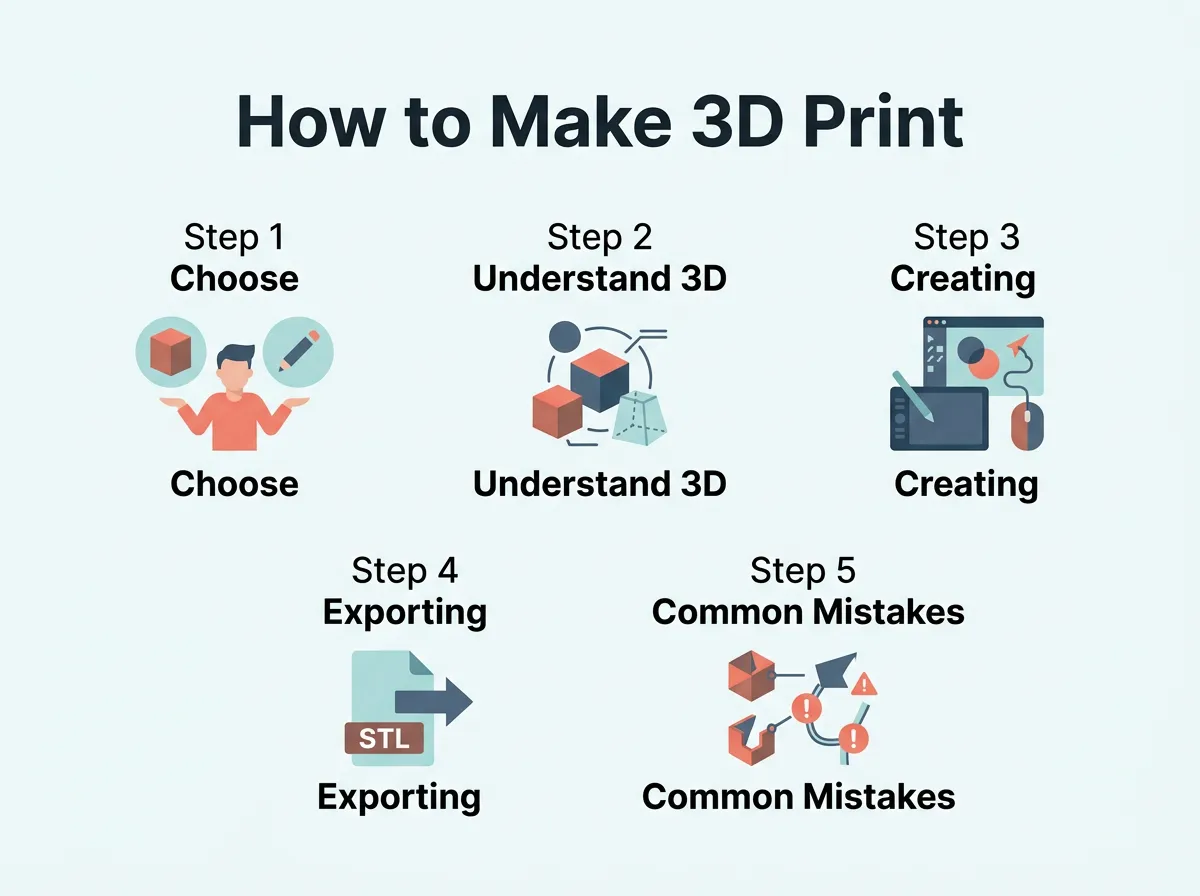
How to Make 3D Print Models? — key points at a glance
The Golden Rule of Overhangs
A 3D printer builds things from the bottom up, layer by layer. Each layer must rest on the one below it. If your design has a part that sticks out into thin air, like the letter Y, the printer can bridge that gap. But if it sticks out at a sharp angle like the letter T, the plastic will drop to the floor. Try to design your models with angles of 45 degrees or less to avoid messy prints.
Wall Thickness and Stability
Your model needs to be strong enough to stand up. If a wall is too thin, the printer will either ignore it or print a flimsy piece that snaps instantly. A good rule is to make your walls at least twice as thick as your printer’s nozzle size. For most printers, this means keeping walls at 0.8 millimeters or thicker.
Step 3: Creating Your First Model Step-by-Step
Let us walk through how to make 3D print models? using a simple example. We will design a custom desk organizer step-by-step.
Sketching Your Idea First
Never start directly in your software. Grab a piece of paper and a pencil. Draw your design from the top and from the side. Write down how big you want it to be in millimeters. Having these numbers ready will save you a lot of time and headache later. You can learn more about this design prep in this Sinterit 3D printing guide.
Building the Base Shape
Open your software and draw a flat square. Extrude that square upward to make a solid box. This box is the main body of your desk organizer. Next, draw a smaller square on top of the box. Use the “cut” or “extrude cut” tool to push that square down into the box. Now you have a cup to hold your pens.
Adding Friendly Details
Sharp corners are weak and can hurt your hands. Use the “fillet” tool in your software to round off the outer corners. This makes the object look professional and print much smoother. Your model is now complete and ready for the physical world.
Step 4: Exporting and Slicing the Model
Once your shape looks perfect, you need to save it. Printers do not read design files directly. They need a special set of instructions.
Exporting to STL or OBJ
Export your model as an STL file. This format turns your beautiful curved shapes into a mesh of tiny triangles. For a detailed breakdown of file types and settings, check out the Creality 3D modeling blog. Make sure your export scale is set to millimeters so your model prints at the correct size.
The Slicing Process
Open your exported file in a slicing program like Cura or PrusaSlicer. The slicer cuts your model into hundreds of flat layers. It generates “G-code,” which is the map your printer’s nozzle will follow. In the slicer, you can choose how dense the inside of your object should be. You do not need to print a solid plastic block. A 15% grid pattern inside will make it strong and save your plastic material.
Step 5: Common Mistakes to Avoid
Every maker makes mistakes. Knowing what to watch out for will save you hours of wasted filament.
Leaving No Tolerances
If you want two printed parts to fit together, like a lid on a box, you cannot make them the exact same size. Plastic expands slightly when it is hot. If you design a 10mm peg to fit into a 10mm hole, it will not fit. Always leave a tiny gap of about 0.2 millimeters around joining parts so they slide together nicely.
Non-Manifold Geometry
Sometimes, a 3D model looks great but has invisible design errors. If two walls overlap or if there is a hole in your model’s skin, it is “non-manifold.” This means the computer cannot figure out what is the inside and what is the outside of the shape. Always double-check your model in your slicer to ensure there are no red error zones.
Conclusion
Learning how to make 3D print models? is a journey of trial and error. Do not be discouraged if your first print does not fit together perfectly. Start with easy shapes, practice your measurements, and always keep real-world physics in mind. Soon, you will look at everyday problems and design custom physical solutions with ease. Grab your mouse, open up a design tool, and start making today!
Frequently Asked Questions
How long does it take to learn how to make 3D print models?
You can learn the absolute basics of building simple shapes in Tinkercad within thirty minutes. To design complex mechanical parts in professional CAD software, it usually takes a few weeks of consistent practice and tutorials.
Do I need a powerful computer to design 3D models?
No, you do not need an expensive computer for basic 3D modeling. Browser-based tools like Tinkercad run easily on cheap laptops and Chromebooks, while complex software like Blender works better with a dedicated graphics card.
Is Blender good for designing functional 3D prints?
Blender is fantastic for artistic models, figures, and organic shapes. However, if you want to make functional objects with exact sizes like gears or brackets, engineering software like Fusion 360 is much better suited.
What is wall thickness and why does it matter?
Wall thickness refers to the width of the outer shell of your print. It matters because walls that are too thin will bend, crack, or fail to print entirely. You should keep them at least 0.8mm thick for good results.
Can I turn a 2D drawing into a 3D print?
Yes, you can import a 2D drawing saved as an SVG file into your CAD software. Once imported, you can extrude the flat drawing upward to give it 3D thickness instantly.
What does non-manifold mean in 3D printing?
Non-manifold means your 3D model has geometric errors, like holes in its outer skin or zero-thickness walls. These errors confuse the slicing software, which makes the model impossible to print correctly without fixing it first.
