


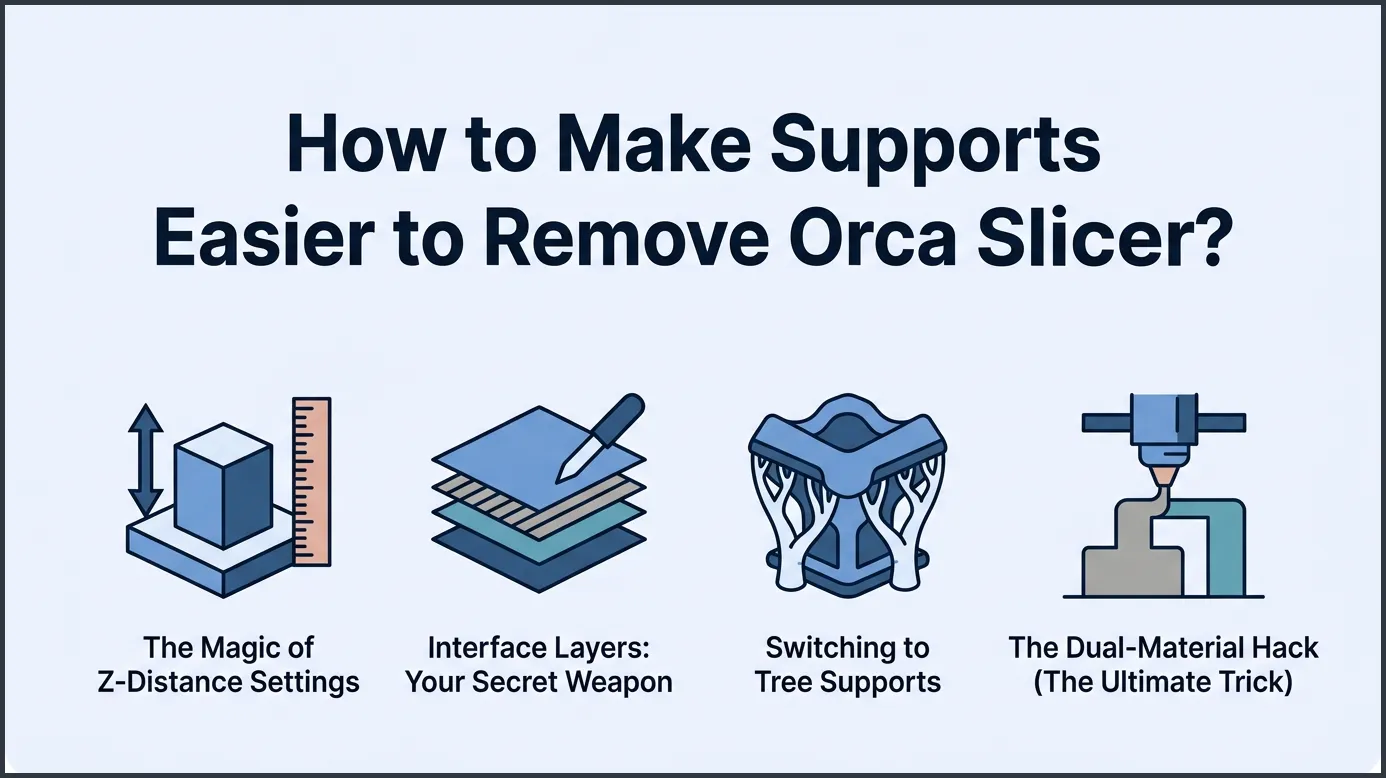
To make 3D print supports break away effortlessly in Orca Slicer, focus on fine-tuning your Z-distance offset to match your layer height. You should also increase the support interface spacing and use easy-to-remove patterns like Tree supports. Using a specialized interface filament like PVA or PETG for PLA prints will also guarantee a clean, scar-free surface finish.
Picture this. You just finished a complex, fifteen-hour 3D print. The model looks absolutely stunning on your build plate. But there is a huge catch. It is covered in a dense, web-like cage of plastic supports. You grab your pliers, take a deep breath, and start pulling. Suddenly, a loud snap echoes through your room. Instead of the support coming off cleanly, a vital limb of your freshly printed model breaks right off. Your heart sinks. We have all been there, and it is easily one of the most frustrating moments in 3D printing.
When you transition to a modern slicer, you expect things to get better. You want smoother finishes, faster prints, and less wasted plastic. If you are using Orca Slicer, you are already using one of the best tools available today. But even with top-tier software, default support settings can often fuse to your models like permanent superglue. You might find yourself searching for how to make supports easier to remove Orca Slicer? to save your future prints from the trash bin.
Fortunately, you do not have to settle for rough surfaces or broken models. Orca Slicer gives you incredible, fine-grained control over how supports are built. By adjusting a few key values, you can make supports practically fall off with a gentle pull of your fingers. In this deep dive, we will explore the best settings, hidden tricks, and simple material hacks to make your post-processing clean and painless.
Key Takeaways
- Increase Z-Distance: Setting your Top Z-Distance between 0.2 mm and 0.25 mm creates a clean gap that prevents supports from melting into your model.
- Use Tree Supports: Tree supports use less filament, print faster, and pop off far easier than traditional grid structures.
- Lower Interface Density: Reducing your support interface density to 30%-50% minimizes the contact area while maintaining excellent support.
- Try the PETG/PLA Trick: Using PETG as an interface material for PLA prints ensures that the support falls off naturally with zero scarring.
- Boost Part Cooling: Keeping your part cooling fan at 100% for the first layers above supports solidifies the plastic instantly, preventing fusion.
- Settle the Speed: Slowing down support speeds to 80-100 mm/s prevents messy extrusions that can cause supports to weld to your walls.
Quick Answers to Common Questions
What is the best Z-distance for PLA supports in Orca Slicer?
The best Z-distance for PLA is typically between 0.2 mm and 0.25 mm. This setting creates a small air gap that prevents the hot filament from fusing to the support.
Can I use PETG as a support interface for PLA prints?
Yes, PETG is an excellent support interface material for PLA because they do not bond to each other. This allows the supports to pop off cleanly, leaving a perfectly smooth finish.
How do I stop my tree supports from falling over?
You can stop tree supports from falling over by increasing the support brim width to 5 mm or 10 mm. This dramatically improves build plate adhesion for tall, thin branches.
What is the ideal support interface density in Orca Slicer?
An interface density of 30% to 50% is ideal for easy removal. This provides a balance of solid support and minimal contact points.
Why do my supports fuse to the walls of my prints?
Your supports are fusing because the horizontal X/Y offset is set too low. Increasing your Support Interface X/Y Spacing to 0.8 mm or higher will prevent this issue.
📑 Table of Contents
The Magic of Z-Distance Settings
The single most important factor in support separation is the vertical gap between the support structure and your model. This is known as the Z-distance. If this gap is too small, the hot plastic of your model will melt directly into the support layer. If the gap is too large, your model will sag, leading to a messy and ugly surface. Finding the sweet spot is the first step in learning how to make supports easier to remove Orca Slicer? for all your models.
Top Z-Distance: The Golden Variable
In Orca Slicer, the Top Z-Distance determines the gap right above the support before the model starts printing. By default, this value is often set too tight. For most standard PLA prints, a Top Z-Distance of 0.2 mm to 0.25 mm is ideal. If you are using a 0.2 mm layer height, keeping the Z-distance equal to one layer height works wonders. If you still find supports hard to remove, try increasing this to 0.28 mm. This small adjustment creates a tiny air gap that prevents the layers from bonding too strongly.
Bottom Z-Distance Explained
The Bottom Z-Distance is the opposite. It controls the gap when a support structure sits on top of an existing model surface. If you do not set this correctly, the support feet will fuse to the top faces of your model, leaving horrible scars. Setting this to 0.2 mm ensures that the support stands firmly but can still be popped off easily with a scraper. For a detailed breakdown of these fundamental values, check out this comprehensive 3d printing supports guide with Orca Slicer to master your early setups.
Interface Layers: Your Secret Weapon
Many beginners do not realize that supports are divided into two main parts. There is the main support tower, and then there is the support interface. The interface is a thin, dense raft of plastic that sits directly between the support tower and your model. Tuning this section is a fantastic way to learn how to make supports easier to remove Orca Slicer? without losing surface quality.
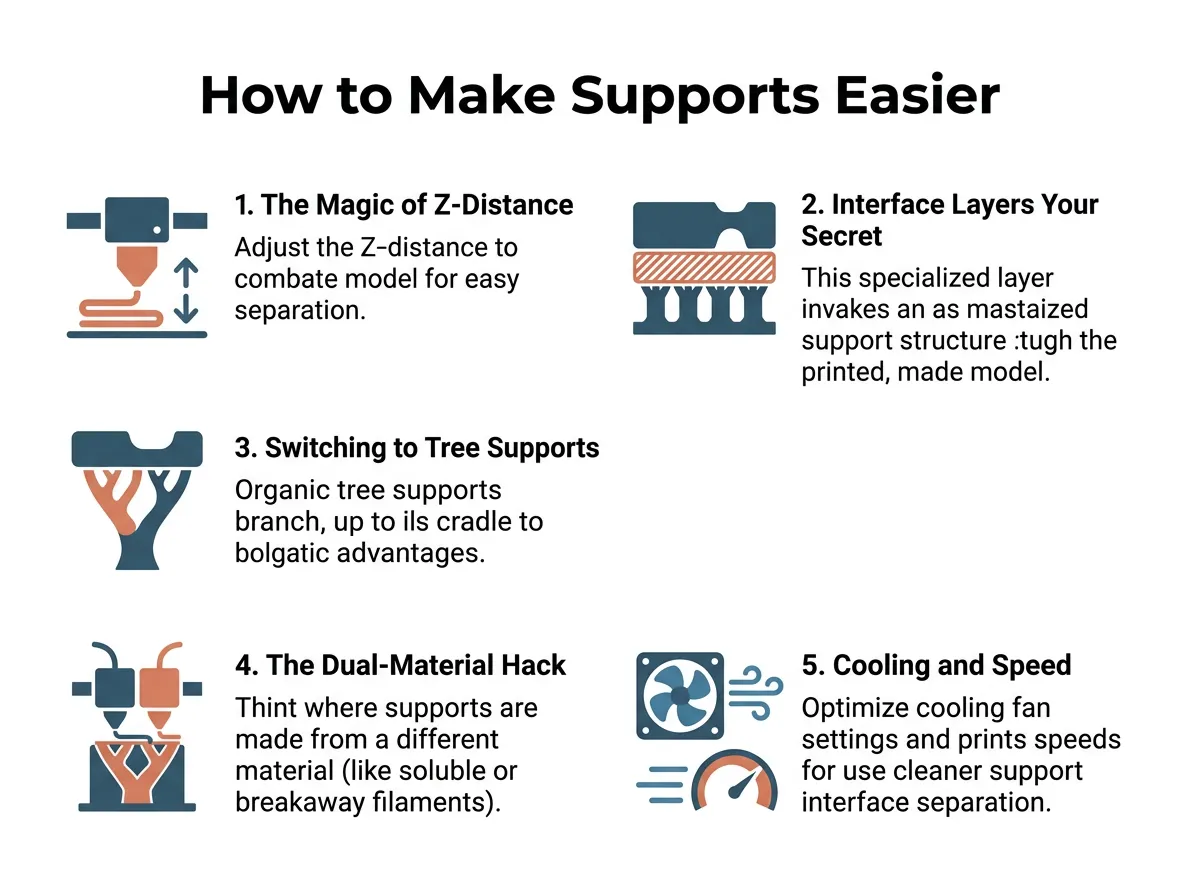
How to Make Supports Easier to Remove Orca Slicer? — key points at a glance
Adjusting Interface Density
If your interface density is 100%, it creates a solid sheet of plastic. This solid sheet bonds heavily to your model. To make removal painless, try dropping your interface density to between 30% and 50%. This creates a grid-like pattern instead of a solid block. The support will still hold your model up, but it will have far fewer points of contact, making it incredibly easy to peel off.
Increasing Interface Spacing
Another powerful setting is the Support Interface X/Y Spacing. This controls the horizontal gap between the support structure and the walls of your model. If this value is too low, the supports will merge with the sides of your print. Increasing this value to 0.8 mm or even 1.0 mm creates a safe buffer zone. This prevents any side-fusing and ensures your vertical walls remain perfectly clean and smooth. For additional troubleshooting, many community members share their success stories on the best support settings for clean 3d print removal forum threads, which highlight similar interface tweaks.
Switching to Tree Supports
If you are still using traditional grid or snug supports, you are missing out. Traditional supports build massive walls of plastic that can be extremely tough to remove. Tree supports, on the other hand, are a game-changer for almost every organic or complex model.
Why Tree Supports Are Superior
Tree supports grow like branches from the build plate. They curve around your model and only touch it where absolutely necessary. Because they have a hollow, trunk-like structure, they use much less filament. More importantly, they are highly flexible. When you grab a tree support, you can easily twist and bend it, causing the branches to snap cleanly off the model surface with minimal effort.
Fine-Tuning Tree Support Settings
To get the best results with tree supports in Orca Slicer, select the “Tree Auto” option. Set the branch angle to around 45 degrees to allow them to stretch safely. Keep the branch diameter relatively small, around 2 mm to 3 mm. This keeps the supports lightweight, saving print time and material while making them incredibly easy to crunch and pull away.
The Dual-Material Hack (The Ultimate Trick)
What if you want absolute perfection? What if you want a bottom surface that looks just as good as the top, with zero scars? If you have a multi-material printer, like a Bambu Lab machine with an AMS, there is a brilliant trick you can use.
Using PETG as an Interface for PLA
PLA and PETG do not bond to each other. They hate each other on a molecular level. If you try to print them together, they will repel. We can use this chemical property to our advantage. You can print your entire model and support structures in PLA, but set the Support Interface material to PETG. When the printer builds the interface layer, it switches to PETG. Because the PLA model rests on PETG, the supports will literally fall off on their own, leaving a perfectly smooth glassy surface. You can learn more about how to implement this advanced technique in this helpful discussion on how to ensure support is easily removable using multi-material systems.
Configuring Orca Slicer for Multi-Material Supports
To set this up, go to your Support tab in Orca Slicer. Under “Filament for Supports,” change the “Support Interface Filament” to your secondary material slot (e.g., PETG). Ensure your flushing volumes are set correctly so the two materials do not mix in the nozzle, as any leftover PETG in the PLA model can cause weak layers. This is the ultimate answer to how to make supports easier to remove Orca Slicer? if you own a multi-filament system.
Cooling and Speed: The Overlooked Factors
Sometimes, your physical settings are perfect, but your thermal settings are causing issues. If your printer runs too hot, or if the cooling fan is too slow, the plastic will stay molten for too long. This extra heat causes the model and the support to melt into one single piece of plastic, and is a key factor when exploring how to make supports easier to remove Orca Slicer? on tall prints.
Maxing Out Your Fan Speed
Always ensure your auxiliary and part cooling fans are running at 100% when printing the layers directly above the supports. This rapid cooling solidifies the model plastic before it has a chance to fuse with the support interface. In Orca Slicer, you can find these settings under the Filament Cooling tab.
Slowing Down for Accuracy
Printing supports too fast can cause messy extrusions that sag and stick to your model. Try lowering your support printing speed to around 80 mm/s or 100 mm/s. A slower, cooler extrusion creates a highly defined, clean boundary between your print and its supports. This small speed drop saves you hours of sanding and scraping later.
Conclusion
Getting clean prints does not have to be a guessing game. By mastering Z-distance, refining your interface layers, and using tree supports, you can easily solve the mystery of how to make supports easier to remove Orca Slicer? once and for all. Take a few minutes to experiment with these settings on a small test print. Once you find the perfect balance for your specific printer and filament, you will enjoy clean, pristine prints that pop right off the build plate without a single scratch.
Frequently Asked Questions
How does cooling affect support removal in Orca Slicer?
High cooling fan speeds are essential because they solidify the model’s plastic before it can fuse with the support structure. If your fan speeds are too low, the heat will weld the support to your print. Keep your auxiliary and part cooling fans at 100% for the interface layers.
What is the difference between normal and tree supports?
Normal supports build rigid walls directly beneath overhangs, which can use a lot of material and be tough to remove. Tree supports grow organic branches that only touch the print where necessary. This organic design uses less filament and is significantly easier to peel off.
Should I change my support printing speed?
Yes, slowing down your support printing speed can yield cleaner results. Printing supports too fast often leads to messy, sagging layers that bond aggressively to your model. Aim for a support speed of 80 mm/s to 100 mm/s for the best balance of speed and quality.
How do I adjust support settings for PETG prints?
PETG sticks to itself very well, so you will need a larger Z-distance than PLA. Set your Top Z-Distance to 0.24 mm or 0.28 mm to ensure clean separation. Additionally, ensure your filament is completely dry, as wet PETG tends to string and fuse easily.
What is the Support Interface X/Y Spacing?
This setting controls the horizontal distance between the support structures and the outer walls of your model. If it is too low, the supports will merge with the sides of your print, leaving ugly marks. Setting it to 0.8 mm or 1.0 mm ensures a safe horizontal buffer zone.
Why are my supports still hard to remove after changing settings?
If your settings are optimized but supports remain stuck, you might be over-extruding filament. Calibrate your extrusion multiplier (flow rate) to make sure your nozzle is not laying down excess plastic. A properly calibrated flow rate is crucial for all clearance-based settings to work.
