


Setting up your Prusa 3D printer with Orca Slicer is easy and highly rewarding. By downloading Orca Slicer, selecting the built-in Prusa system profiles, and configuring your physical connection settings, you can unlock advanced calibration tools and superior print quality. This seamless transition allows you to enjoy the best features of both Prusa hardware and Orca software.
Imagine having a trusty Prusa printer sitting on your desk. It is a workhorse. It prints day in and day out without a single complaint. But lately, you have been seeing beautiful screenshots of Orca Slicer all over your social media feeds. The dark mode look, the built-in calibration tools, and the clean interface seem highly tempting. You might be wondering if you can use this amazing slicer with your reliable Prusa machine.
The short answer is yes. You can absolutely pair these two powerhouses together. Many makers are doing this to get the absolute best of both worlds. You keep the unmatched reliability of Prusa hardware, and you gain the cutting-edge features of Orca. But how exactly do you bridge the gap?
In this detailed guide, we will walk you through the entire process step by step. We will cover downloading the software, selecting the perfect system profiles, and setting up wireless printing. By the end of this article, you will know exactly how to set up your Prusa printer to Orca Slicer and start printing like a pro.
Key Takeaways
- Built-in Profiles: Orca Slicer includes excellent pre-configured system profiles for almost all Prusa printer models.
- Advanced Calibration: You get built-in tests for flow rate, pressure advance, and temperature.
- Prusa Connect Support: You can send files directly to your printer via local network or Prusa Connect.
- User-Friendly Interface: Orca Slicer offers a clean layout that combines the best features of Bambu Studio and PrusaSlicer.
- Easy Customization: Fine-tuning filament profiles is quick and saves print time.
Quick Answers to Common Questions
Can I use Orca Slicer with older Prusa models like the MK3S+?
Yes, Orca Slicer comes with pre-configured system profiles for almost all older Prusa models, including the popular MK3S+ and MK2.5S. You simply need to select your model during the initial setup wizard.
How do I send G-code directly from Orca Slicer to my Prusa printer?
You can connect Orca Slicer to your printer via your local network using Prusa Link or through the cloud via Prusa Connect. Just enter your printer’s IP address and API key into the connection settings menu.
Does Orca Slicer support multi-material printing with the Prusa MMU?
Yes, Orca Slicer fully supports multi-material printing with the Prusa MMU3 and MMU2S systems. You can assign different filaments to specific parts of your model right from the prepare tab.
Can I import my existing PrusaSlicer settings into Orca Slicer?
While you cannot import entire configuration bundles directly, you can easily copy individual settings like speeds, retraction, and temperatures manually. Many of the default profiles in Orca Slicer are already based on optimized PrusaSlicer values.
Is Orca Slicer free to use for Prusa printers?
Yes, Orca Slicer is entirely free and open-source software. You can download and use all of its advanced features with your Prusa printer without paying any subscription fees.
📑 Table of Contents
Why Switch to Orca Slicer for Your Prusa?
Let us talk about why you would want to do this in the first place. PrusaSlicer is already an incredible piece of software. It is stable and gets regular updates. However, Orca Slicer brings some unique advantages to the table. It is a fork of Bambu Studio, which itself is a fork of PrusaSlicer. This means Orca Slicer has Prusa DNA at its core, but it comes with a fresh, modern layout and extra features. If you want to know more about the background of this software, you can check out this comprehensive Orca Slicer guide to see why it has become so popular among hobbyists.
Built-in Calibration Tools
Calibration can be a painful chore. Usually, you have to download external files, calculate values manually, and hope for the best. Orca Slicer changes all of that. It has an entire calibration menu built right into the top bar. With just a few clicks, you can generate tests for flow rate, pressure advance, temperature, and even vibration (VFA). This makes tuning new filaments incredibly fast and fun.
Improved Interface and Multi-Plate Management
Orca Slicer allows you to have multiple build plates in a single project file. This is a game-changer for large projects with many parts. You no longer have to open ten different project windows. You can arrange, slice, and send multiple plates to your printer from one screen. The dark mode is also very easy on the eyes during late-night printing sessions.
Step 1: Downloading and Installing Orca Slicer
First, we need to get the software on your computer. Orca Slicer is completely free and open-source.
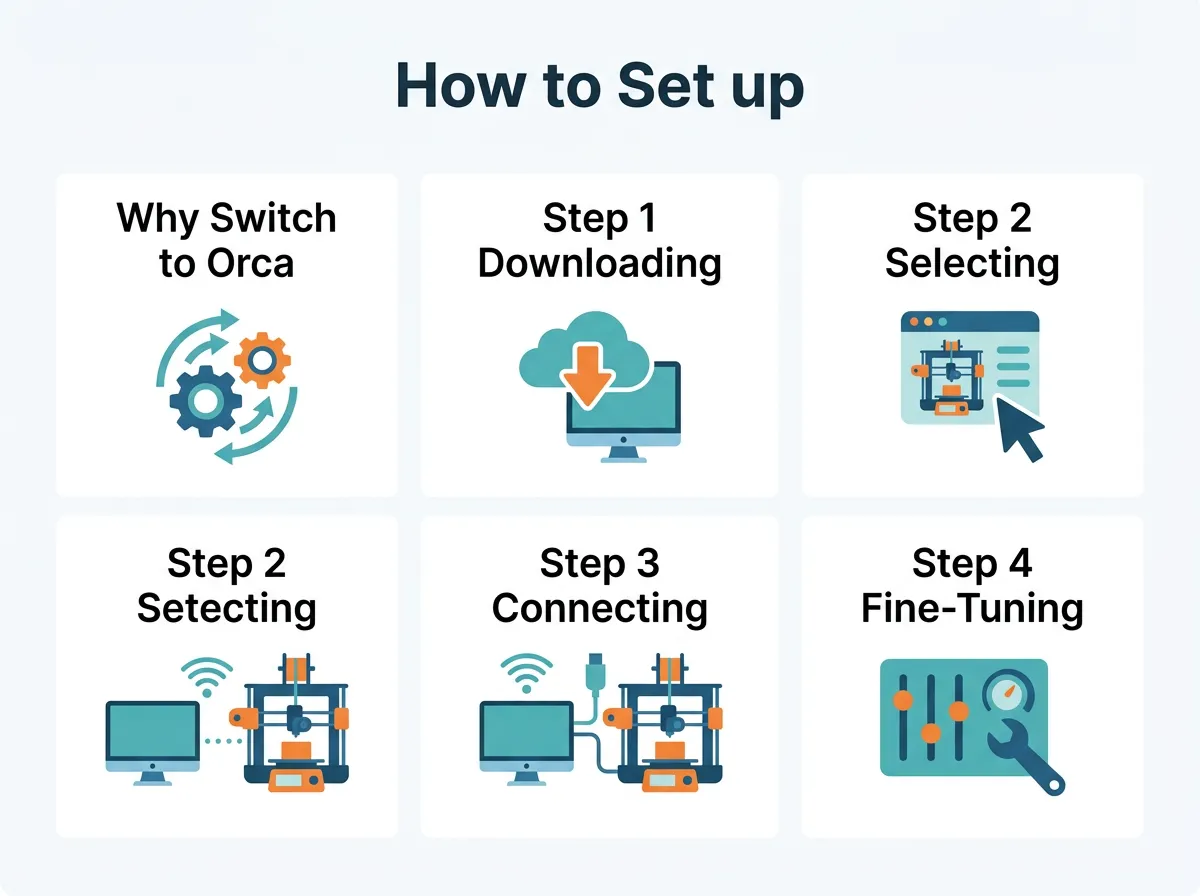
How to Set up Your Prusa Printer to Orca Slicer? — key points at a glance
Getting the Latest Release
Head over to the official Orca Slicer GitHub page. Look for the “Releases” section on the right-hand side. Download the installer that matches your operating system, whether you are on Windows, macOS, or Linux. Run the installer and follow the simple on-screen instructions.
Running the Setup Wizard
When you open Orca Slicer for the first time, a setup wizard will greet you. It will ask you for your region and default units. Do not worry too much about the settings here, as you can easily change them later. Once you clear this step, you will be taken to the main workspace.
Step 2: Selecting Your Prusa Printer Profile
Now comes the crucial part. We need to tell Orca Slicer exactly what kind of Prusa printer you own. Fortunately, the development team has done a lot of heavy lifting for us. Learning how to set up your Prusa printer to Orca Slicer is highly straightforward because of these built-in options.
Loading the Pre-configured System Profiles
Click on the printer dropdown menu on the top left of the screen. Select “Add/Remove Printers.” A window will pop up showing many different 3D printer brands. Scroll down until you find the Prusa section. Check the box next to your specific printer model. Whether you have an older Prusa i3 MK3S+, a brand-new MK4, or a massive Prusa XL, you will find a dedicated profile waiting for you. To learn more about how Orca Slicer printer profiles work and how to set them up, you can refer to this Orca Slicer printer profiles guide.
Choosing Your Nozzle Size
Make sure you check the box for the correct nozzle size. Most Prusa printers come with a standard 0.4mm nozzle. If you have upgraded to a 0.6mm or 0.25mm nozzle, select those profiles too. Click “Confirm” at the bottom. Your selected Prusa printer profile will now load into the main screen, complete with a virtual 3D bed that matches your actual machine.
Step 3: Connecting Your Prusa to Orca Slicer
Printing with a USB drive is fine, but sending files wirelessly is much better. Let us set up your network connection so you can send G-code with a single click.
Network Settings for Prusa Link
If you use Prusa Link, connecting is simple. Click on the small Wi-Fi icon next to your selected printer profile in Orca Slicer. A connection settings window will open. Choose “OctoPrint/PrusaLink” as your connection type. Enter your printer’s IP address in the “Hostname” field. Next, find your API key in your Prusa Link settings and paste it into the “API Key” field. Click “Test” to make sure everything works. If the connection is successful, you are ready to go.
Connecting via Prusa Connect
For those using cloud management, setting up the connection might require a few extra steps. If you run into issues, there is a very helpful Prusa Connect setup forum thread where users share their configurations and troubleshooting tips. Generally, you can use the physical printer profile settings in Orca Slicer to link your cloud API credentials, allowing you to monitor and control your prints from anywhere.
Step 4: Fine-Tuning and Running Your First Test Print
Now that you know how to set up your Prusa printer to Orca Slicer, let us look at how to run your very first print successfully. With your printer profile selected and your connection verified, you are ready to slice.
Importing Your Filament Profiles
Orca Slicer comes with generic filament profiles for PLA, PETG, ABS, and TPU. These work surprisingly well with Prusa machines. Select the generic filament that matches your spool. If you want to use Prusa-specific filaments like Prusament, you can easily create a custom profile by adjusting the printing temperatures and cooling fan speeds to match Prusa’s recommendations.
Slicing Your First File
Drag and drop a simple 3D model, like a calibration cube, onto the virtual build plate. Click the “Slice” button in the top right corner. The software will process the model in seconds. Take a moment to look at the preview screen. Use the slider on the right to inspect different layers. Check the speed, flow rate, and line width views to make sure everything looks correct.
Sending the G-code
If you set up your network connection earlier, you can click “Print.” This will send the sliced file directly to your Prusa printer. If you prefer the physical method, click “Export G-code” and save it to your SD card or USB drive. Insert it into your Prusa, hit print, and watch the magic happen.
Conclusion
Setting up Orca Slicer for your Prusa printer is a fantastic way to upgrade your 3D printing workflow. The combination of Prusa’s legendary hardware reliability and Orca Slicer’s advanced features creates a truly powerful toolset. From easy built-in calibrations to seamless network connections, you now have everything you need to succeed. Do not be afraid to experiment with different settings and explore the calibration tab. The transition might take a few days of getting used to, but the results on your build plate will speak for themselves. Happy printing!
Frequently Asked Questions
Why is my Prusa printer not connecting to Orca Slicer?
This is usually due to an incorrect IP address or a mistyped API key. Make sure your printer is on the same Wi-Fi network as your computer and double-check your credentials in Prusa Link. If the issue persists, restarting your router and printer can often resolve the connection glitch.
Are Orca Slicer profiles as good as the official PrusaSlicer profiles?
Yes, the default system profiles in Orca Slicer are highly optimized and closely match the official ones. Because Orca Slicer is built on the same core code as PrusaSlicer, you can expect similar print speeds and structural quality right out of the box.
How do I run a calibration test in Orca Slicer for my Prusa?
Simply click on the “Calibration” menu located in the top menu bar of Orca Slicer. From there, select the test you want to run, such as the flow rate or temperature tower, and the software will automatically generate the model and G-code for you. Once printed, inspect the results and update your filament profile settings accordingly.
Can I monitor my Prusa’s webcam feed directly inside Orca Slicer?
Yes, you can easily view your webcam feed within the slicer. Go to the “Device” tab in Orca Slicer after setting up your network connection to view live video, adjust printer temperatures, and pause or stop prints in real-time.
What is the difference between PrusaSlicer and Orca Slicer?
While both share a similar slicing engine, Orca Slicer offers a more modern user interface, advanced multi-plate management, and built-in calibration utilities. It also features a streamlined workflow adapted from Bambu Studio, which some users find more intuitive.
Should I use Orca Slicer for my Prusa XL or Core One?
Yes, Orca Slicer is an excellent choice for both the Prusa XL and the new Core One. The built-in multi-tool and high-speed coreXY profiles are regularly updated by the open-source community to ensure you get excellent results on these advanced machines.
