


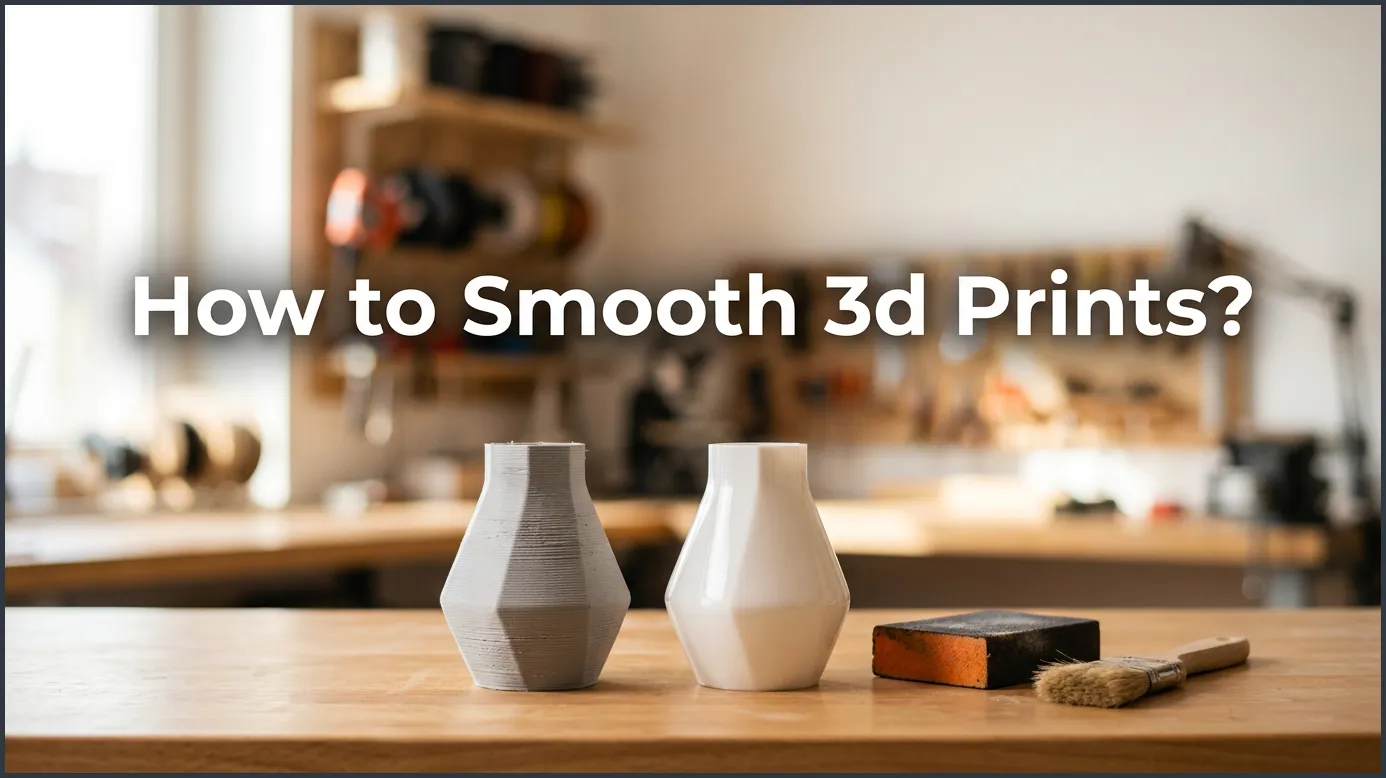
Smoothing 3D prints involves removing visible layer lines through physical sanding, chemical vapor polishing, or applying surface coatings like epoxy. The best method depends on your filament type, as ABS responds beautifully to acetone vapor while PLA is best smoothed with sanding and primers. By choosing the right post-processing technique, you can easily transform rough prints into sleek, professional-grade models.
Have you ever spent hours waiting for a 3D print, only to find ugly ridges all over it? Those lines are normal for FDM prints. We all want our models to look smooth and shiny like shop toys. But how do we get rid of those rough ridges? Learning how to smooth 3D prints is the best way to improve your skills. It turns basic plastic shapes into stunning display pieces.
In this guide, we will explore the best ways to get a sleek surface on your projects. We will cover physical tools, chemical vapors, and easy spray coatings. You do not need fancy factory machines to do this at home. With a little patience, some cheap materials, and the right steps, you can achieve a perfect finish. Let us dive in and learn how to make your prints shine!
Key Takeaways
- Sanding is universal: Physical sanding works on almost all filament types, including PLA, ABS, and PETG.
- Chemicals are material-specific: Acetone works wonders on ABS and ASA but will not smooth PLA.
- Safety first: Always wear a mask and work in a well-ventilated area when using chemicals or sanding plastics.
- Primers hide imperfections: Spray primers and high-build fillers help fill in layer lines before painting.
- Heat is an option: A heat gun can remove minor stringing and restore color to stressed plastic.
- Coatings add strength: Epoxy resins like XTC-3D create a thick, glossy, and durable outer shell.
Quick Answers to Common Questions
Can you use nail polish remover to smooth PLA prints?
No, nail polish remover contains acetone, which does not dissolve or smooth PLA plastic. It will only work on ABS or ASA materials.
What sandpaper grit is best for smoothing plastic prints?
It is best to start with a rough 120 or 220-grit sandpaper to remove major lines, then progress to 400, 800, and 1000-grit for a polished finish.
Is wet sanding better than dry sanding for 3D prints?
Yes, wet sanding is much better because the water keeps the plastic cool and prevents it from melting due to friction. It also washes away plastic dust to keep your sandpaper clean.
How does a high-build primer help in smoothing?
A high-build primer is a thick paint that flows into the low valleys of your layer lines. Once dry, you sand the high spots down, leaving a flat and perfectly even surface.
Can you use a heat gun to smooth layer lines?
A heat gun cannot melt away deep layer lines without warping your model, but it is excellent for removing thin stringing and restoring the plastic’s color after sanding.
📑 Table of Contents
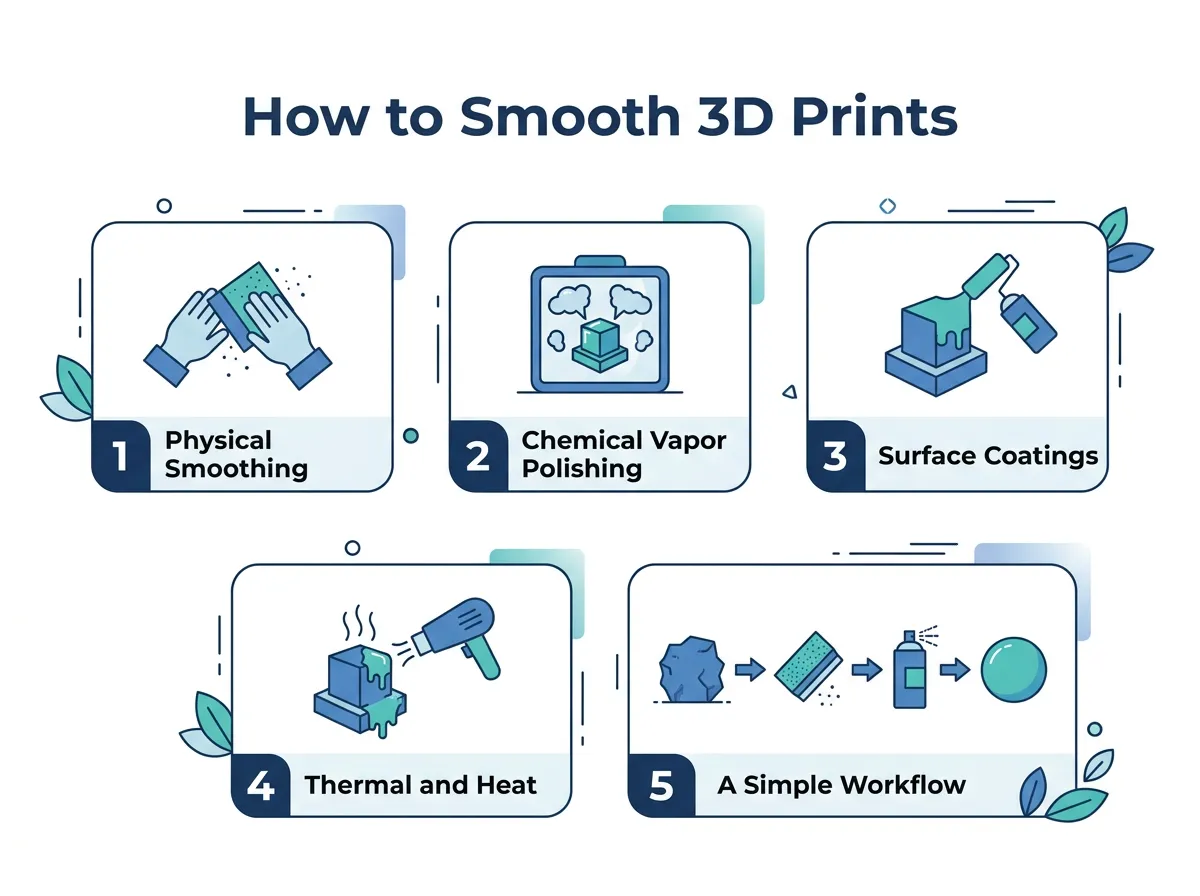
1. Physical Smoothing: The Power of Sanding
Sanding is the oldest and most reliable way to smooth plastic. It works on PLA, ABS, and PETG. Think of it as scraping away bumps to find the shape underneath. If you want to know how to smooth 3D prints quickly, sanding is the best place to start.
The Magic of Wet Sanding
Start with a low-grit sandpaper. A 220-grit paper is perfect. This rough paper cuts through ridges fast. When the surface feels flat, use higher grits. Move to 400-grit, then 800-grit, and then 1000-grit. Here is the big secret. Use water. Wet sanding keeps the plastic cool. Dry sanding makes heat from friction. This can melt the plastic. Water washes away dust. This stops your paper from clogging. It makes the surface very smooth.
Using Sanding Blocks and Files
Do not just use your bare fingers to hold the sandpaper. Your fingers are soft and will press unevenly into the plastic. This can ruin sharp edges and flat planes. Instead, wrap your paper around a small wooden block. For tiny details, use needle files or emery boards. These small tools help you reach tight corners without destroying the surrounding details. If you want to explore more methods, you can check out this guide on how to smooth 3D prints using simple tools.
2. Chemical Vapor Polishing for a Glossy Look
If you hate the manual labor of sanding, chemical smoothing is a great shortcut. This method uses chemical fumes to melt the outer skin of your print slightly. As the plastic melts and cools, it fuses into a perfectly glassy skin.
How to Smooth 3D Prints? — key points at a glance
The Acetone Vapor Method for ABS
If you print with ABS or ASA, you are in luck. Acetone is a cheap liquid that melts these plastics easily. To use this method, you place your print inside a sealed container. Line the walls of the container with paper towels soaked in acetone. The liquid will evaporate and fill the box with fumes. These fumes gently melt the outer layer of your print in just a few minutes. You must watch it closely so your print does not turn into a puddle! Once done, take it out and let it dry. The result is a mirror-like shine. Always do this outside or in a room with open windows, as acetone fumes are highly flammable and toxic.
Can You Chemically Smooth PLA?
Many hobbyists wonder how to smooth 3D prints made of PLA. PLA is the most popular filament, but it does not react to acetone. To dissolve PLA, you need very dangerous chemicals like tetrahydrofuran (THF) or ethyl acetate. These are hard to find and highly toxic. For hobbyists, chemical smoothing is not safe for PLA. Instead of harsh solvents, you can try safer techniques. For instance, you can read about an easy way to smooth PLA without using toxic chemicals or endless sanding. This keeps your workshop safe and your lungs clean.
3. Surface Coatings and Fillers
Sometimes, it is easier to fill in the gaps rather than sand them down. This is where primers and epoxy coatings come in handy. They add material to the print to hide the low spots.
High-Build Spray Primers
If you plan to paint your model, high-build spray primer is your best friend. This is a thick paint that is designed to settle into the low valleys of your print. You spray a light coat, let it dry, and then sand it lightly. The primer stays in the cracks, making the surface level. Repeat this process two or three times. By the time you apply your final color coat, the lines will be totally invisible. It is a very forgiving process that yields professional results.
Epoxy Resins for a Glass-Like Shell
For parts that need to be both smooth and strong, try a two-part epoxy resin. Brands like XTC-3D make epoxies designed just for 3D prints. This is a common trick when studying how to smooth 3D prints with thick surfaces. You mix the two liquids and brush a thin layer onto your print. The self-leveling liquid flows into the layer lines and cures into a hard, glossy shell. It is a fantastic option for large, organic shapes like cosplay helmets or sculptures. Just be careful not to apply it too thickly, or you might lose fine details. For more tips on finishing tools, look at this article about how to smooth 3D prints with different coatings.
4. Thermal and Heat Treatments
Heat is another tool to shape and finish your prints. It requires a gentle hand, but it can solve several issues in seconds.
Using a Heat Gun Wisely
A heat gun is great for two things: removing stringing and fixing discoloration. After printing, you might have tiny hairs of plastic all over your model. A quick pass with a heat gun on low heat will melt these hairs away instantly. Also, after sanding, plastic often looks dusty or pale. Applying quick, light heat will melt the surface micro-scratches. This restores the bright, original color of the filament. Just keep the gun moving. If you hold it in one spot for more than a second, your print will warp and warp fast.
5. A Simple Workflow on How to Smooth 3D Prints
Let us put all these tips into a simple, step-by-step workflow that any beginner can follow.
Step 1: Clean and Prep
Start by removing all support material. Use a utility knife or flush cutters to trim away any stray blobs of plastic. Wash the print with dish soap to remove oils from your hands.
Step 2: Dry Sanding
Use 120-grit or 220-grit sandpaper to knock down the biggest ridges. Focus on flat areas and visible seams. Wipe away the plastic dust with a microfiber cloth.
Step 3: Prime and Fill
Spray a thin coat of high-build primer. Let it dry for 30 minutes. You will see the layer lines stand out, which is good.
Step 4: Wet Sanding
Dip some 400-grit sandpaper in water. Gently sand the primed surface. The gray primer will remain in the deep lines, while the high spots will show the raw plastic.
Step 5: Final Coat
Repeat the priming and wet sanding with 800-grit paper if needed. Once the surface is completely uniform and smooth, apply your final color paint and a clear topcoat to protect your hard work.
6. Safety Tips for Post-Processing
When planning how to smooth 3D prints, safety should always be your top goal. Smoothing prints can be a messy and chemical-heavy process. You must protect yourself to enjoy your hobby safely.
Wear a Dust Mask
Sanding plastic produces tiny, invisible dust particles. Breathing in plastic dust can irritate your lungs and cause long-term health issues. Always wear a snug dust mask or respirator when sanding.
Work in Well-Ventilated Areas
Sprays, solvents, and epoxies release strong chemical fumes. Never use them in a closed bedroom or basement. Always work outside, in a garage with the door open, or near a strong exhaust fan. Wear nitrile gloves to keep toxic chemicals off your skin.
Conclusion
Mastering how to smooth 3D prints takes some practice, but the results are worth every second. Whether you choose to sand, apply chemical vapors, or use thick coatings, each method has its place. Start with basic sanding and primer to build your skills. Soon, you will be making prints that look like they came straight off a factory assembly line. Happy printing and smoothing!
Frequently Asked Questions
Is chemical smoothing safe to do at home?
Chemical smoothing can be safe if you take the proper precautions. Always use chemicals like acetone in a well-ventilated area or outdoors, and wear a mask and protective gloves. Keep all flammable chemicals away from open flames or hot heat sources.
What is the fastest way to smooth 3D prints?
The fastest way to smooth a print is by applying a self-leveling epoxy resin coating, which covers layer lines in a single coat. Alternatively, chemical vapor polishing for ABS prints takes only a few minutes of exposure. Both methods save you hours of physical sanding.
Why does my print look white or cloudy after sanding?
Sanding creates tiny micro-scratches on the surface of the plastic, which bend light and make the material look white or dusty. You can easily fix this by applying a clear coat spray or quickly passing a heat gun over the surface to melt the micro-scratches.
Does smoothing a print change its final dimensions?
Yes, physical sanding removes material, while coatings like primer and epoxy add material to the outer surface. If you are making parts that must fit together tightly, you should account for these changes during the design phase.
What is the easiest way to smooth PLA prints without chemicals?
The easiest non-chemical method for PLA is a combination of dry sanding, applying a high-build primer spray, and wet sanding. This process fills in the valleys of the layer lines without melting or damaging the plastic structure itself.
Can I use normal spray paint after smoothing my 3D print?
Yes, once your print is smooth and primed, you can use any standard acrylic or enamel spray paint. Always apply multiple thin coats rather than one thick coat to prevent drips and keep your surface looking smooth.
