


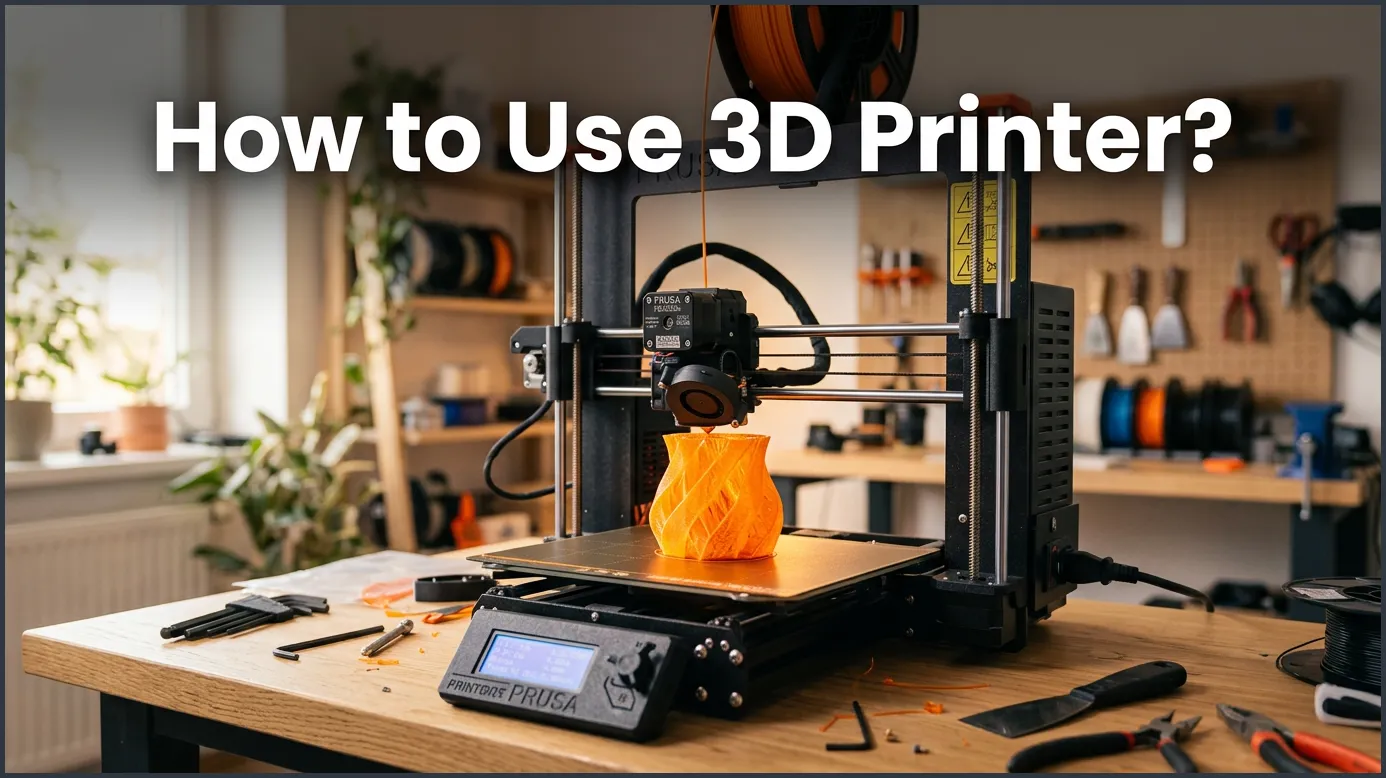
To use a 3D printer, you must first set up your machine and level the print bed. Next, you import a 3D model into slicing software to prepare the file, load your filament, and start the printing process. Finally, monitor the first layer carefully and post-process your completed physical object.
Imagine having a tiny factory right on your desk. You press a button, and a real, solid object appears out of thin air. It feels like pure magic, does it not? This is the power of 3D printing. People all over the world use these machines to build toys, fix broken tools, and create beautiful art. It is a fantastic hobby that lets you turn your wild ideas into real things you can hold in your hands.
But when you first look at a 3D printer, it can feel a bit scary. There are many wires, moving parts, and strange terms. You might wonder, how to use 3D printer tools without breaking them? Do not worry. While these machines look complex, learning how to use 3D printer setups is much easier than you think. You just need to follow a few simple steps to get started on your creative journey.
In this easy guide, we will break down the entire process from start to finish. We will cover the different types of printers, how to prepare your machine, and how to get your very first print. By the end of this post, you will feel confident and ready to make your first physical object. Let us dive in and learn how to use 3D printer machines like a pro.
Key Takeaways
- Bed Leveling is Crucial: A level bed ensures your first layer sticks perfectly, which prevents most printing failures.
- Slicing Software is Essential: Slicers translate 3D digital models into G-code instructions that your printer can read.
- Filament Choice Matters: Beginners should start with PLA plastic because it is cheap, easy to print, and odorless.
- Watch the First Layer: Most printing errors happen at the start, so stay close during the first few minutes of printing.
- Post-Processing Adds Polish: Removing supports and sanding your finished prints can dramatically improve their look.
- Patience is Key: 3D printing is a hobby of trial and error, so do not get discouraged by early mistakes.
Quick Answers to Common Questions
What is the easiest 3D printer for a beginner to use?
An FDM (Fused Deposition Modeling) printer is the easiest and safest choice for beginners. These machines use simple plastic filament and require very little cleanup compared to resin printers.
Which 3D printing software should I start with?
You should start with Cura or PrusaSlicer because they are free, user-friendly, and compatible with most 3D printers. They offer simple pre-set options that are perfect for beginners.
What is the best material for 3D printing beginners?
PLA (Polylactic Acid) is the best material for beginners because it prints at low temperatures and does not warp easily. It is also biodegradable, odorless, and comes in many vibrant colors.
How long does it take to print a 3D object?
Printing time depends on the size and detail of the object, ranging from 30 minutes for a small coin to over 24 hours for large, complex models. Most medium-sized models take between three to eight hours to print.
Why is my 3D printer nozzle not releasing plastic?
Your nozzle is likely clogged with debris or burnt plastic, or the nozzle temperature is set too low for your filament. You can fix this by heating the nozzle and clearing it with a thin acupuncture needle.
📑 Table of Contents
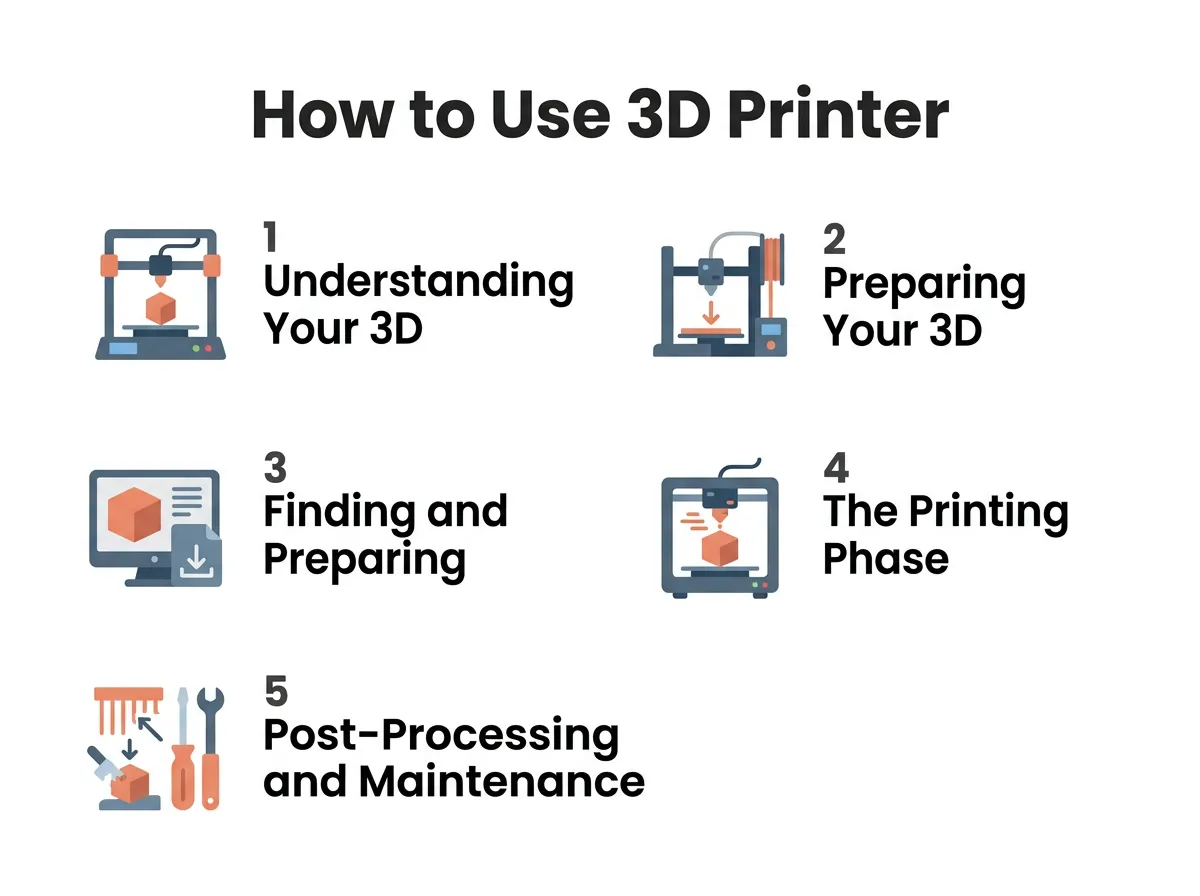
1. Understanding Your 3D Printer Type
Before you turn on your machine, you must know what kind of printer you have. There are two main types that most hobbyists use at home. Each type works differently and uses different materials to build objects.
FDM Printers: The Filament Beasts
FDM stands for Fused Deposition Modeling. These are the most common printers on the market. They use long spools of plastic string called filament. The printer melts this plastic and squeezes it out of a tiny hot nozzle. It draws your object layer by layer, from the bottom up. FDM printers are cheap, safe, and very easy to learn. If you want to master the basics of 3D printing, starting with an FDM printer is your best bet. Learning how to use 3D printer systems safely starts with understanding these simple machines.
Resin Printers: The Detail Masters
Resin printers use liquid plastic instead of solid filament. A bright light cures the liquid resin, turning it into solid plastic layer by layer. These printers make incredibly detailed objects, like tiny game pieces or jewelry. However, resin can be messy and smelly. You must wear gloves and work in a room with lots of fresh air. They are great, but they require a bit more care than FDM machines.
2. Preparing Your 3D Printer and Work Space
Once you choose your machine, you need to set up your workspace. A clean, stable workspace is the key to successful prints. Make sure your printer sits on a flat, heavy desk that does not shake when the machine moves.
How to Use 3D Printer? — key points at a glance
Assembly and Bed Leveling
Many printers come in parts, so you will need to put them together first. Read your manual carefully. After assembly, you must level the print bed. This is the flat plate where your print will grow. If the bed is uneven, your plastic will not stick, and your print will fail. Knowing how to use 3D printer beds is vital for success. To level the bed, you will adjust small screws under the platform. You can use a simple piece of paper to check the gap between the nozzle and the bed. It should just slightly grab the paper.
Loading the Filament
Now, it is time to feed the plastic into the machine. Heat up your printer nozzle using the digital screen on your machine. For PLA plastic, heat it to about 200 degrees Celsius. Cut the tip of your filament at a sharp angle to make it pointy. Push the filament into the extruder feed tube until you see hot plastic squeeze out of the nozzle. Understanding how to use 3D printer filament correctly will save you from clogged nozzles. For more detailed help on this step, you can look at these detailed printer setup instructions to guide you through the process.
3. Finding and Preparing Your First 3D Model
Your printer needs a digital blueprint to know what to build. These blueprints are 3D model files, usually ending in .STL or .OBJ formats. You do not need to know how to design 3D objects to start printing them.
Downloading Ready-Made Designs
There are many free websites where artists share their 3D designs. You can find thousands of free models on sites like Thingiverse or Printables. Simply search for what you want to make, such as a toy dinosaur or a phone stand, and download the file to your computer. Learning how to use 3D printer files from these sites is a quick way to get fun results without any modeling experience.
Using Slicing Software
A 3D printer cannot read a raw 3D model file directly. You must convert it into code. You do this using a program called a slicer. Popular slicers include Cura and PrusaSlicer. The slicer cuts your model into thin horizontal layers. It turns the model into a list of moves for your printer, called G-code. Knowing how to use 3D printer slicer programs allows you to adjust print speed, layer height, and temperature. Once you finish slicing, save the G-code file onto an SD card or USB drive.
4. The Printing Phase: Starting Your Print
Now comes the exciting part. You are ready to start the actual printing process. Ensure your bed is clean and free of dust before you begin.
Starting the Print Job
Insert your SD card into your 3D printer. Use the control wheel or touch screen to find your file. Select your file and press start. The printer will begin to heat up both the print bed and the nozzle. This can take a few minutes. Knowing how to use 3D printer controls makes this part very easy. Once it reaches the right temperature, the printer will move to the home position and start to print. This marks the start of the active step-by-step printing process where digital files turn into physical form.
Watching the First Layer
The most important rule of 3D printing is to watch the first layer. Do not walk away yet! The first layer must stick firmly to the bed. If the plastic peels up or bunches around the nozzle, stop the print immediately. You may need to clean your bed or adjust your level. If the first layer looks flat, smooth, and neat, then your print will likely succeed. You can now leave the machine to finish its work.
5. Post-Processing and Maintenance Tips
When the printer stops, your job is not quite done. You must safely remove your model and keep your printer in good shape for your next project.
Removing and Cleaning Your Print
Let the print bed cool down completely before you touch anything. When the metal bed cools, the plastic will shrink slightly and pop off easily. If it is stuck, learn how to use 3D printer scrapers to gently pry it up. Be careful not to cut yourself or scratch the print bed. If your model used supports (extra plastic scaffolding for hanging parts), gently peel them off with pliers or your fingers.
Regular Printer Maintenance
To keep your machine running well, you must take care of it. Clean dust off the rails and apply light machine oil to the rods every few months. Wipe the glass or metal bed with isopropyl alcohol to remove finger oils. If you want to know how to use 3D printer maintenance guides to prolong your machine’s life, you can read some handy Creality beginner tips to keep things running smoothly.
6. Troubleshooting Common 3D Printing Issues
Every 3D printing fan runs into problems at some point. Do not worry if your first prints fail. It is part of the learning curve.
Fixing Bad Adhesion and Warping
If your prints warp or peel up at the corners, this is a sign of bad adhesion. Try cleaning your bed with alcohol. You can also learn how to use 3D printer adhesives like washable glue sticks or hairspray on the bed to help the plastic stick. Ensuring your room has no cold drafts can also stop prints from cooling too fast and warping.
Dealing with Clogs and Stringing
If your printer stops spitting out plastic, you might have a clogged nozzle. Heat your nozzle up and learn how to use 3D printer needle tools to clear the block. If you see thin, spiderweb-like plastic hairs on your print, this is called stringing. You can fix this by lowering your nozzle temperature slightly or adjusting the retraction settings in your slicer program.
Conclusion
Learning how to use 3D printer machines is a fun and highly rewarding journey. It blends technology, art, and hands-on skill. While it requires some patience to master bed leveling and slicing settings, the joy of holding your own custom-made object makes it all worth it. Start with simple designs, watch your first layers, and do not be afraid to make mistakes. Happy printing!
Frequently Asked Questions
Is 3D printing an expensive hobby to start?
While some high-end machines cost thousands of dollars, you can buy a high-quality beginner FDM printer for under two hundred dollars. Filament rolls are also affordable, usually costing around twenty dollars each. This makes 3D printing a very accessible hobby for most people.
Does 3D printing produce toxic fumes?
It depends on the material you use to print. Common plastics like PLA are safe and odorless, but materials like ABS and liquid resin emit fumes that can be harmful. Always print in a well-ventilated room to stay safe.
Do I need to know how to do 3D modeling to use a printer?
No, you do not need any 3D modeling skills to get started. You can download thousands of free, pre-made designs from online libraries like Thingiverse. You only need modeling skills if you want to create your own unique designs from scratch.
How do I make my 3D prints smoother?
You can make your prints smoother by lowering the layer height in your slicer settings before printing. After printing, you can also sand the plastic or use special primer sprays to fill in any remaining line gaps.
Can a 3D printer print multiple colors at once?
Most standard 3D printers can only print one color at a time because they have a single nozzle. However, you can buy multi-material upgrades or pause your print to change filament colors manually during the process.
What happens if the power goes out during a 3D print?
If your printer has a power loss recovery feature, it will save its spot and resume printing once the power returns. If your printer does not have this feature, the print will unfortunately fail and you will have to start over.
