


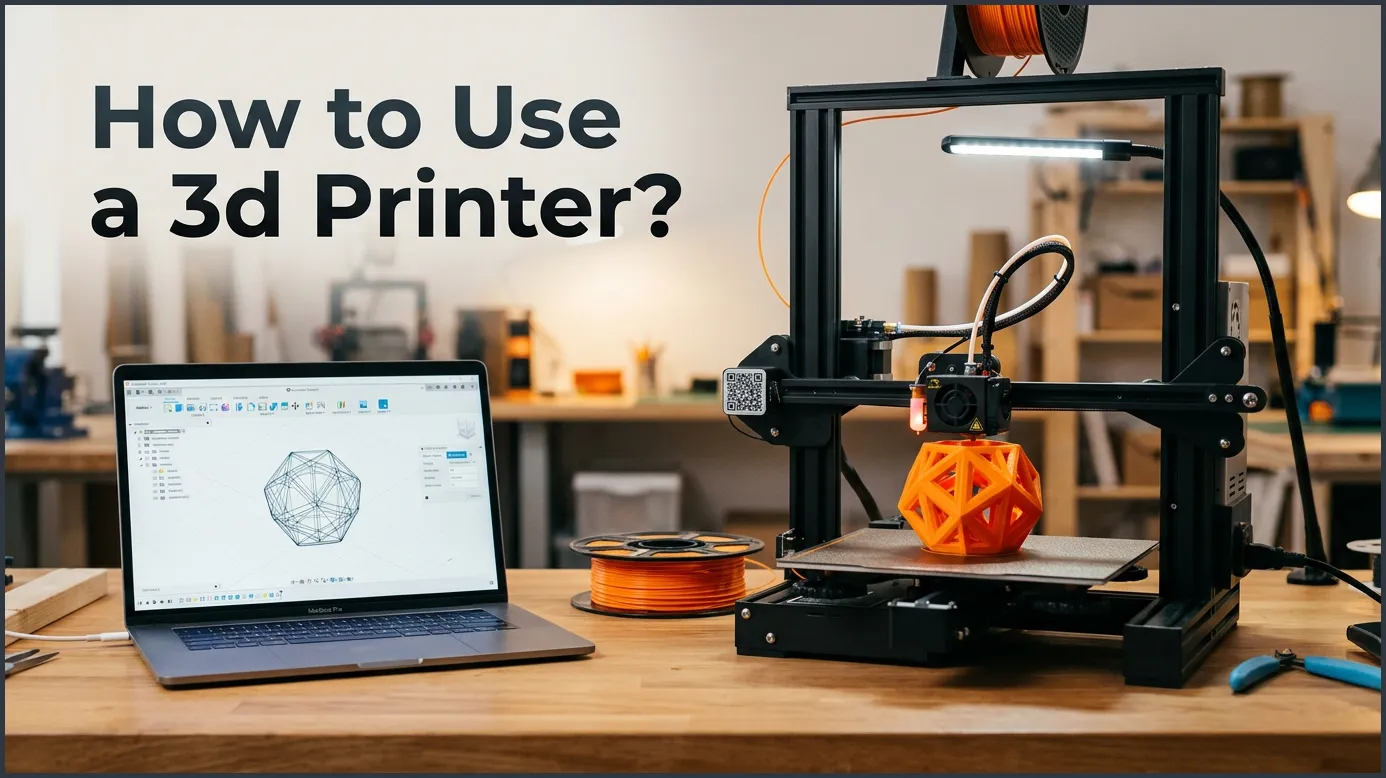
Learning how to use a 3D printer is much easier than it seems. You just need to level your print bed, load your chosen plastic filament, and prepare a digital 3D model with slicing software. Once these basic setup steps are complete, you can start the machine and watch your custom designs come to life.
Have you ever wanted to create a physical object out of thin air? Maybe you want to make a custom toy, a handy phone stand, or a spare part for a broken tool. In the past, you had to buy these items from a store. Today, you can build them right on your desk. This is the magic of 3D printing. It is a hobby that turns digital files into real, physical items.
When you look at a 3D printer for the first time, it might seem complex. It has hot metal parts, moving belts, and strange software. You might feel a bit lost. But do not worry. Once you break the process down into simple steps, it becomes very easy to understand. Anyone can learn how to create amazing things with just a little practice.
In this guide, we will walk you through the whole process. We will cover the types of printers, how to prep your machine, and how to print your first object. By the end of this article, you will feel ready to start your own making journey.
Key Takeaways
- Start with PLA filament: PLA is the easiest and safest plastic material for beginners to use.
- Leveling is key: A level print bed is vital to make sure your first layer sticks well.
- Use a slicer: Slicing software turns your 3D models into code that your printer can read.
- Watch the first layer: Always monitor the start of your print to catch any early errors.
- Keep it clean: Cleaning your print bed often will help prevent print failures.
Quick Answers to Common Questions
What is the easiest filament for a beginner to use?
PLA is the easiest filament for beginners because it prints at low temperatures, does not warp, and is odorless.
How do I make my 3D prints stick to the bed?
Ensure your print bed is clean and perfectly leveled so the plastic can stick well to the surface.
What software do I need to prepare a 3D print?
You need a slicing program like Cura or PrusaSlicer to convert 3D models into code your printer can read.
Can I leave my 3D printer running overnight?
It is best not to leave a printer completely unattended because hot parts can pose a safety risk if an error occurs.
How do I remove supports from my finished 3D print?
You can gently pull supports off with your hands or use needle-nose pliers for tight spots.
📑 Table of Contents
Choosing Your Materials and Printer Type
Before you turn on your machine, you need to understand what you are working with. Not all printers are the exact same. They use different methods and materials to build objects. Knowing these basics will help you get the best results from the start.
FDM vs. Resin Printers
There are two main types of printers for home use. The first is FDM, which stands for Fused Deposition Modeling. These machines use a spool of plastic string called filament. They melt this plastic and squeeze it through a tiny nozzle. The nozzle moves around and draws your object layer by layer. This is the best type of printer for beginners because it is safe and easy to use.
The second type is a resin printer. These machines use liquid plastic and a bright light screen. The light cures the liquid into hard plastic. Resin printers can make tiny details, but they can be messy. The liquids also have strong smells and require gloves to handle safely. If you are brand new, we suggest starting with an FDM machine.
Choosing the Right Filament
If you use an FDM printer, you will need to choose a filament. There are many types of plastic on the market. The most popular one is PLA. PLA is made from natural sources like cornstarch. It does not smell bad when it melts, and it is very easy to print. It is the perfect choice for your first few projects.
Another common choice is PETG. This plastic is stronger and can handle more heat. It is great for outdoor items or parts that need to be tough. There is also ABS, but it requires a very hot printer and a closed box to print safely. For now, stick to PLA while you learn the ropes.
Getting Your 3D Printer Ready for Action
Now that you have your machine and your plastic, it is time to set things up. Proper setup is the secret to successful prints. If you just bought your first machine, you might want to look at a how to use a 3d printer for beginners step-by-step guide to help you set up your workspace safely and avoid common assembly mistakes.
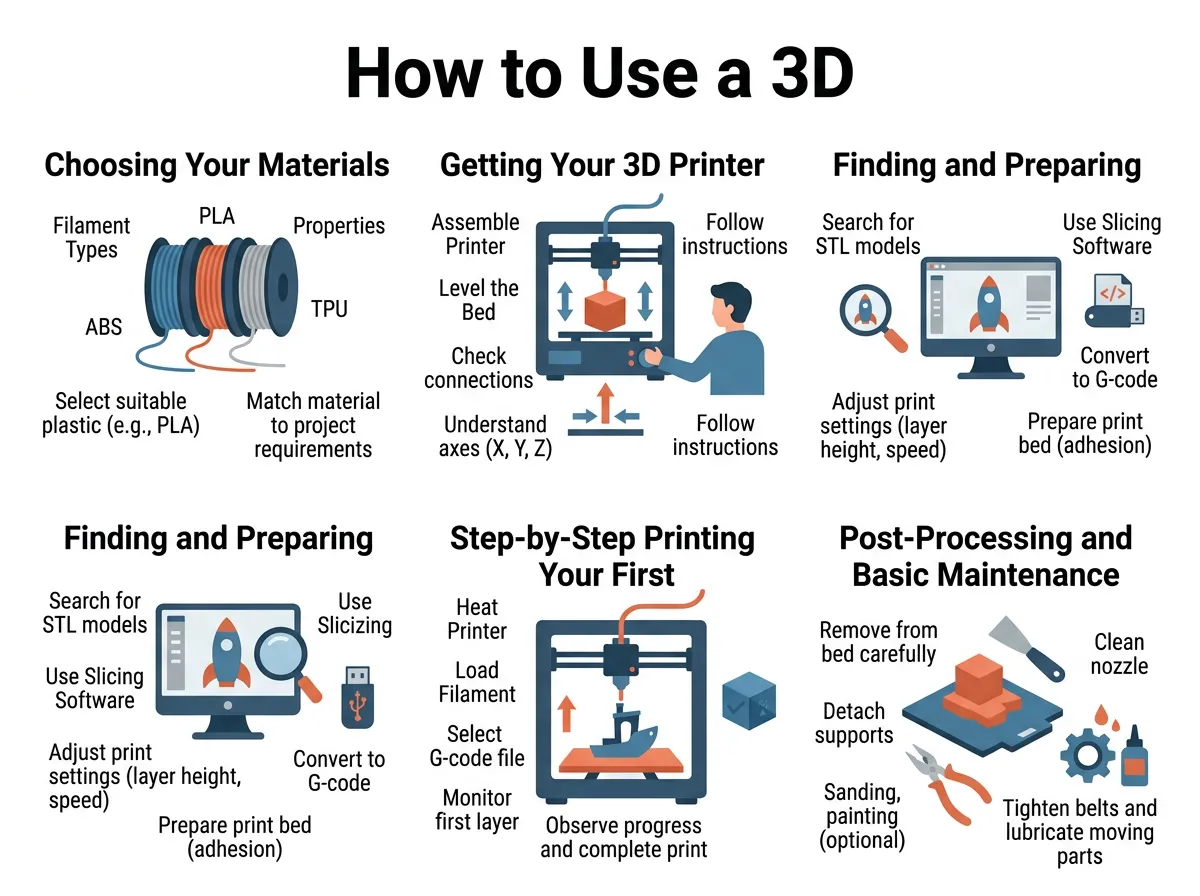
How to Use a 3D Printer? — key points at a glance
Unboxing and Tightening
Most printers come in a few pieces. You will need to assemble them using the tools in the box. As you build, make sure all the screws are snug. Check the rubber belts that move the parts. They should be tight like guitar strings. If they are too loose, your prints will look wavy and uneven.
The Golden Rule: Bed Leveling
This is the most important step in the entire process. The nozzle needs to be the exact same distance from the print bed at every point. If the bed is uneven, your print will fail. To level the bed, you can use a simple piece of office paper. Place the paper on the bed under the nozzle.
Slowly adjust the knobs under the bed until you feel a slight drag when you pull the paper. Do this in all four corners. Repeat the process twice to make sure everything is perfect. Many modern printers have auto-leveling sensors, which make this step much faster.
Finding and Preparing Your 3D Files
Your printer cannot read a standard photo or a 3D picture. It needs a special set of instructions. This is where software comes into play. Slicing is a key step in learning how to use a 3d printer successfully.
Downloading Free 3D Models
You do not need to know how to design 3D objects to start. There are sites online where artists share their work for free. You can search these sites for thousands of files. When you find an object you like, download the file. These files usually end in .STL or .3MF. Save them to your computer.
Using Slicing Software
Once you have your STL file, you must open it in a slicer program. This software slices your digital model into hundreds of thin, flat layers. It then creates a path for your printer to follow. This path is saved as a new file called G-code.
Inside the slicer, you can change many settings. You can change how fast the printer moves, how hot the nozzle gets, and how dense the inside of your object will be. For your first print, use the default settings. The default settings are usually fine-tuned for your machine and will work great.
Step-by-Step: Printing Your First Object
With your G-code file saved onto an SD card or sent to your printer, you are ready to start. For more tips on setting up specific brands, check out the Creality guide on 3D printing to learn about printer-specific features.
Loading the Filament
First, place your spool of plastic on the holder. Cut the tip of the plastic at a sharp angle. This makes it easier to feed. Turn on your printer and heat the nozzle to about 200 degrees Celsius. Once it is hot, press the lever on the extruder and push the plastic string in. Push until you see a little bit of melted plastic come out of the nozzle tip.
Starting the Print
Insert your SD card into the printer. Use the screen menu to find your G-code file. Select the file and press print. The machine will start to heat up both the nozzle and the bed. Once they reach the right temperatures, the machine will start to move.
The Critical First Layer
Do not walk away yet! The first layer is the most important part of the entire print. Watch the nozzle closely as it draws the first lines. The plastic should lay down flat and stick firmly to the bed. If it curls up, slides around, or looks too thin, stop the print. You may need to adjust your bed level or clean the build plate.
Post-Processing and Basic Maintenance
When the printer finished its job, you must wait. Let the bed cool down completely before you try to touch the object. As the metal cools, the plastic will often pop right off on its own. If it is stuck, use a flat scraper to gently pry it free.
Once the object is off, you might need to clean it up. Sometimes prints require supports, which are temporary plastic pillars that hold up overhanging parts. You can pull these supports off with your fingers or a pair of pliers. If the edges are rough, a quick rub with sandpaper will make them smooth.
To keep your printer running well, you must take care of it. Wipe the metal rails with a clean cloth to remove dust. Clean the glass or spring-steel print bed with isopropyl alcohol after a few prints. This removes oils from your fingers and keeps prints sticking well.
Conclusion
Learning how to use a 3D printer is a fun and rewarding process. It bridges the gap between digital ideas and physical reality. While it might seem like a lot of steps at first, it quickly becomes second nature. Just remember to keep your bed level, use quality filament, and watch that vital first layer. With these simple tips, you will be making amazing things in no time at all. Happy printing!
Frequently Asked Questions
What is the difference between PLA and ABS filament?
PLA is made from organic materials and is very easy to print at low temperatures without a closed print box. ABS is a stronger, heat-resistant plastic, but it releases strong fumes and requires a heated chamber to prevent warping.
How often should I level my 3D printer bed?
You should level your bed whenever you move the printer, change the nozzle, or notice that your first layers are not sticking well. For most basic printers, checking the level once every few weeks is a good habit.
What is a G-code file in 3D printing?
G-code is the language that tells your 3D printer how to move, how fast to go, and what temperature to use. Slicing software creates this file by cutting a 3D model into thin layers.
Why is my 3D printer nozzle clogged?
Clogs usually happen when dust gets into the hot end or when plastic burns inside the nozzle at high temperatures. You can clear most clogs by doing a cold pull or using a tiny metal needle to push the dirt out.
Do I need a computer connected to the printer while it prints?
No, you do not need a constant computer connection. Most users save their files onto an SD card or USB drive and plug it directly into the printer to run the job.
Is 3D printing an expensive hobby to start?
Getting started has become very affordable, with budget-friendly entry-level printers costing under two hundred dollars. A standard spool of PLA plastic filament costs about twenty dollars and can last for dozens of small prints.
