


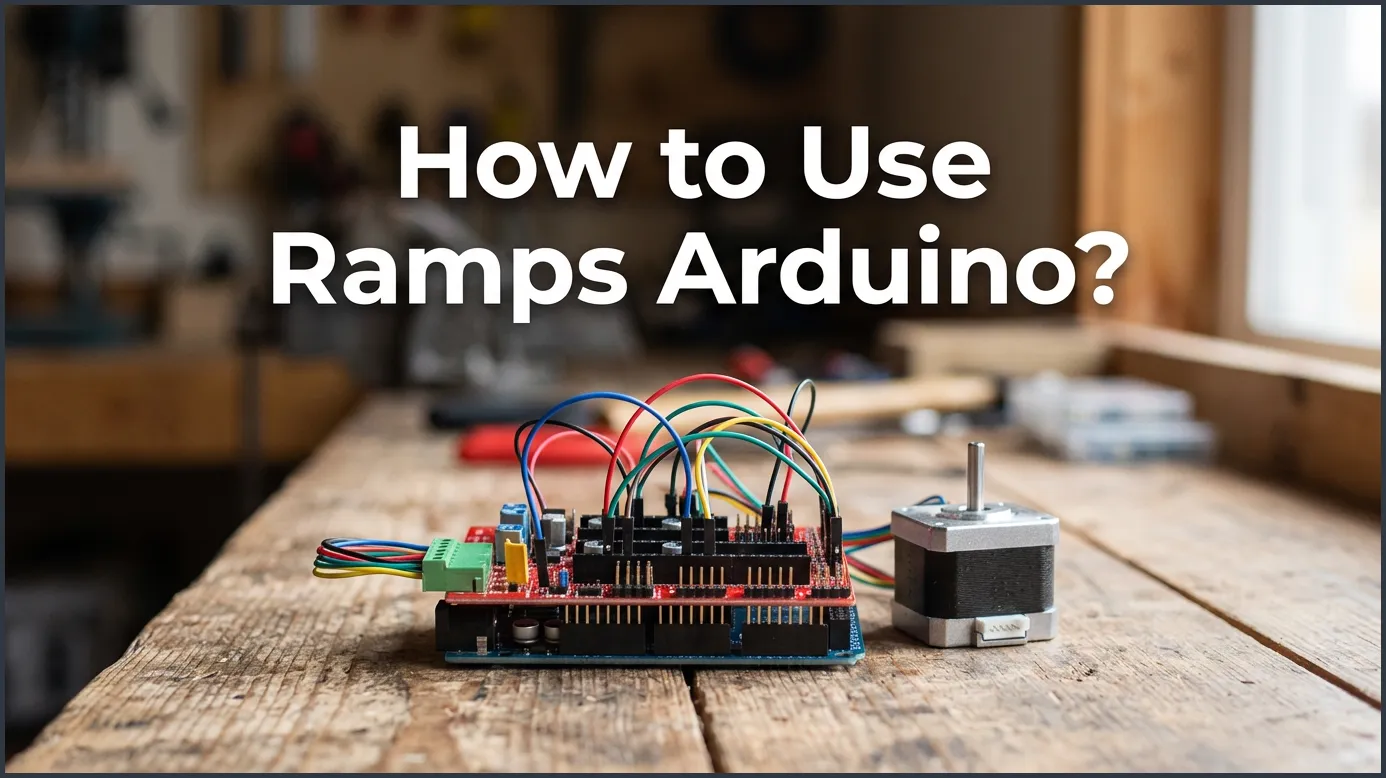
To use a RAMPS shield with an Arduino Mega, you must plug the RAMPS board directly onto the Arduino pins. Next, install your stepper drivers, connect your 12V power supply, and wire your motors, endstops, and sensors. Finally, upload the Marlin firmware using the Arduino IDE to start controlling your 3D printer or CNC machine safely.
Imagine building your very own 3D printer or CNC machine from scratch. You have the motors, the frame, and the passion. But how do you get all these parts to talk to each other? That is where the magic of DIY microcontrollers comes in. If you want to build an amazing machine, learning how to use Ramps Arduino is the perfect place to start your journey.
The RepRap Arduino Mega Pololu Shield, or RAMPS for short, is the ultimate bridge between software and hardware. It sits quietly on top of your Arduino board and directs traffic. It tells motors when to turn, heaters when to warm up, and sensors when to read data. This guide will walk you through the entire process of setting up this system. You do not need to be an engineer to master this setup.
By the end of this article, you will know how to connect your boards, plug in your drivers, write the code, and run your first test. We will keep things simple, fun, and highly practical. Let us dive in and look at how this powerful combination can bring your creations to life.
Key Takeaways
- Seamless Stacking: The RAMPS shield plugs directly on top of the Arduino Mega 2560 without any complex wiring.
- Driver Alignment: Always install stepper drivers in the correct direction to avoid frying your electronics.
- Firmware Choice: Marlin is the most popular, stable, and highly compatible firmware for this hardware setup.
- Power Precautions: Use a high-quality 12V power supply and double-check your polarity before flipping the switch.
- Versatile Projects: This affordable duo can run DIY 3D printers, CNC routers, laser cutters, and robotic arms.
Quick Answers to Common Questions
Do I need a computer connected to run the RAMPS board?
No, you can add an LCD screen with an SD card reader directly to the RAMPS board to run your machine completely offline.
What voltage does the RAMPS 1.4 board take?
The standard RAMPS 1.4 board is designed to run on a stable 12V DC power supply.
Can I run more than one extruder on RAMPS 1.4?
Yes, the board supports dual extruders by using the D9 terminal for the second hotend and assigning an extra stepper driver.
Why are my stepper motors getting very hot?
Your stepper drivers are likely sending too much current to the motors, which can be fixed by adjusting the tiny potentiometer on the driver chip counter-clockwise.
Can I use this board for a laser engraver?
Yes, you can upload GRBL firmware instead of Marlin to use the RAMPS board for laser engraving and basic CNC milling.
📑 Table of Contents
What is a RAMPS Shield and Arduino Mega?
Before we plug anything in, let us understand what we are working with. The RAMPS board is not a standalone computer. Instead, it is a shield. In the world of DIY electronics, a shield is a board that plugs directly into an Arduino to give it new abilities. It acts as an expander pack for your projects.
The Brains and the Brawn
The Arduino Mega 2560 is the brain of your machine. It holds the code, processes commands, and makes decisions. However, the Arduino itself cannot handle high currents. If you plug a heavy motor directly into an Arduino pin, the board will burn out instantly. This is why you need to learn how to use Ramps Arduino. The RAMPS board acts as the brawn. It takes heavy power from a power supply and distributes it safely to your motors and heaters based on commands from the Arduino.
Why This Duo is So Popular
There are many reasons why makers love this combination. First, it is very cheap. You can buy both boards together for the price of a couple of pizzas. Second, the system is open-source. This means thousands of people have used it, improved it, and written free software for it. If you ever run into a problem, a quick search online will lead you to a solution. It is a highly reliable and heavily tested system.
Gathering Your Tools and Components
To learn how to use Ramps Arduino successfully, you need to collect all your parts first. Having everything on your desk will make the assembly process smooth and enjoyable. Let us look at what you need to get started.
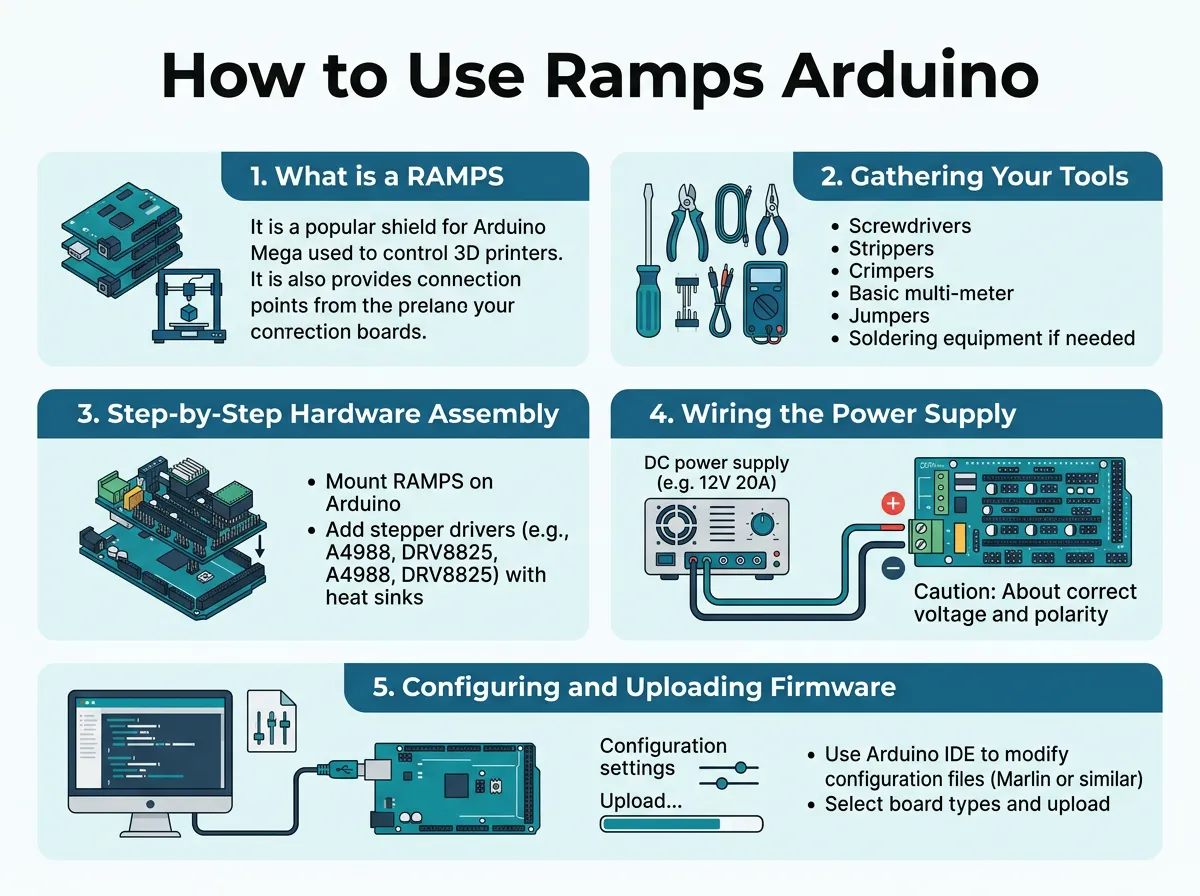
How to Use Ramps Arduino? — key points at a glance
Essential Hardware List
Here is a list of the key items you will need for your build:
- Arduino Mega 2560: The main microcontroller board.
- RAMPS 1.4, 1.5, or 1.6 Shield: The expansion board.
- Stepper Drivers (A4988 or DRV8825): These small chips control the stepper motors.
- Stepper Motors: Usually NEMA 17 motors for 3D printers and small CNCs.
- Power Supply: A stable 12V DC power supply with at least 15 to 20 amps.
- USB Cable: To connect your Arduino to your computer.
Safety Gear and Preparation
Working with electricity requires caution. Grab a small screwdriver for the terminal blocks. It is also wise to work on a clean, non-conductive surface like a wooden table. Never work on a metal surface, as this can cause a short circuit. Keep a pair of wire strippers nearby just in case you need to clean up your wire ends.
Step-by-Step Hardware Assembly
Now comes the fun part. We are going to assemble the hardware. Follow these steps carefully. A mistake here can damage your chips, so take your time and enjoy the process.
Stacking the RAMPS Shield on the Arduino
Hold your Arduino Mega in one hand and your RAMPS shield in the other. Look at the long rows of pins on the bottom of the RAMPS board. They align perfectly with the female headers on the Arduino. Gently press the two boards together. Be careful not to bend any pins. Press down firmly until the two boards sit flush against each other. They should look like a neat sandwich.
Installing the Stepper Drivers
This is the most critical step of learning how to use Ramps Arduino. Stepper drivers must go in the right way. If you plug them in backward, they will burn out the moment you turn on the power. Look closely at your drivers. They usually have a small metal potentiometer knob. On a standard A4988 driver, this knob should face away from the green power terminals of the RAMPS board. Double-check your specific driver manual to ensure correct orientation. Place the pins of the driver into the headers on the RAMPS board and press down gently.
Connecting Motors and Sensors
With the drivers in place, you can now connect your stepper motors. The RAMPS board has pins labeled X, Y, and Z for your axes. Plug your motor cables into these headers. Next, connect your thermistors to the T0, T1, or T2 pins if you are building a 3D printer. If you have limit switches, plug them into the endstop pins. The board is clearly labeled, making this process highly intuitive.
Wiring the Power Supply Safely
Power is what brings your project to life. However, incorrect wiring can be dangerous. Let us look at how to wire your power supply safely and correctly.
Choosing the Right PSU
Most RAMPS setups require a 12V power supply. You can use a dedicated LED switching power supply or an old ATX computer power supply. Ensure your power source can deliver enough current. A 3D printer with a heated bed needs at least 15 amps of current to run smoothly without dropping voltage.
Wiring and Polarity Check
Look at the green terminal block on the RAMPS board. You will see positive (+) and negative (-) markings. Strip about 5mm of insulation from your power supply wires. Insert the positive wire into the positive terminal and tighten the screw. Do the exact same for the negative wire. Double-check your work. If you swap these wires, you will destroy your board. Keep your power supply unplugged from the wall until you are completely done wiring.
Configuring and Uploading Firmware
With the hardware assembled, we need to give the brain its thoughts. We will upload firmware to the Arduino so it knows how to handle the signals.
Installing Marlin Firmware
Marlin is the gold standard when learning how to use Ramps Arduino. Go to the official Marlin firmware website and download the latest stable release. You will also need to download the Arduino IDE from the official Arduino website. Open the Marlin project in the Arduino IDE. You will see a tab called Configuration.h. This is where we make all our custom changes.
Uploading via Arduino IDE
In the Configuration.h file, search for the motherboard setting. Change it to match your board. For a standard RAMPS 1.4 board, you will set the motherboard to BOARD_RAMPS_14_EFB. EFB stands for Extruder, Fan, Bed. Next, set your motor steps, endstop settings, and thermistor types. Once you are happy with the settings, connect your Arduino to your computer using the USB cable. In the IDE, go to Tools, select “Arduino Mega 2560” as your board, select your COM port, and click the Upload button. Wait a minute for the upload process to finish successfully.
Testing and Troubleshooting Your Setup
Your hardware is built, and your code is uploaded. It is time to test your machine! Let us make sure everything runs smoothly and safely.
First Power-Up Test
Plug in your USB cable to connect the board to your computer. Now, plug your 12V power supply into the wall. Watch the board closely. If you see any smoke, smell anything hot, or see bright sparks, unplug everything immediately! If everything remains calm, open a control software like Pronterface or Repetier-Host. Connect to your board and try to move the X-axis by 10mm. If your motor turns smoothly, congratulations! You successfully learned how to use Ramps Arduino.
Common Troubleshooting Tips
If things do not work right away, do not panic. This is a normal part of the process. If a motor makes a buzzing noise but does not turn, your wires might be in the wrong order. Turn off the power and swap the middle two wires of the motor cable. If the motor turns the wrong way, you can easily reverse its direction inside your Configuration.h file. Simply change INVERT_X_DIR from false to true.
Conclusion
Building your own machine is an incredibly rewarding experience. By learning how to use Ramps Arduino, you have unlocked the keys to a world of endless DIY possibilities. You can now build 3D printers, custom CNC machines, drawing robots, or automated tools. The process of stacking the board, plugging in drivers, wiring power, and flashing Marlin firmware is straightforward once you take it step-by-step. Keep experimenting, stay safe, and enjoy the thrill of making things move with your own custom code!
Frequently Asked Questions
What is the difference between RAMPS 1.4, 1.5, and 1.6?
RAMPS 1.4 uses through-hole components and fuses, while versions 1.5 and 1.6 use surface-mount components for better heat dissipation. Version 1.6 also features improved high-current connectors, but all three share the exact same pin layout and run on the same firmware.
Do I need to install jumpers under the stepper drivers?
Yes, placing jumpers on the pins underneath the stepper drivers activates microstepping. Adding all three jumpers under a driver tells it to use 1/16 microstepping, which makes your motors run much more quietly and smoothly.
Can I use 24V power on a standard RAMPS board?
Most standard RAMPS boards are rated for 12V only and will burn out at 24V. To use 24V safely, you must remove the D1 diode, upgrade the yellow fuses, and ensure your capacitors are rated for at least 35V.
Why is my Arduino not connecting to the computer?
This issue is often caused by a bad USB cable or missing drivers on your computer. Try using a shorter USB cable, plugging it into a USB 2.0 port, and installing the CH340 serial driver if your Arduino is a clone board.
How do I connect limit switches to the board?
Connect your limit switches to the endstop headers labeled X, Y, and Z. Be very careful to connect only to the Signal (S) and Ground (G) pins, as connecting to the Voltage pin (V) can cause a short circuit and destroy your board.
What firmware is best for a RAMPS CNC machine?
While Marlin works well for basic 3D printing and CNC projects, GRBL-RAMPS is the best firmware choice for dedicated CNC milling and laser engraving. It is designed specifically to handle standard CNC g-code commands smoothly.
